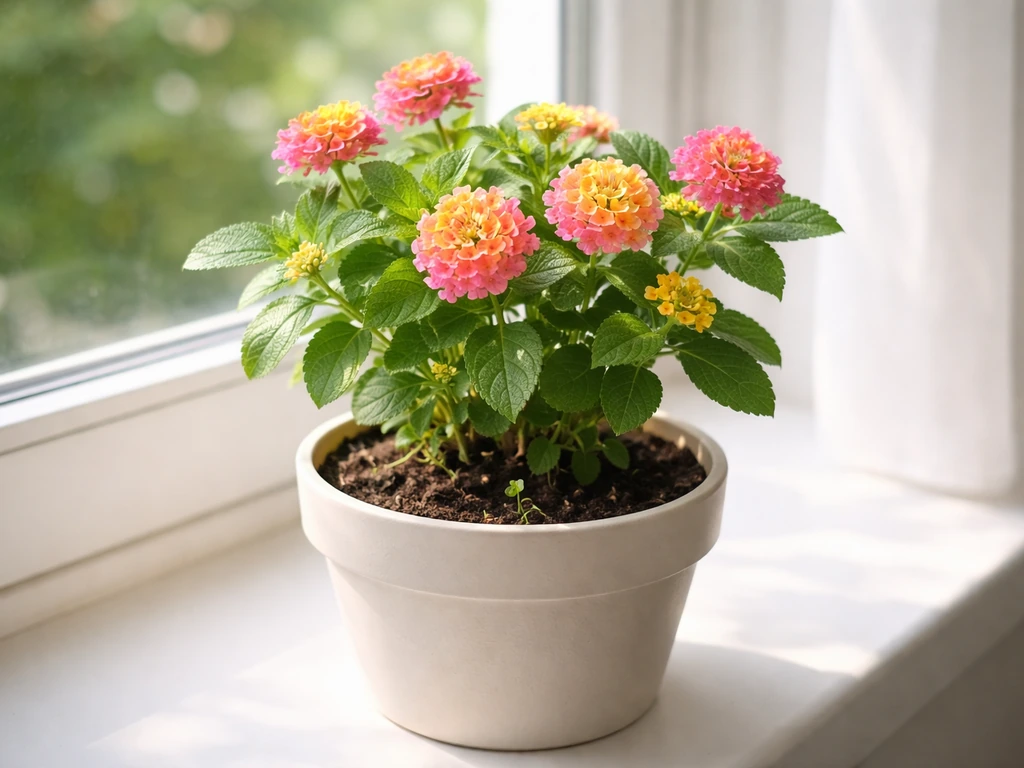
You can grow beautiful flowering plants at home by starting with easy varieties like marigolds, snapdragons, or poppies, sowing seeds 4–8 weeks before your last frost date (or buying seedlings to skip ahead), giving them at least 6 hours of direct sun or 16 hours under grow lights, using a well-draining potting mix in containers at least 8–10 inches wide, and deadheading spent blooms to keep flowers coming. Most beginners are blooming within 8–12 weeks of sowing. The steps below walk you through the whole process, from picking your first variety to troubleshooting when things go sideways. Once you get the basics down, you can apply the same light, soil, watering, and deadheading approach to learn how to grow Zendu flowers at home.
How to Grow Flowering Plants at Home From Seed to Bloom

James Holloway
24 Jun 2026
Pick the right flowering plants for your home

The single biggest factor in early success is choosing plants that match your actual conditions, not the ones that look prettiest on the seed packet. If you have a bright, south-facing window or a sunny patio, you have more options. If you're working with shade or a north-facing apartment window, you'll need to supplement with grow lights or stick to shade-tolerant varieties.
For most beginners, I always recommend starting with marigolds. Varieties like 'Happy Days Mixed Colors' are full-sun performers that germinate quickly, rarely sulk, and bloom for months. Snapdragons are a close second, especially if you want something for a cutting garden or a pot by the door. They prefer cooler weather, so they're ideal for spring and fall growing. Poppies are worth trying if you have an outdoor bed or a deep window box, since they need direct sun and don't love being transplanted. Wildflower mixes are a great way to fill a larger space with minimal fuss, since most mixes contain a range of annuals that stagger their bloom times naturally.
| Flower | Light Needed | Start From | Days to Germination | Best For |
|---|---|---|---|---|
| Marigold | Full sun (6+ hours) | Seed or seedling | 5–7 days | Beginners, containers, borders |
| Snapdragon | Full sun to part sun | Seed (needs light to germinate) | 7–14 days | Cutting garden, cool-season color |
| Poppy | Full sun | Direct sow (dislikes transplanting) | 7–28 days | Beds, window boxes |
| Wildflower mix | Full sun to part shade | Direct sow | 7–21 days (varies by species) | Large spaces, low-maintenance beds |
| Straw flower | Full sun | Seed or seedling | 7–10 days | Cutting garden, drying flowers |
One thing I've learned the hard way: don't start six different varieties at once in your first season. Pick two, learn what they need, and nail it. You can branch out from there. Once you're comfortable with marigolds, for example, trying something like zendu flowers or straw flowers is a natural and exciting next step. Once you know the basics, you can apply the same care and timing to how to grow straw flower for sturdy blooms straw flowers.
Set up light, space, and containers and soil
Light is the piece most people underestimate. A windowsill can work, but only if it gets genuinely strong sun for most of the day. If your seedlings start stretching toward the glass within a week, that's your signal to supplement with grow lights. Fluorescent or LED grow lights suspended 6–12 inches above the seed trays for around 16–18 hours a day will give seedlings what they need. When I first started, I kept the lights too far away and wondered why every seedling looked like a noodle. Closer is almost always better.
Containers and drainage
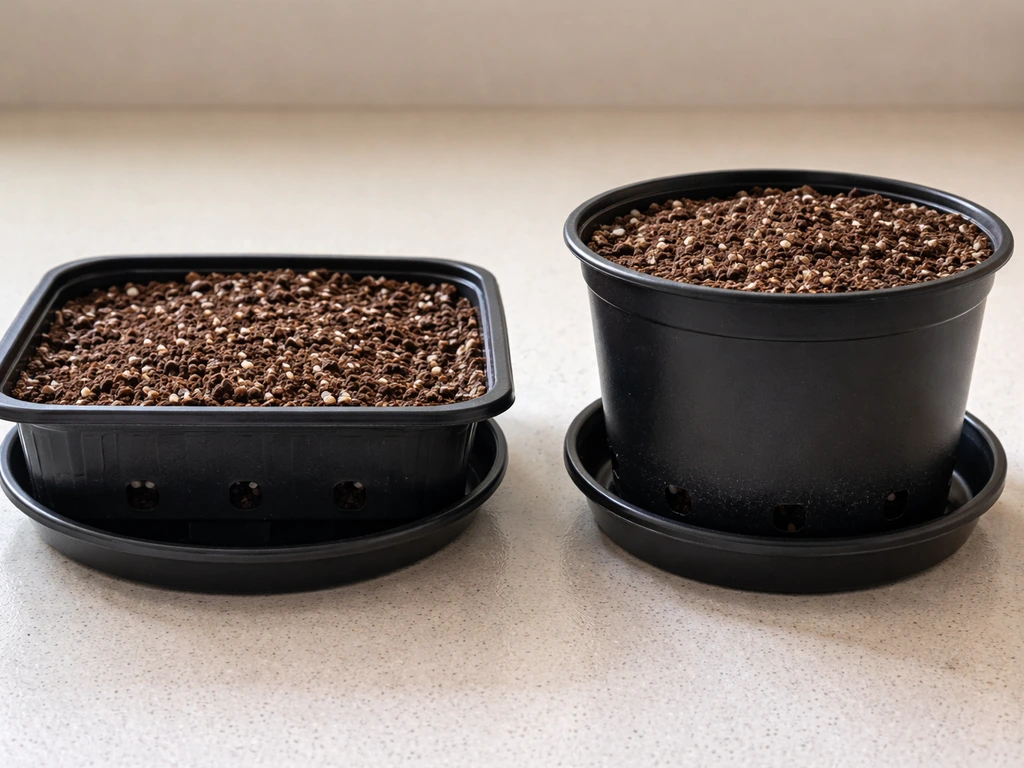
For starting seeds, use trays or small pots at least 3–4 inches deep so roots have room to develop. Once you're potting up for outdoor growing, aim for containers at least 8–10 inches in diameter. Drainage holes are non-negotiable. Without them, roots sit in standing water and rot, and no amount of careful watering will save a pot with no way to drain. If you find a container you love that doesn't have holes, drill some yourself.
Soil and growing mix
Never use garden soil in containers or seed trays. It compacts, drains poorly, and can carry the fungi that cause damping off, which is the frustrating condition where seedlings emerge and then collapse at the base almost overnight. Use a fresh, sterile potting or seed-starting mix every time. For seed starting specifically, a soilless mix is ideal. You can add a thin layer of vermiculite over the seeds to hold moisture while still letting light reach those varieties that need it for germination (snapdragons are a prime example).
Start from seed (or seedlings): timing and sowing steps
Timing is everything in flower growing, and it all hinges on your average last frost date. If you want to try it at home, focus on germination basics like temperature, moisture, and light Timing is everything in flower growing. This is the last date in spring when temperatures are expected to drop below 32°F. You can look this up by zip code through your local cooperative extension service. Once you have that date, you work backward from it. Marigolds, for example, are sown indoors 4–6 weeks before your planned outdoor planting date (which is at or after last frost for warm-season annuals). Snapdragons can tolerate light frost, so you can transplant them outdoors 2–4 weeks before last frost.
Step-by-step seed sowing
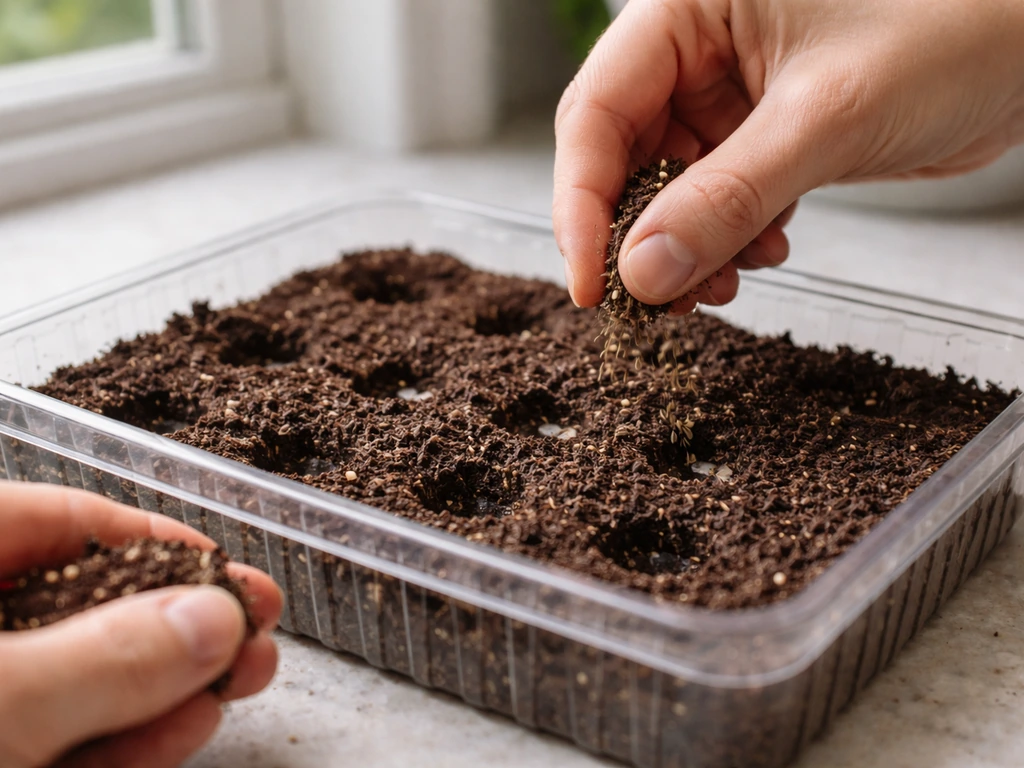
- Fill your seed tray or pot with fresh, moist seed-starting mix. Press lightly to remove air pockets but don't compact it.
- Sow seeds at the depth listed on the packet. Marigolds get a light covering of mix; snapdragon seeds need light, so press them onto the surface and cover with just a thin layer of vermiculite.
- Water gently using room-temperature water (around 68–77°F). Bottom-watering by setting the tray in a shallow dish of water until the surface feels moist works really well for avoiding surface disturbance.
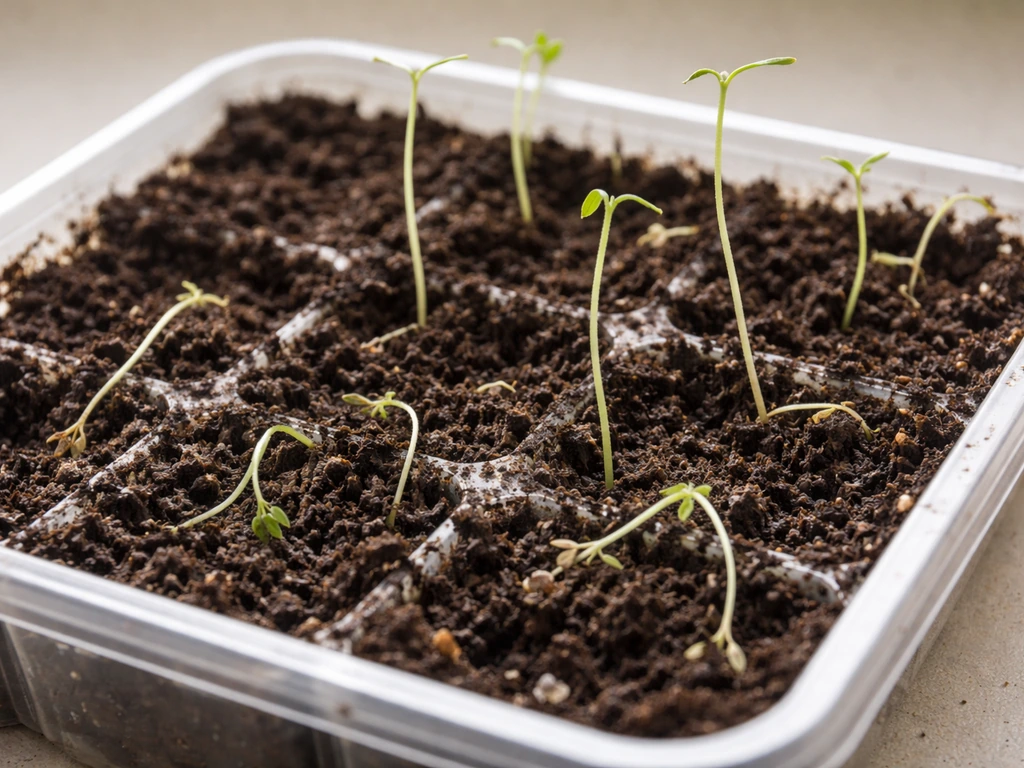
- Cover the tray loosely with a humidity dome or plastic wrap to retain moisture until germination. Remove it as soon as you see sprouts.
- Move to your light source immediately after germination. Keep grow lights 6–12 inches above seedlings for 16–18 hours a day.
- Thin seedlings once they have their first true leaves, leaving the strongest plant in each cell. Pinch, don't pull, to avoid disturbing roots.
- Harden off seedlings before moving outdoors: set them outside in a sheltered spot for 1–2 hours a day, increasing exposure over 7–10 days before transplanting.
If you'd rather skip seed starting entirely, buying seedlings from a nursery is a completely valid choice. You lose a little control over variety selection, but you gain 4–6 weeks and avoid the most common early failures. For someone growing flowers at home for the first time, there's zero shame in starting with a tray of nursery transplants.
Watering and fertilizing for healthy growth and blooms
Overwatering kills more seedlings and young plants than almost anything else. The rule I follow is to water when the top inch of soil feels dry, not on a fixed schedule. Stick your finger in the mix. If it's still damp, wait. Seedlings in trays can be bottom-watered every 2–3 days, then left to drain fully before going back on the shelf. Established plants in outdoor containers might need water daily in hot weather, sometimes twice if they're in terra cotta pots in full sun.
For fertilizing, seedlings don't need much until they have their first true leaves. At that point, a quarter-strength liquid fertilizer applied once a week will keep growth steady without burning tender roots. Once plants are in their final containers or in-ground beds, a balanced general-purpose fertilizer at planting gives them a strong start. After that, if you want to push blooms specifically, a phosphorus-rich fertilizer (something with a high middle number, like a 10-60-10 formulation) can encourage more flower production.
If growth slows or foliage starts to yellow 6–8 weeks after planting, that's a good signal for another round of feeding. For container plants, applying a water-soluble fertilizer once or twice a week keeps nutrients from leaching out with regular watering.
Ongoing care: light rotation, deadheading, and maintenance
Once plants are growing and starting to bud, the work shifts from starting to maintaining. This is also the most rewarding phase, and honestly where most of the learning happens.
Rotate indoor pots regularly
If you're growing on a windowsill, turn pots a quarter turn every few days so all sides get equal light exposure. Plants lean toward the light source, and rotating keeps them upright and evenly shaped. Under grow lights, centering the tray beneath the fixture handles this for you.
Deadhead to keep blooms coming
Deadheading, removing spent flowers before they set seed, is one of the highest-return tasks in flower growing. When a plant produces seed, it thinks its job is done and often slows flowering. Snipping off faded blooms redirects that energy into producing more flowers. For marigolds and wildflowers, pinch or snip spent heads every few days. For snapdragons, deadhead throughout the season and then, after the first big flush of blooms fades in mid-to-late summer, cut the plant back by about 30–50% of its current height. This usually triggers a strong second flush of blooms in fall.
General maintenance habits
- Check plants every 2–3 days for signs of stress, pests, or disease.
- Remove yellowing or damaged leaves promptly to improve airflow.
- Keep the area around containers clear of fallen debris, which can harbor pests.
- For cutting garden flowers like snapdragons and straw flowers, harvest stems regularly to encourage more production.
Troubleshooting common issues: no flowers, leggy plants, and pests
Plant is leggy and falling over
Legginess means long, thin stems that can't support themselves. The cause is almost always insufficient light. If seedlings are stretching toward a light source, move the grow light closer (it should be 6–12 inches above the canopy) or increase the photoperiod to 16–18 hours a day. If outdoor plants are leggy, they likely need a sunnier location. There's no fixing a leggy seedling with fertilizer or water. Light is the only solution.
Seedlings collapse at the base (damping off)
This is the fungal condition that wipes out a whole tray of seedlings seemingly overnight. The stems pinch at soil level and the plant falls over. Prevention is much easier than treatment: always use fresh, sterile seed-starting mix, clean containers, and water with clean water at room temperature. Avoid overwatering and improve airflow around seedlings by removing humidity domes as soon as germination happens. If damping off appears, remove affected seedlings immediately and improve drainage and airflow for the survivors.
No flowers despite healthy growth
If your plant looks lush and green but isn't blooming, the two most common culprits are too much nitrogen (which pushes leafy growth at the expense of flowers) and not enough light. Scale back on high-nitrogen fertilizers and switch to a phosphorus-higher formulation. If the plant is indoors, assess whether it's genuinely getting 6+ hours of bright light. Sometimes plants also just need more time, so check the expected days-to-maturity on your seed packet before panicking.
Pests: aphids, spider mites, and whiteflies
The most common pest problems on home flowering plants are aphids, spider mites, and whiteflies. All three can be managed without heavy chemicals. Insecticidal soap spray (available as a ready-to-use product or diluted concentrate) works well on soft-bodied insects like aphids and spider mites by contact. Apply it in the evening or at dusk so it doesn't evaporate or stress plants in the heat of the day.
For spider mites specifically, you'll need repeat applications every 4–7 days since eggs aren't killed in the first round. Horticultural oil (around 1–1. 5% concentration) is another effective option, especially for whiteflies, and works by suffocating pests on contact. Always check the label and cover all leaf surfaces, including undersides, where pests tend to cluster.
Seeds won't germinate
Give seeds time before assuming failure. Poppies can take anywhere from 7 to 28 days to emerge depending on soil temperature. Marigolds are usually up in 5–7 days but can lag if the mix is cold. Snapdragons need light to germinate, so if you buried them, they may not emerge at all. Check the packet, keep the mix consistently moist (not soggy), and if germination is slow, try placing the tray on a heat mat to maintain 70–75°F soil temperature.
A simple bloom plan and next steps for repeat success
The best way to set yourself up for a season full of flowers is to plan in small, manageable steps rather than trying to do everything at once. Here's a practical starter plan you can put into action this week.
Your first week action list
- Look up your average last frost date for your zip code or region.
- Choose one or two beginner-friendly varieties: marigolds if you want easy success, snapdragons if you want a cutting garden feel.
- Buy a bag of fresh seed-starting mix, a seed tray with drainage, and seeds (or pick up nursery seedlings if timing is tight).
- Set up your light source: a sunny south-facing window or a grow light suspended 6–12 inches above the tray.
- Sow seeds following packet depth instructions, water from the bottom, and cover with a humidity dome.
- Mark your calendar for germination check (5–7 days for marigolds, 7–14 for snapdragons) and plan to remove the dome as soon as sprouts appear.
Your ongoing weekly rhythm
| Week | Key Task |
|---|---|
| Week 1–2 | Germination: maintain moisture, keep lights close, remove dome after sprouts emerge |
| Week 2–4 | Seedling care: start quarter-strength liquid fertilizer, thin to one plant per cell, rotate trays |
| Week 4–6 | Harden off seedlings: begin short outdoor exposure sessions, increasing daily |
| Week 6–8 | Transplant outdoors after last frost (warm-season) or earlier for cool-season types like snapdragons |
| Week 8–12 | First blooms: begin deadheading, switch to phosphorus-rich fertilizer, check for pests weekly |
| Ongoing | Deadhead every 2–3 days, water as needed, cut back snapdragons after first flush for rebloom |
Keep the blooms coming all season
One thing that separates a garden that peaks in June from one that blooms until frost is succession planting. Every 3–4 weeks, sow a small new batch of marigolds or your chosen annual. This staggers the bloom cycle so you always have something coming into flower as an earlier batch fades. It sounds ambitious but takes about 10 minutes of actual work per round. By midsummer, you'll have a steady, rolling supply of fresh blooms rather than one big flush followed by empty pots.
If you want to keep expanding, explore specific growing guides for individual varieties once you have the basics down. Swan flowers, straw flowers, and zendu flowers are all logical next steps once marigolds and snapdragons feel comfortable, and each one teaches you something slightly different about flower timing, cutting, and care. The fundamentals you build in your first season carry across every flowering plant you'll ever grow.
FAQ
Do flowering plants need to be started indoors, or can I sow seeds directly outside?
You can direct-sow some annuals, especially fast germinators in warm seasons, but most “seed to bloom” success still depends on your last-frost timing and soil temperature. If your seeds need warmth or consistent moisture, starting indoors in a sterile seed-starting mix will usually be more reliable than outdoor sowing.
How do I know if my plant is getting enough light if I’m not using grow lights?
Look for more than “hours of sun.” If leaves look pale or the plant leans strongly toward the window within a week, rotate the pot and then add light if it still stretches. A north-facing window often needs grow lights even when it seems bright for part of the day.
Should I cover seeds with soil, or leave them on the surface?
Follow the seed packet, because some need darkness and others require light to germinate. For light-dependent seeds, don’t bury them deeply, and instead use a very thin covering or vermiculite as a moisture layer so light can still reach the seed.
My seedlings look crowded. When should I thin them?
Thin once seedlings have a couple sets of true leaves, when you can comfortably identify the strongest ones. Remove the weaker seedlings at soil level rather than pulling, so you don’t disturb roots of the plants you want to keep.
Can I reuse potting mix or trays for the next batch of seeds?
For seed starting, it’s best not to reuse mix because damping off organisms can persist and the mix breaks down unevenly. If you reuse trays, scrub thoroughly and disinfect, but still start with fresh sterile seed-starting mix for the cleanest results.
How often should I water once plants move from seedlings to bigger containers?
Use the “top inch” test, then adjust for container material and weather. Terra cotta dries faster than plastic or glazed pots, and outdoors wind can dry mixes quickly even when it’s not hot, so check more frequently in summer.
What’s the difference between pinching and deadheading, and when should I do each?
Deadheading removes faded blooms to prevent seed formation and encourage more flowers. Pinching is different, it removes the growing tip to encourage branching, which is useful early for fuller plants, then switch to deadheading once flowering starts.
Why are my flowers forming buds but they keep dropping?
Common causes are stress from inconsistent watering, sudden temperature swings, or too much nitrogen making plants focus on foliage. Check whether the soil is staying evenly moist during bud set, and consider switching to a more bloom-supportive fertilizer if foliage is growing fast but buds stall.
Is it better to fertilize more, to force faster blooms?
Usually no. Overfeeding, especially with nitrogen-heavy fertilizer, can delay flowering by promoting leafy growth. Start with light feeding once true leaves appear, then use balanced fertilizer at planting, and only shift toward a phosphorus-higher option if you see slow progress or delayed budding.
How do I prevent pests without using heavy chemicals?
Start with early detection, check undersides of leaves every few days, and rinse plants with a gentle water spray if infestations are small. If you use insecticidal soap or horticultural oil, apply in the evening and cover leaf undersides, and expect repeat treatments for pests with eggs.
What if my snapdragons don’t germinate after sowing?
The most frequent cause is burial too deep, snapdragons need light to germinate. Keep the mix consistently moist but not soggy, and maintain soil temperature near typical indoor conditions, then confirm you didn’t cover them with more than a light dusting.
How do I harden off seedlings before moving them outdoors?
Introduce them gradually over about a week by starting with a few hours of outdoor shade and bringing them in at night. Each day, increase sun and outdoor time, and avoid moving them outside fully during cold nights or windy weather until they adjust.
Can I grow flowering plants in self-watering planters or without drainage holes?
For seeds and young seedlings, drainage is non-negotiable because standing water increases damping off risk. If you’re using a self-watering system, make sure excess water can be controlled and the potting mix stays well-aerated, then monitor moisture closely to avoid chronic wet feet.
How do I get more blooms from a plant that already flowered once?
Many annuals benefit from a reset after the first flush. Keep deadheading, and for snapdragons specifically, cutting back after the main summer flush often triggers a second round. Also consider a light feeding when flowering slows, then keep light and watering consistent.
Next Articles
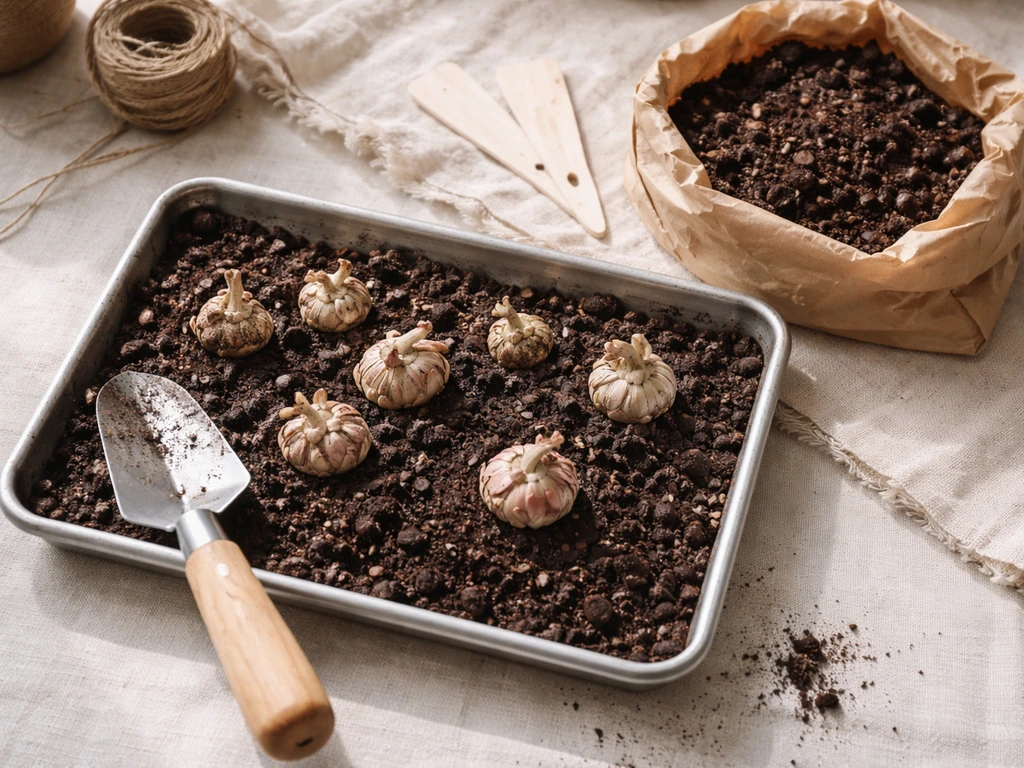
Floret How to Grow Ranunculus: Step-by-Step Guide
Step-by-step Floret-style ranunculus guide: corm prep, planting, watering, frost care, troubleshooting, and harvest for
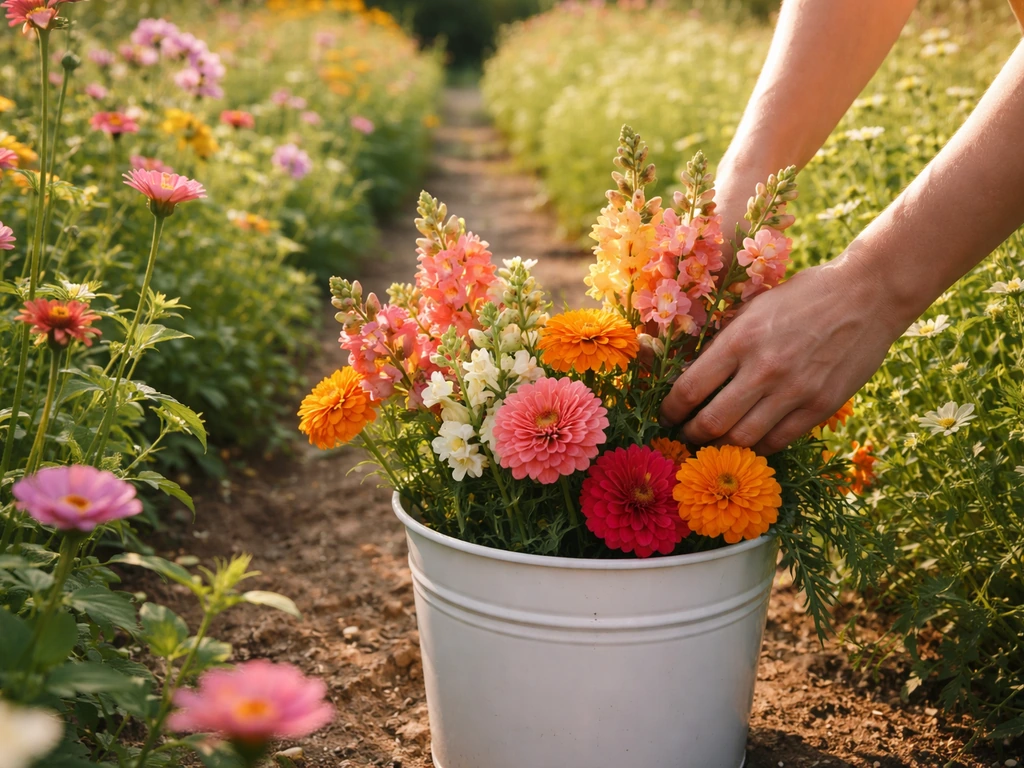
How to Grow Your Own Wedding Flowers Step by Step
Step-by-step guide to grow bouquet-ready wedding flowers, from planning and sowing dates to harvesting, conditioning, an
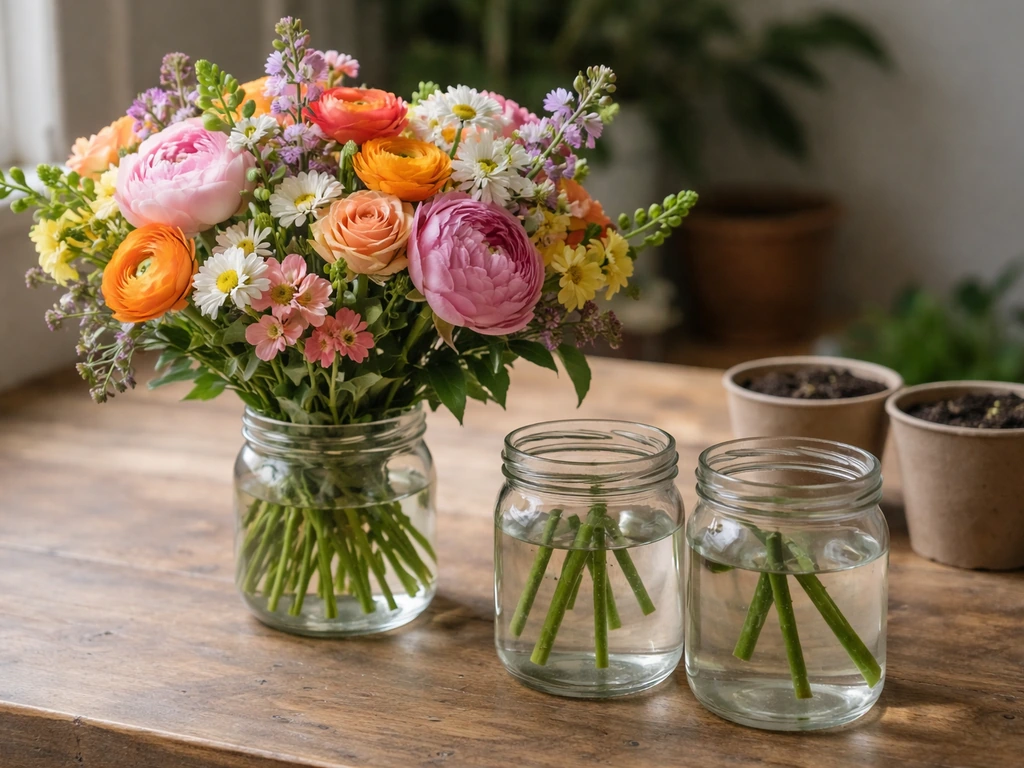
How to Grow Flowers From a Bouquet: Step-by-Step
Step-by-step guide to propagate bouquet stems into new flowers: prep, rooting in water/soil, transplanting, care, timeli