Growing ranunculus the Floret way means treating these gorgeous, tissue-paper-petaled flowers as a cool-season cutting garden crop: you plant small, octopus-shaped corms in fall or early spring (depending on your climate), give them a soak and sometimes a chill before planting, keep them cool and moist while they establish, then harvest armfuls of stems before summer heat shuts them down. Done right, a single corm produces up to ten stems, and those stems last 7 to 10 days in a vase. This guide walks you through the whole process from buying corms to storing them after bloom.
Floret How to Grow Ranunculus: Step-by-Step Guide

James Holloway
21 Jun 2026
What 'Floret ranunculus' actually means and what you'll need
When growers talk about 'the Floret method' for ranunculus, they're referring to the cut-flower production workflow popularized by Floret Farm, a systematic, season-driven approach to growing ranunculus (Ranunculus asiaticus) specifically for long stems and high vase life, rather than just pretty garden color. Floret treats ranunculus as a cool-season annual cut flower, planned around bed layout, corm quality, and harvest timing. You don't need a farm to follow this approach. If you mean Linaria fairy bouquet, the growing approach is similar in terms of cool-season timing, but you will want to start from seed or transplant and follow the specifics for this variety linaria fairy bouquet how to grow. A single raised bed, a few containers, or even a small in-ground plot works fine.
Before you start, here's what you'll actually need on hand:
- High-quality ranunculus corms (look for firm, dry, wrinkle-free corms roughly the size of a silver dollar)
- Well-draining soil or a raised bed with amendments
- A bowl for pre-soaking corms
- A refrigerator or cool space (40–50°F) if you're doing a chilling treatment
- Row cover or frost cloth for cold snaps
- A balanced granular fertilizer (something like 10-10-10 or a low-nitrogen option)
- Sharp, clean scissors or harvest snips
The corms are the star here. Ranunculus don't grow from seed in a practical home-garden timeline, so corms are your starting point every season. Floret's own corms are described as producing up to ten flower stems each, which gives you a sense of the payoff when you start with quality stock.
Choosing corms, varieties, and nailing your planting window
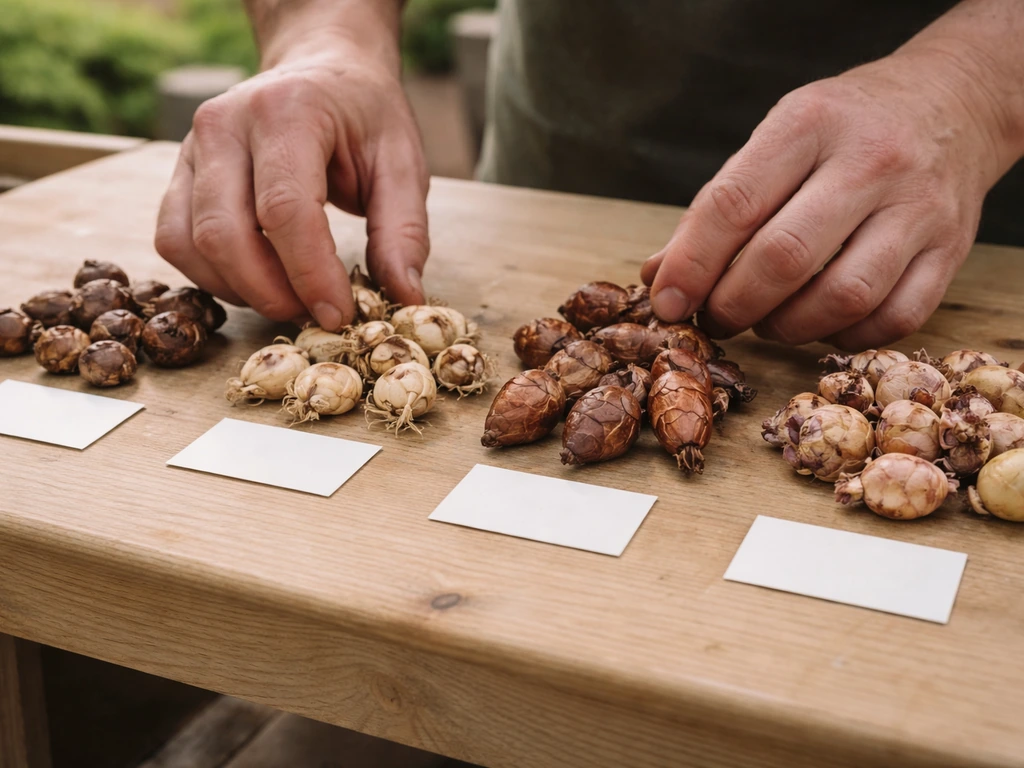
Which varieties are worth growing
For cut-flower production, the Tecolote and Romance series are the most widely grown. Tecolotes are big, ruffled, and bold, great for statement arrangements. The Romance series (available through Johnny's Selected Seeds) is bred specifically for cut-flower use and produces high stem counts with good disease tolerance. The Butterfly ranunculus series has a slightly different flower form, more ruffled and fringed, and needs a 12-hour soak versus 8–12 hours for Romance types. If you're just starting out, stick with Tecolotes or the Romance series in mixed or single colors, then branch into Butterfly once you've got the system down. Blushing Bride ranunculus follow the same corm, planting-window, and drainage rules as other ranunculus varieties, so you can use the guidance here and tailor the timing to your season.
When to plant by region
Ranunculus want cool temperatures to establish and bloom. They perform best when soil temps are in the 50s°F and air temps are between 45–65°F. Here's how that translates regionally:
| Climate / Region | Planting Window | Notes |
|---|---|---|
| Mild-winter areas (Zones 8–11) | October to early December | Plant in fall for late winter/spring bloom; treat as a true annual |
| Moderate climates (Zones 6–7) | Late February to March | Plant as early as soil can be worked; protect with row cover |
| Cold climates (Zones 4–5) | March to April indoors or under cover | Start in cold frames or tunnels; transplant out after last hard frost |
| Containers (any zone) | Match your outdoor window above | Containers warm faster — watch for overheating in late spring |
One important heads-up: ranunculus are treated as annuals in colder climates. Don't count on your corms to reliably overwinter in the ground if you're north of Zone 7. Plan to buy fresh corms each season, or dig and store them (more on that at the end).
Soil and site prep for reliable blooms
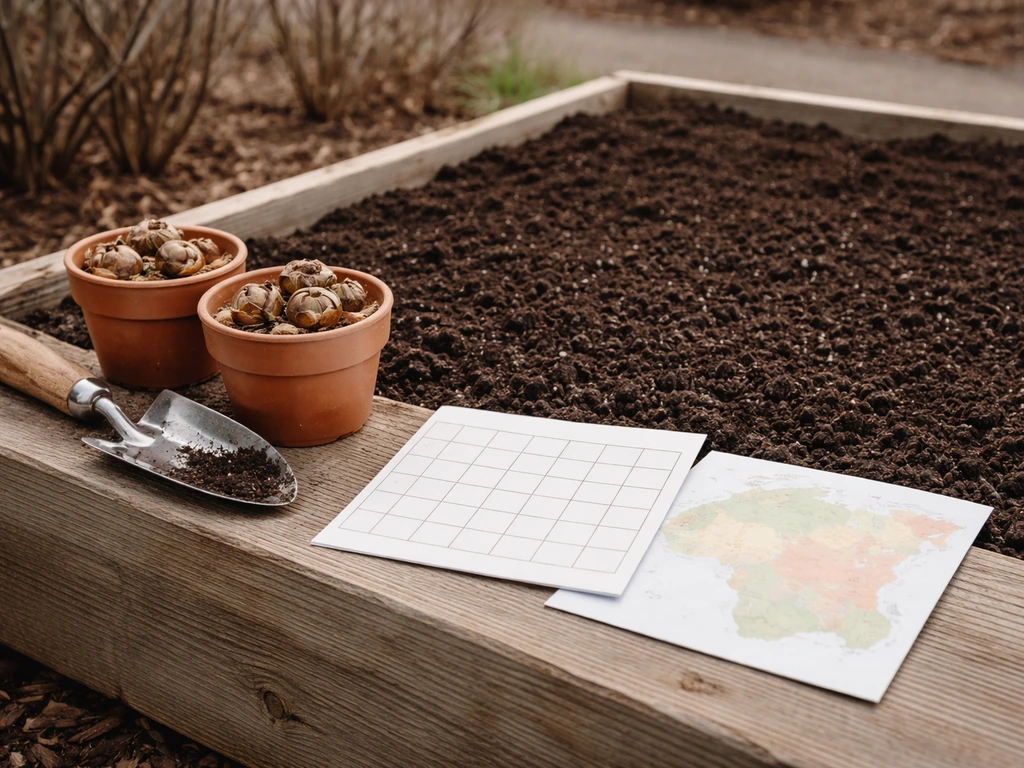
Ranunculus are pickier about drainage than almost anything else in the cutting garden. Soggy soil kills corms fast, usually through rot before they even sprout. Pick a spot that gets at least 6 hours of full sun and drains freely. If your native soil is heavy clay, either build a raised bed or amend generously with compost and coarse grit before planting.
For a dedicated cutting bed, Floret's approach uses 4 rows per standard 30-inch-wide bed. This gives plants enough airflow to reduce disease pressure while keeping spacing tight enough for high stem production. Before planting, work in 2 to 3 inches of finished compost and a balanced granular fertilizer at the rate recommended on the package. Aim for a loose, fluffy soil that holds some moisture but never puddles after rain. A slightly raised or mounded bed helps enormously if your site is even slightly low-lying.
Soaking, chilling, and planting your corms
Pre-plant soak and chill
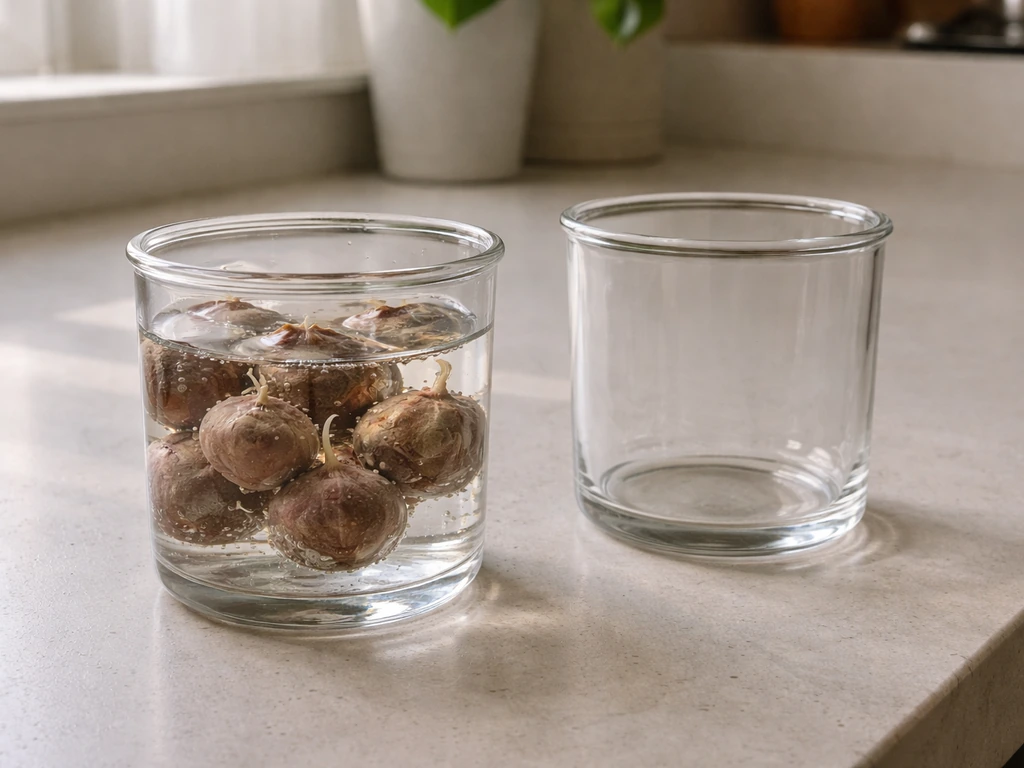
This step trips a lot of beginners up because it feels fussy, but it genuinely matters. If you want to grow plants from a bouquet, the steps start with removing the flowers and using the right kind of planting material and timing. Dry ranunculus corms are dormant and slow to wake up. Soaking them rehydrates the tissue and jumpstarts sprouting, while a cold treatment after soaking helps synchronize flowering for a concentrated harvest window. For example, Johnny’s Selected Seeds recommends soaking ranunculus corms for 8, 12 hours in 77°F (25°C) water soak ranunculus corms for 8–12 hours in 77°F (25°C) water.
- Soak corms in room-temperature water at around 77°F (25°C) for 8–12 hours. Romance types do 8–12 hours; Butterfly types need the full 12 hours. Don't soak longer — you risk rotting.
- After soaking, let corms drain and air-dry for 30 minutes.
- Optional but recommended for timed production: chill the soaked corms at 40–50°F (5–10°C) for 3 weeks. A spare refrigerator works perfectly. This cold treatment mimics winter and helps produce a uniform bloom flush.
- If you bought corms early and aren't ready to plant yet, store them dry (not soaked) in a cool, dry place at around 50–55°F until your planting window opens.
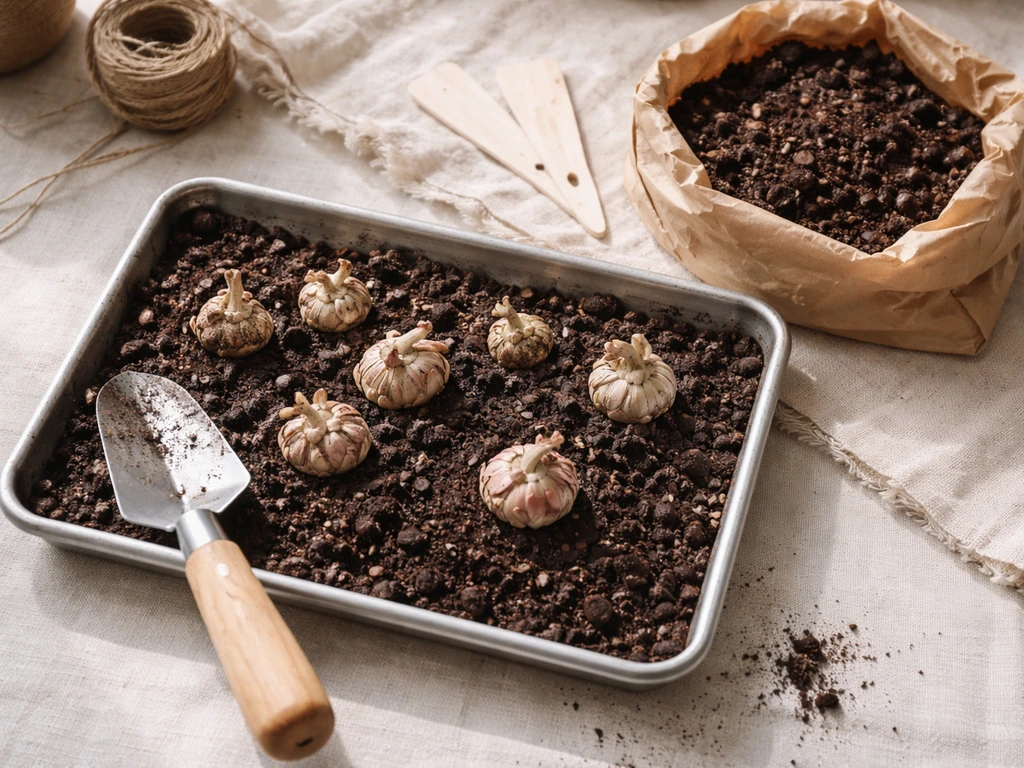
Planting depth and spacing
Plant corms 2 to 3 inches deep with the 'fingers' (the little claw-like projections) pointing downward. This is the part that confuses most first-timers, those spidery bits go down, not up. Space corms 9 inches apart (about 23 cm), which gives each plant enough room to produce multiple stems without overcrowding. In a 30-inch bed with 4 rows, that's a very efficient use of space. After planting, water in gently and then back off until you see growth emerging, overwatering before sprouting is one of the top reasons corms rot. If you want step-by-step help with your own planting schedule, see this guide on how to grow bridal bouquet plant.
Watering, feeding, and protecting plants while they establish
The early weeks after planting are when ranunculus are most vulnerable. The goal is consistent moisture without waterlogging. Water when the top inch of soil is dry, and always water at the base rather than overhead to keep foliage dry. Drip irrigation or a soaker hose is ideal. Once plants are actively growing and showing true leaves, they're more forgiving, but never let them sit in standing water.
Feed plants once they're established and putting on visible growth, usually about 4 weeks after sprouting. A balanced fertilizer or a low-nitrogen option encourages root and flower development without pushing excessive soft leafy growth. One application at planting and a light side-dressing at bud formation is usually enough. Avoid high-nitrogen feeds, which produce lush foliage but fewer and weaker stems.
Temperature protection is critical for early plantings. Ranunculus tolerate light frost (down to about 25°F / -4°C) when established, but tender new growth is more vulnerable. Keep row cover or frost cloth handy for surprise cold snaps, especially in Zones 6–7. Lay the cloth directly over plants in the evening before a cold night and remove it the next morning once temps recover. Don't leave cover on during warm sunny days, ranunculus hate heat, and trapped warmth will stress them faster than a light frost.
Troubleshooting: rot, slow sprouting, and weak growth
Corms rotting before they sprout
This is the most common problem, and it's almost always a drainage or overwatering issue. If you're losing corms to rot, check that your bed isn't holding water after rain, reduce your watering frequency until you see sprouts, and consider adding more grit or compost to improve soil structure. Soaking corms for too long before planting (more than 12 hours) can also increase rot risk, so keep that timer honest.
No sprouting after 3–4 weeks
If you've waited a month and nothing is coming up, check whether your soil is still too cold. Ranunculus sprout slowly below 45°F. In cold-climate springs, this is normal, patience is your best tool. You can also gently dig up one corm to see if it's still firm and white (still viable but waiting) or mushy (rotted). Firm and white means wait longer. If the majority are mushy, the bed is too wet.
Weak, spindly, or yellowing growth
Yellowing leaves often signal overwatering or compacted, poorly draining soil. Spindly stems reaching for light mean insufficient sun, move containers to a brighter spot or reconsider your bed location for next season. Pale, weak growth on otherwise healthy-looking plants usually means they need feeding. A light top-dress of balanced fertilizer and a deep watering to push it down to the roots usually turns things around within two weeks.
Pests and disease
Aphids love ranunculus and tend to cluster on new buds. A strong spray of water knocks most of them off, or use insecticidal soap if they persist. Powdery mildew can appear in humid conditions, improve airflow by making sure you're not planting too close and water at the base. Botrytis (gray mold) in wet springs is the main fungal threat; remove any affected foliage immediately and avoid wetting leaves.
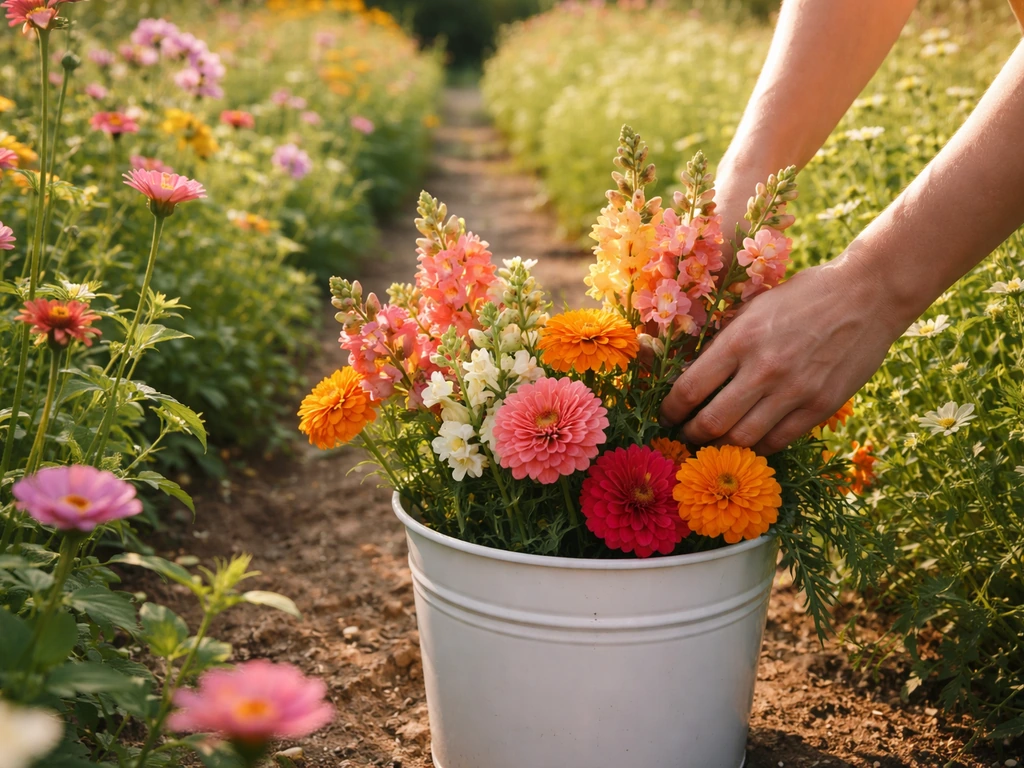
Harvesting for the best vase life

Ranunculus have an interesting quality: they open and close with temperature and light, which means harvest timing matters for what you get. For the longest vase life, cut stems when buds are just showing color but are still in the 'soft marshmallow' stage, the petals are starting to separate from the tight bud but haven't fully opened. At this stage you'll get 7 to 10 days in the vase, and the flower will continue opening after cutting. If you wait for fully open blooms, you get a showier cut but shorter vase life.
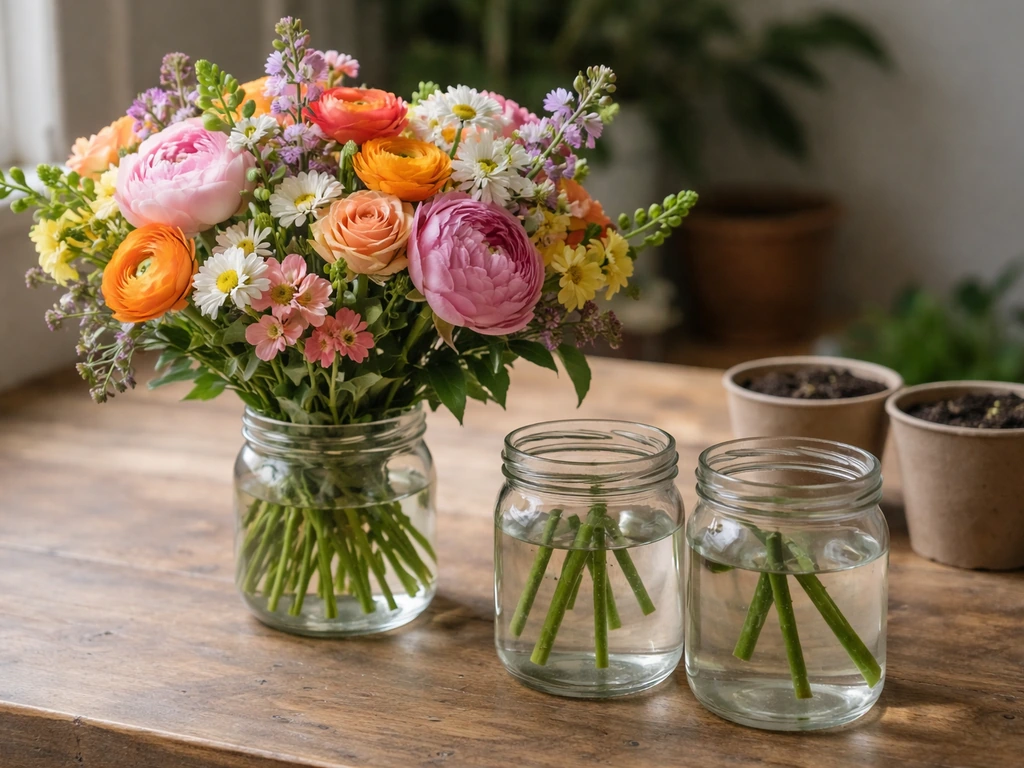
Cut stems first thing in the morning when temps are cool and the plant is fully hydrated. Use sharp, clean snips and cut the stem as long as possible, go down to the base of the plant. Immediately plunge cut stems into a bucket of cool, clean water. Condition them in a cool, dark place for a few hours before arranging. Change vase water every 2 days and keep arrangements out of direct sun and away from heat sources. That's really all it takes to get the full vase life out of these flowers. If you’re starting with store-bought blooms or plants, you can use the same ranunculus care steps to grow them successfully store-bought flowers.
Cutting regularly also encourages the plant to produce more stems. Don't be shy about harvesting, the more you cut, the more it pushes out new growth during the cool season.
What to do after bloom: rebloom, storage, and overwintering
Ranunculus bloom hard for 4 to 6 weeks, then fade as temperatures climb. Once a plant has finished its flush and heat arrives, don't expect a second wave in the same season, these are cool-season sprinters, not reblooming perennials. Your job at this point is to decide whether to dig and store corms or treat them as one-and-done annuals.
Digging and storing corms
If you want to try saving your corms for next season, let the foliage die back naturally after bloom ends, this lets the plant move energy back into the corm. Once the leaves are fully yellowed and dry, dig the corms carefully, shake off the soil, and lay them out in a single layer in a warm, dry spot with good airflow for a week or two. Once they're completely dry, store them in a paper bag or mesh bag (never airtight plastic) in a cool, dry place at 50–55°F. Check on them once a month and remove any that show signs of rot or mold.
Leaving corms in the ground
In mild-winter climates (Zone 8 and warmer), you can leave corms in the ground over summer as long as the soil stays dry during dormancy. Wet summer soil will rot them quickly. If your summers are dry, mark the bed and just leave them to re-sprout in fall. In Zone 7 and colder, digging and storing is safer than hoping they survive a wet, cold winter in the ground.
One honest expectation to set: stored corms often perform slightly less vigorously in their second year. Many cut-flower growers (and Floret's own approach reinforces this) buy fresh corms each season to maintain quality and stem count. Saving corms is worth trying, but go in knowing that fresh stock is usually more reliable if you're after cutting-garden performance. Think of it like growing flowers from a bouquet or other propagation projects, there's real satisfaction in the experiment, even when results vary.
FAQ
What’s the best way to time the planting if I’m not sure when my soil reaches the 50s°F?
Use a soil thermometer at planting depth (about 2 to 3 inches). If it’s consistently in the 50s°F and your nights stay cool, you can plant, otherwise the corms may sit dormant longer and you’ll get a later harvest window.
Do I need to “chill” ranunculus corms after soaking, and what happens if I skip it?
Chilling after soaking helps synchronize flowering for a tighter harvest. If you skip it, many plants still sprout, but flowering can be less uniform and your best cutting period may stretch out by one to two weeks.
My corms look firm but I see no sprouts after a month, should I re-soak or replant?
Don’t re-soak or immediately replant. First check moisture and temperature, verify drainage, and gently check one corm for firmness. If most are firm and white, wait and reduce watering, re-soaking often increases rot risk.
How wet is “too wet” during establishment?
If you can squeeze mud from the soil or puddles form after rain, it’s too wet. Water only when the top inch dries, and if you notice a sour smell or slime, stop watering and improve drainage before growth starts.
Can I grow ranunculus in pots if I have heavy clay soil?
Yes, and containers can be safer for drainage. Use a wide pot with multiple drainage holes, a loose mix with extra grit, and plan for more frequent moisture checks because pots dry faster in breezier conditions.
What soil mix works best for corm health and stem production?
Aim for a fluffy, well-draining blend that stays lightly moist, not wet. A practical target is compost for nutrition plus coarse grit or pumice for structure, and avoid fine peat-heavy mixes that can compact and hold water.
Should I fertilize at planting even if the bed already has compost?
You can, but use a balanced fertilizer lightly as directed. If you already have very rich compost, skip extra fertilizer at planting and instead side-dress when you see active growth, too much nitrogen early can weaken stems.
How do I prevent mildew and botrytis if my spring is humid?
Prioritize airflow (proper spacing and pruning any crowded growth), water at the base, and remove affected leaves immediately. Also avoid handling wet foliage, and consider early morning watering so the bed dries quickly.
Why are my stems short or thin even though plants are flowering?
Most often it’s insufficient sun, early stress from heat, or nitrogen-heavy feeding. Make sure you have at least 6 hours of direct sun, cut as buds color up (so plants keep making stems), and use low-nitrogen or balanced feed rather than high-nitrogen lawn-style fertilizer.
What’s the right way to water with drip or a soaker hose?
Use frequent, smaller waterings rather than long soak cycles. Run drip/soaker until moisture reaches the root zone, then let the top inch dry before the next watering, and ensure water is not pooling around corm planting holes.
How do I know when to harvest for maximum vase life?
Look for buds that are starting to show color, petals just beginning to separate from the tight center, and a “soft” bud feel. Stems harvested at this stage open after cutting and typically last longer than fully open blooms.
Can I leave frost cloth on overnight and forget about it?
It’s okay for nights, but don’t leave it on through warm sunny days. Trapped heat can stress plants faster than a light frost, so remove cover in the morning when temperatures rise.
What should I do after a hard bloom flush ends, dig immediately or wait?
If temperatures are climbing and growth stops, you can stop expecting a second flush and decide then. For saving corms, wait for foliage to yellow fully so energy returns to the corm before digging, for one-and-done annuals you can clear beds sooner.
If I want to save corms, what’s the safest drying time and storage material?
Dry them until fully firm, usually at least a couple weeks with good airflow. Store in paper or mesh (never airtight plastic), keep them cool and dry around 50–55°F, and discard any with soft spots before they spread rot.
Next Articles
How to Grow Your Own Wedding Flowers Step by Step
Step-by-step guide to grow bouquet-ready wedding flowers, from planning and sowing dates to harvesting, conditioning, an
How to Grow Flowers From a Bouquet: Step-by-Step
Step-by-step guide to propagate bouquet stems into new flowers: prep, rooting in water/soil, transplanting, care, timeli
How to Grow a Paper Flower Plant Step by Step
Step-by-step guide to grow a paper flower plant from seed or cuttings, with light, watering, feeding, pruning, and fixes