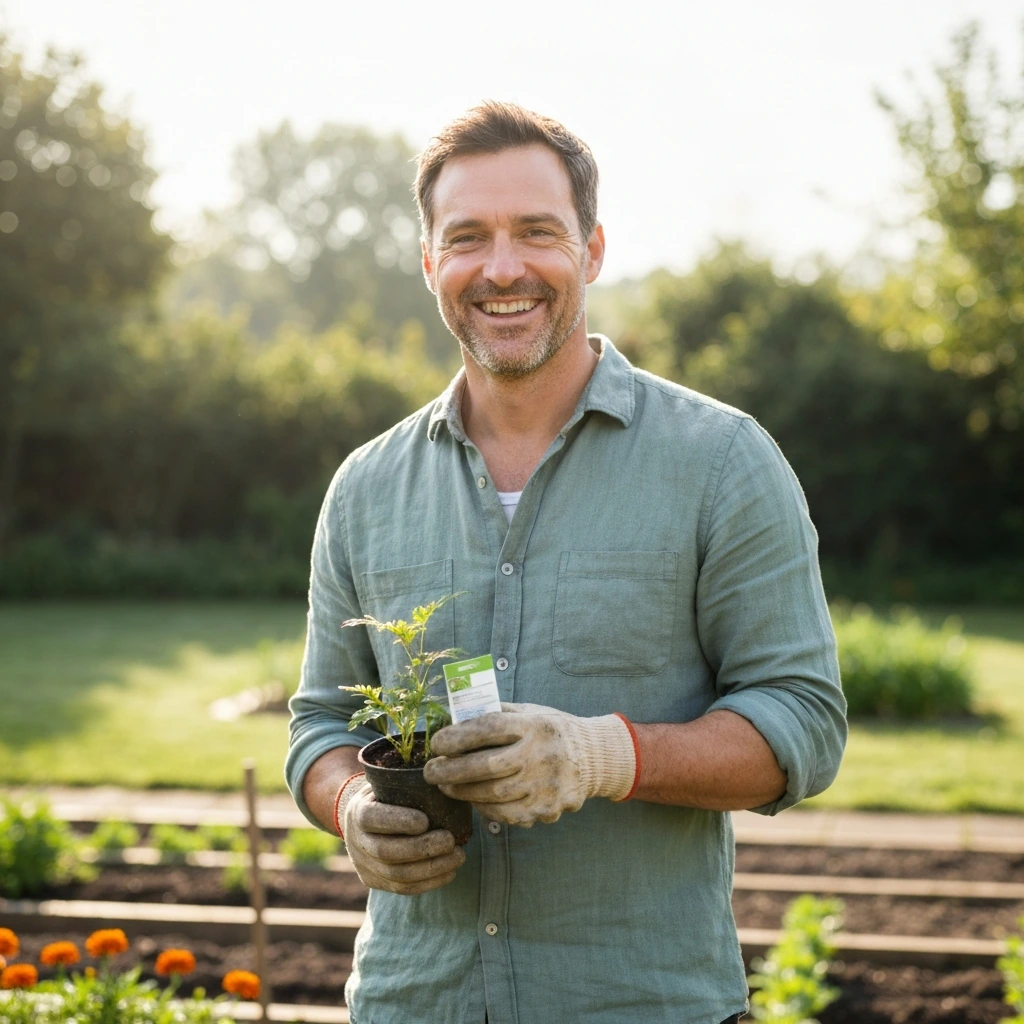
Wildflower plugs are young, nursery-grown seedlings sold in small individual cells, usually about 5 cm deep, that are blank" rel="noopener noreferrer">already past the most fragile seed stage. You plant them straight into prepared ground or containers, and because the root system is already established, you get blooms weeks faster than starting from seed. If you've ever scattered wildflower seed and ended up with a patchy mess of weeds and disappointment, plugs are the fix. This guide walks you through everything from picking the right species for your site to troubleshooting a plug that just won't take. Wildflower seed growing is also a great alternative if you want to start from scratch, but the process takes longer than planting plugs growing wildflowers.
How to Grow Wildflower Plugs Step by Step Guide
What wildflower plugs actually are (and why they beat direct sowing)
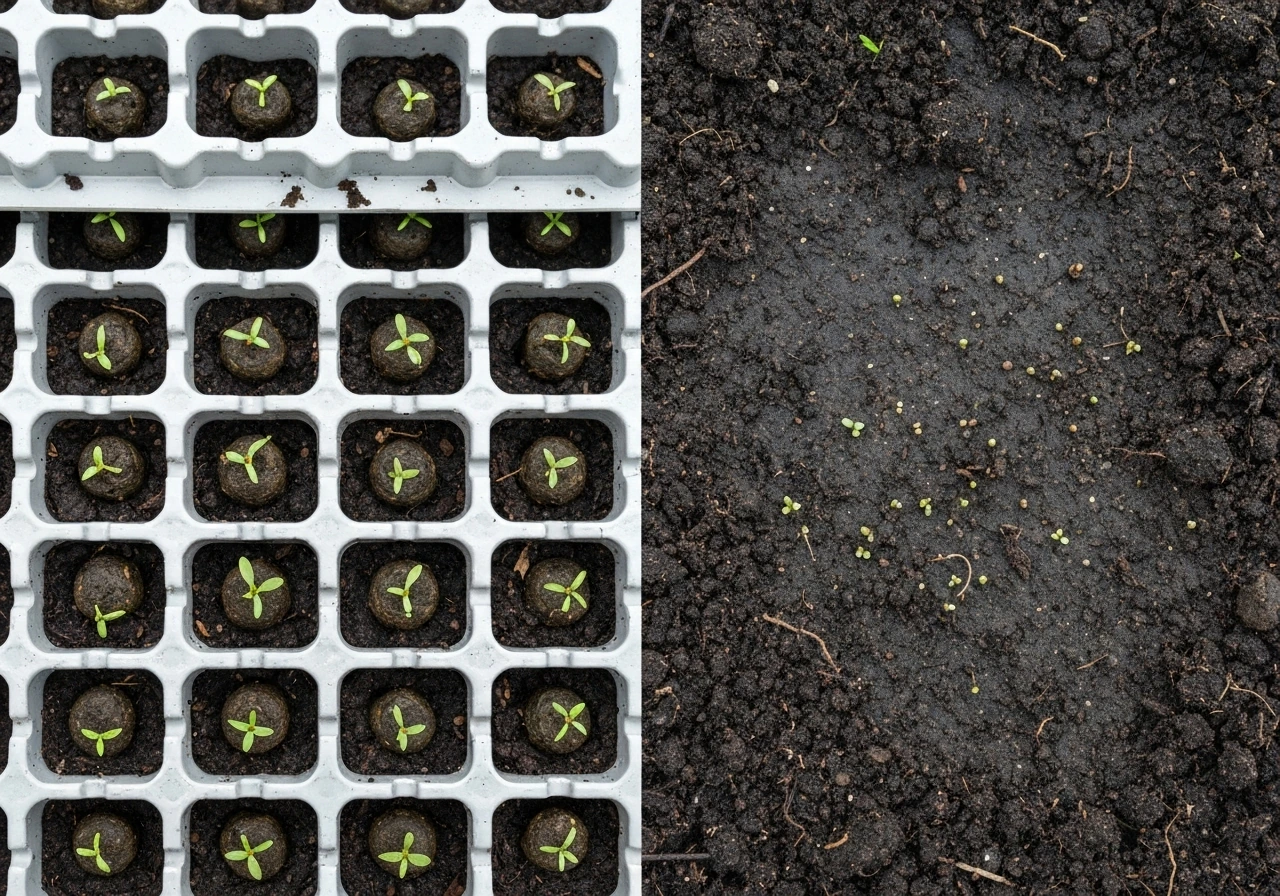
A wildflower plug is essentially a seedling that's been started in a small individual cell of a seed tray, grown on until it has a decent root ball, and then sold ready to transplant. They sit at an intermediate stage between a freshly germinated seed and a fully developed plant. Suppliers typically sell them in trays of 52 or 104 plants, either as single species or mixed packs. Ball Seed describes plug plants as young plants grown in standardized seed tray cells, with common tray cell counts such as 128, 288, 324, and 512 seed tray cells such as 128, 288, 324, and 512. The root plug itself is compact and holds together when you pop it out of the cell, which means minimal root disturbance at planting time.
The big advantage over direct sowing is control. When you sow wildflower seed straight into a bed, you're competing with every weed seed that's already in the soil, and you have almost no way to tell your seedlings from the weeds in the early weeks. Plugs bypass that chaotic phase entirely. You know exactly what you're planting, you can space them properly, and they establish much faster because they already have a functioning root system. For anyone creating a wildflower meadow, filling gaps in a border, or working with containers, plugs are genuinely the easier route to reliable results.
Picking the right wildflower plug varieties for your site
Before you order anything, you need to be honest about three things: how much sun the spot gets, what your soil is like, and how much moisture the area naturally holds. Wildflowers are not all the same. Some absolutely need poor, free-draining soil to thrive, while others prefer damp, heavier ground. Getting this match right is more important than any other step.
Sun vs. shade
Most classic wildflowers, think poppies, cornflowers, ox-eye daisies, and yarrow, want full sun for at least six hours a day. If you have a shadier spot, look specifically for woodland edge species like foxglove, red campion, and wild garlic. Shade-tolerant plugs are a smaller category but they do exist, so don't try to force sun-lovers into a dark corner and wonder why they sulk.
Soil type and drainage

Many native wildflowers evolved in low-fertility soils, so enriched garden soil can actually work against you, producing lush green growth but few flowers. If your soil is already rich, that's something to manage at the prep stage (more on that below). For dry, chalky, or sandy soils, knapweed, scabious, and wild marjoram are excellent choices. For heavier clay or wetter ground, ragged robin, meadowsweet, and betony handle moisture well. If you're working with containers, you have full control over the mix, which makes plugs even more forgiving in that setting.
Matching plugs to your climate and hardiness zone
In the US, work with your USDA hardiness zone. Zones 3 to 5 need hardy perennials like coneflower (Echinacea), black-eyed Susan, and wild bergamot that can handle cold winters. Zones 6 to 9 have more options, including more tender perennials and warm-season annuals like blanket flower and gaillardia. In the UK, native perennials like cowslip, oxeye daisy, and lady's bedstraw are reliable in most zones and are often the best starting point for a meadow-style planting. If you're aiming for a longer-term wildflower meadow rather than a seasonal display, choosing perennial plugs over annual species means you're building something that returns and spreads year after year.
Timing: when to plant your wildflower plugs
The right planting window depends on your goal (spring display vs. summer blooms vs. establishing for next year) and your climate. Here's how to think about it by season.
| Season | Best for | Timing notes | Watch out for |
|---|---|---|---|
| Spring (March to May) | Annual wildflowers, fast first-season blooms | Plant after last frost; soil should be at least 10°C / 50°F | Late frosts can set back tender plugs; harden off first |
| Early summer (June) | Filling gaps, extending a planting | Good soil warmth speeds establishment; water more frequently | Heat stress if planting into full sun without extra watering |
| Late summer / early fall (Aug to Oct) | Perennial wildflowers for next-year bloom | Roots establish before winter; top growth stays small | Don't plant too late — need 6 weeks before first hard frost |
| Late fall (Nov onward) | Specialist bare-root or dormant plugs only | Not suitable for standard plugs unless protected | Cold, wet soil risks rotting small plugs |
My personal preference is late summer to early fall planting for perennial wildflower plugs. The cooler temperatures reduce transplant stress, the soil is still warm enough for root growth, and by the following spring those plants are already established and ready to put on a real show. Spring planting works well for annuals, but for anything you want to naturalize and return each year, fall establishment is hard to beat.
Soil prep and setting up your bed or container
This is where most people go wrong, and it's almost always by doing too much rather than too little. Wildflower plugs generally want lean, low-fertility soil with good drainage. If you're planting into a bed that's been heavily fed or composted, you'll get plants that are all leaf and no flower.
Preparing a garden bed
- Clear the area of all existing vegetation, roots and all. This is the most important step for weed control later.
- If your soil is very rich, consider removing the top 5 to 10 cm of topsoil and replacing with a sandy, low-nutrient mix.
- Loosen the soil to about 15 cm depth with a fork, but don't over-cultivate. You want the structure broken up but not fluffy.
- Do not add fertilizer or rich compost at this stage. If drainage is genuinely poor, work in some horticultural grit.
- Rake to a rough tilth and leave for a week if possible. Any weed seeds that germinate in that time can be hoed off before you plant.
Setting up containers
Containers are actually great for wildflower plugs because you control everything. Use a mix of two parts multipurpose compost to one part horticultural grit or perlite. Avoid premium, high-nutrient potting mixes. Make sure your container has drainage holes, and if you're planting into a large pot or raised bed, add a layer of crocks or gravel at the bottom. Containers do dry out faster than open ground, so factor in more frequent watering through the establishment phase.
How to actually plant your wildflower plugs
This is the hands-on part, and it's more straightforward than most guides make it sound. The key things to get right are spacing, planting depth, root handling, and that first watering.
Spacing and layout
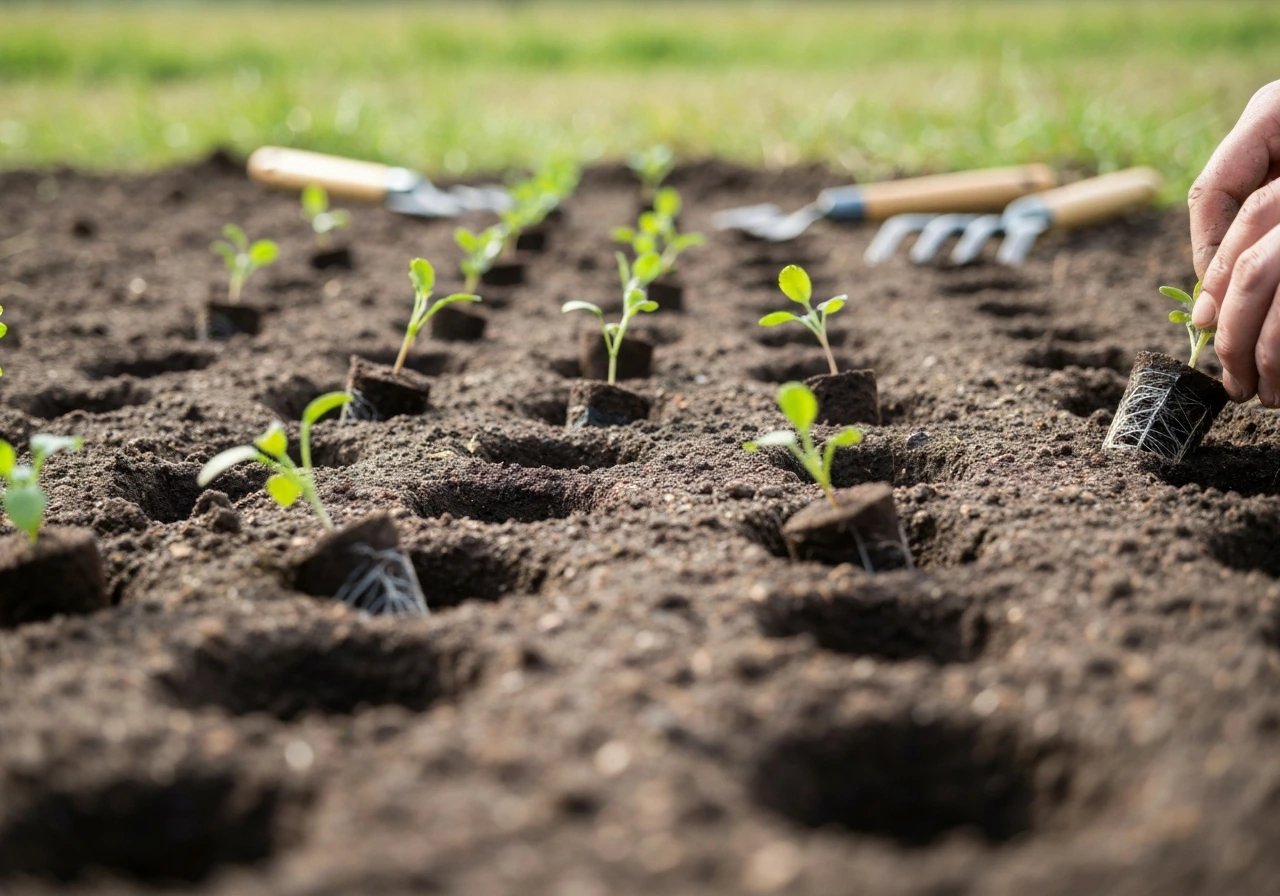
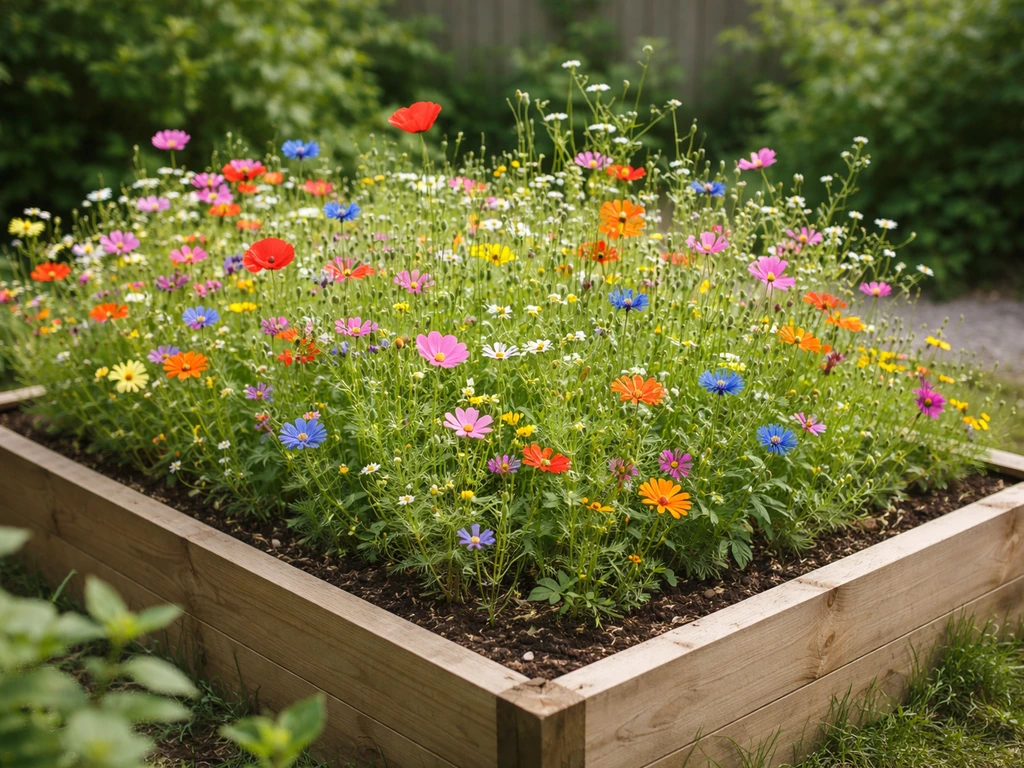
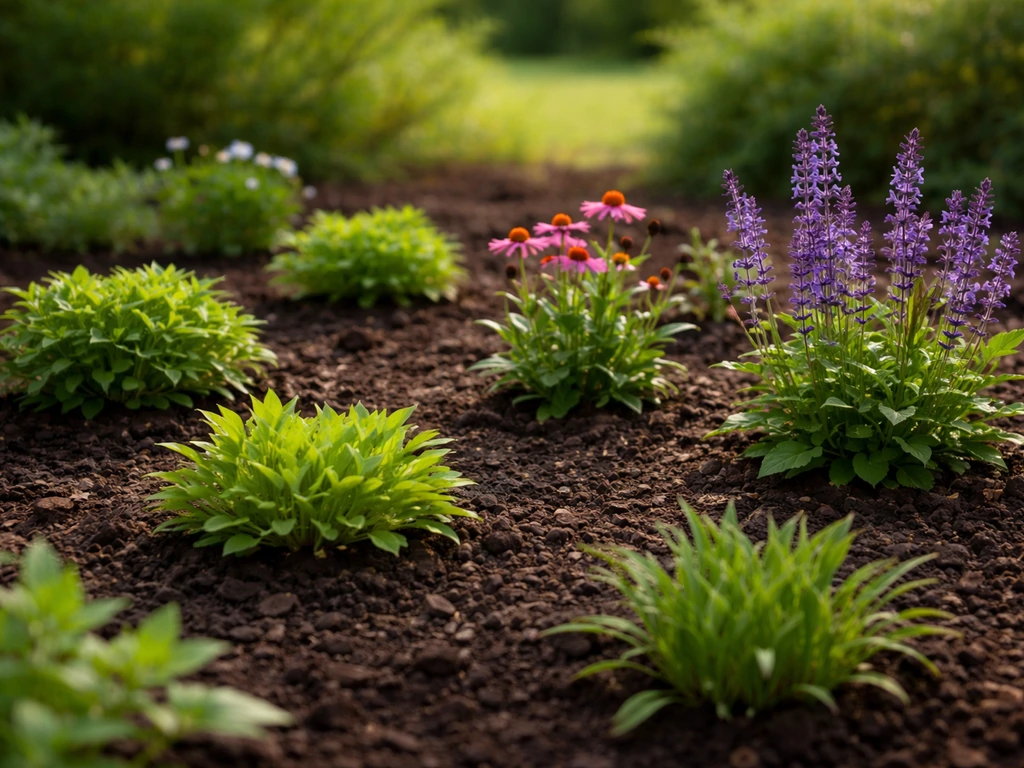
For a naturalistic meadow look, plant in informal clusters rather than rows. A general rule is 4 to 9 plants per square metre for most wildflower plugs, depending on species size. Smaller species like thyme and eyebright can go closer; taller species like foxglove or meadow cranesbill need more room, around 30 to 45 cm between plants. Odd numbers in a cluster (3, 5, or 7 plants of one species grouped together) look far more natural than even-numbered rows.
Planting depth and handling roots
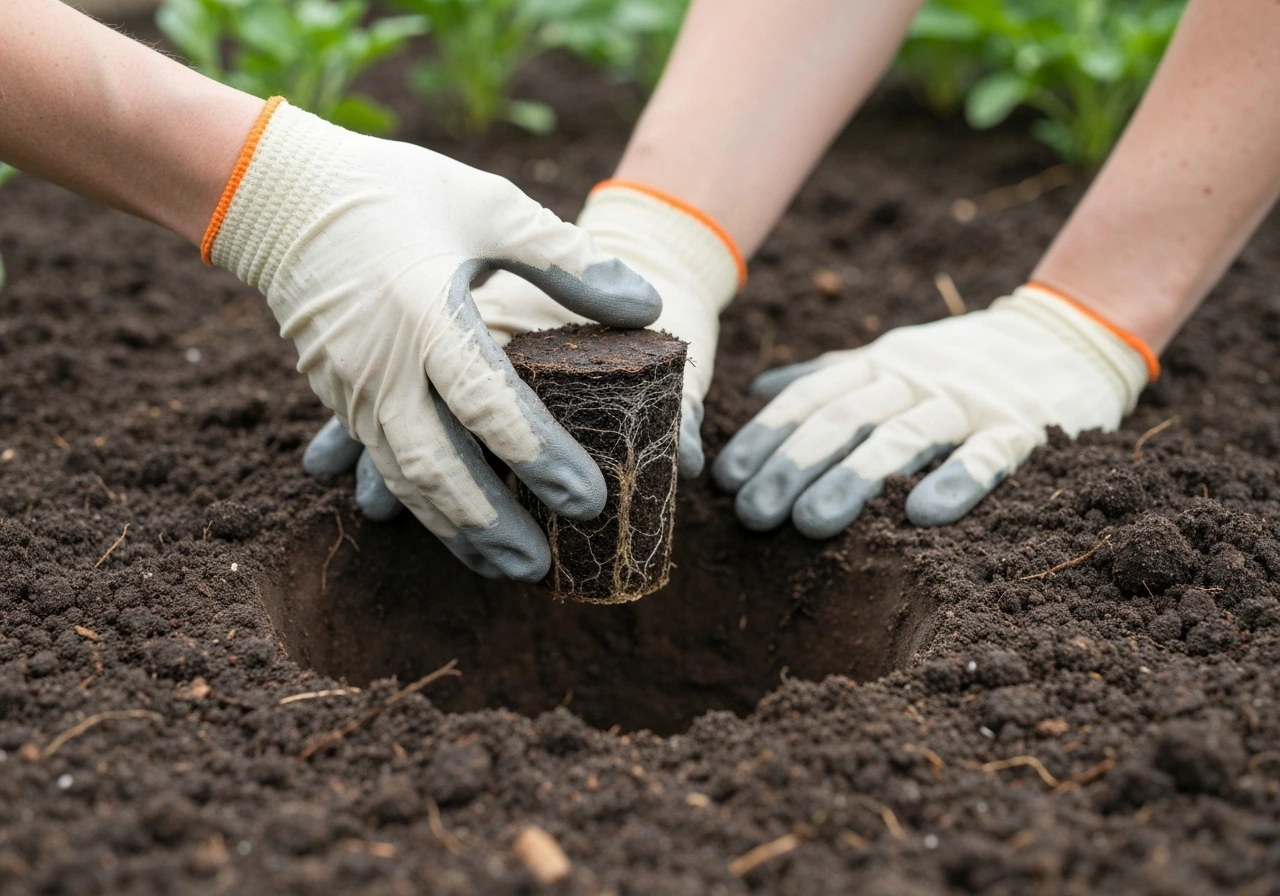
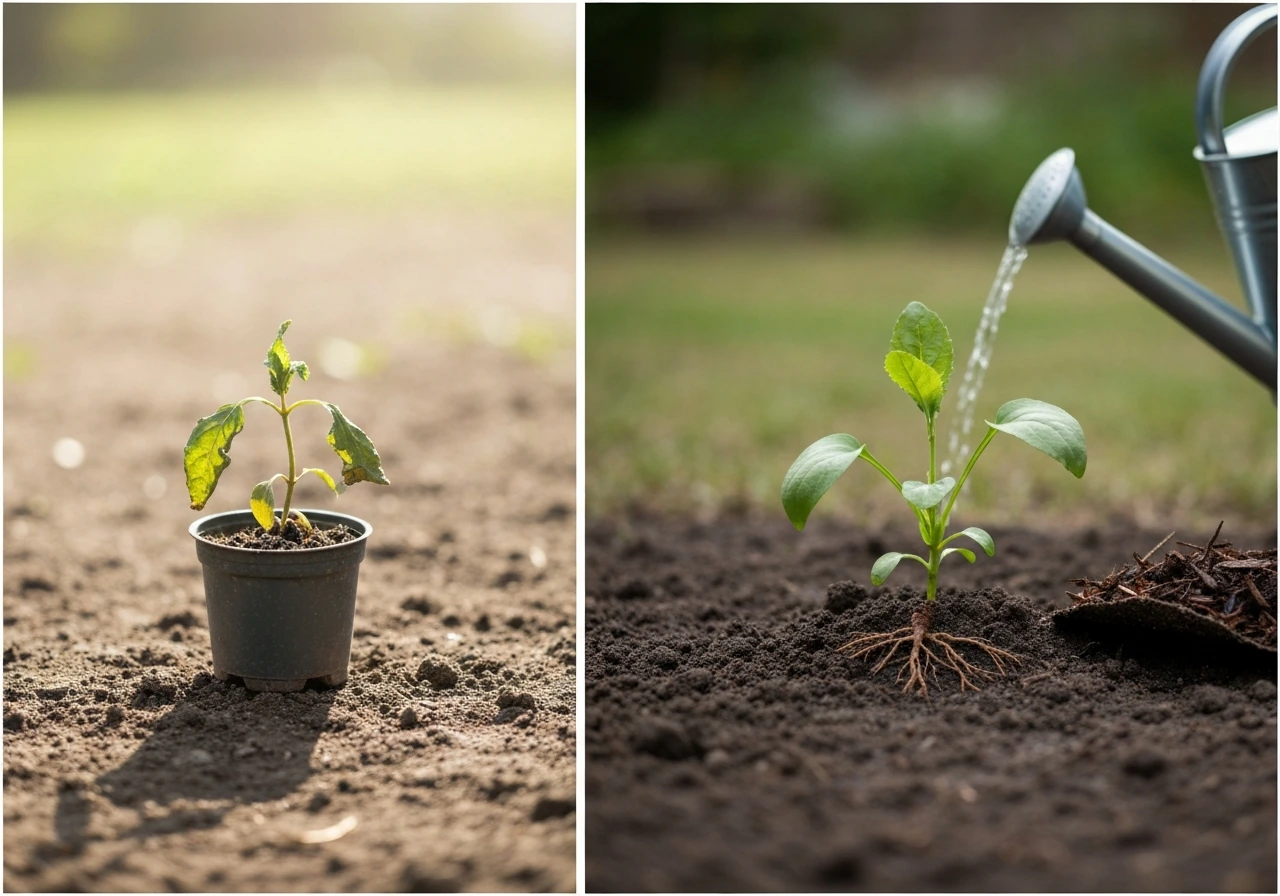
The plug should be planted at the same depth it was growing in the tray cell, so the top of the root plug sits level with the surrounding soil surface. Don't plant them too deep or too shallow. To remove the plug from the tray cell, push up gently from the bottom rather than pulling from the leaves or stem. The root ball should hold together. If it crumbles slightly, that's fine, just keep as much root and growing medium together as you can and get it in the ground quickly.
- Dig a small hole slightly larger than the root plug.
- Lower the plug in and firm soil around the sides with your fingers, eliminating air pockets.
- The crown of the plant (where stem meets root) should be at or very slightly above soil level.
- Move on to the next plug and keep the whole tray in shade or covered with a damp cloth while you work.
Watering in
Water each plug in well immediately after planting, even if rain is forecast. This isn't just about moisture, it's about settling the soil around the roots and eliminating air gaps. Water at the base of the plant rather than overhead, and give each plug a slow, thorough soaking rather than a quick spray. For a large bed, water the whole area once all plugs are in. In the first week, keep the soil consistently moist but not waterlogged.
Aftercare: the first weeks and beyond
Once plugs are in the ground, your job is to keep them alive through the establishment phase without smothering them with good intentions. Here's what to focus on.
Watering schedule
For the first two to four weeks, water every two to three days if there's no significant rainfall. After that, most wildflower plugs in open ground are remarkably drought-tolerant once established, and overwatering becomes a bigger risk than underwatering. Container plantings need more attention throughout the season, especially in summer. A good test: push your finger 3 to 4 cm into the soil. If it's dry at that depth, water. If it's still moist, leave it.
Fertilizing (or mostly not)
In open ground with average or poor soil, don't fertilize at all. Wildflowers genuinely perform better in lean conditions. If you're growing in containers and the plants start looking pale and struggling after the first season, a very light liquid feed at quarter strength in spring is acceptable, but it's the exception rather than the rule. The temptation to feed struggling plants is real, but for wildflowers, it usually makes things worse, not better.
Weed control
Weeds are the main competition threat in the establishment phase. Hand weed carefully around each plug, being gentle near the roots. A long-handled hoe works well between clusters for larger areas. Avoid mulching heavily with bark or wood chip, as many wildflowers need light reaching the soil surface to self-seed in future years. A light gravel mulch around plugs can suppress weeds while still allowing self-seeding and suits the free-draining conditions most wildflowers prefer. Once your plugs fill in and spread, they naturally start to outcompete annual weeds.
Protecting young plugs
Slugs and snails love young wildflower plugs, especially in wet conditions. Go out at night with a torch and remove them by hand in the first few weeks, or use wildlife-friendly iron phosphate pellets sparingly. If you're planting in fall, a light covering of horticultural fleece over newly planted plugs in the first few weeks can protect against early hard frosts without smothering the plants. Remove it during the day whenever temperatures allow.
Troubleshooting when plugs won't establish
It happens. Sometimes plugs struggle or even die back, and it's almost always fixable once you identify the actual cause. Here are the most common problems and what to do.
| Problem | Likely cause | Fix |
|---|---|---|
| Plug wilts immediately after planting | Transplant shock or drying out in transit | Water deeply, provide temporary shade for 2 to 3 days, wait before writing it off |
| Leaves go yellow | Overwatering or waterlogged soil | Improve drainage, reduce watering frequency, check for root rot |
| Leggy, pale, stretched growth | Too little light or soil too rich | Move container to sunnier spot; don't add feed |
| Plug dies completely | Root rot (overwatering) or slug damage | Check roots for brown mush; look for slime trails; replant with improved drainage |
| Patchy establishment, some plugs fine | Variable soil conditions or planting depth inconsistency | Replant the missing spots, check soil drainage in bare patches |
| No flowers after a full season | Soil too fertile, species is biennial, or plants stressed | Reduce soil fertility; check if species naturally flowers in year two |
The most common mistake I see is giving up on a plug too soon. If a plant looks dead above ground but the stem is still green at the base, it may just be in dormancy or recovering from shock. Give it another two to three weeks before replacing it. Wildflowers are tougher than they look once their roots are in the ground.
Hardening off and the transition to long-term care
If you've ordered plugs that have been grown in a greenhouse or polytunnel, they need hardening off before going straight into a cold outdoor bed. Set them outside in a sheltered spot for a few hours on the first day, increasing exposure over seven to ten days until they're sitting outside overnight. Skipping this step is one of the most common reasons plugs fail in the first week, especially if you plant in spring or early fall when nights are still cold.
Once your plugs are established and growing well, the care really simplifies. For perennial wildflowers, the main annual job is cutting back at the right time. Most meadow-style plantings benefit from a cut in late summer or early fall after seed has set, removing the cut material from the site so you don't add nutrients back to the soil. This also mimics the natural grazing that keeps traditional wildflower meadows diverse and prevents coarser grasses from taking over. For annuals, let some plants set seed before clearing so you get natural self-seeding for the following year.
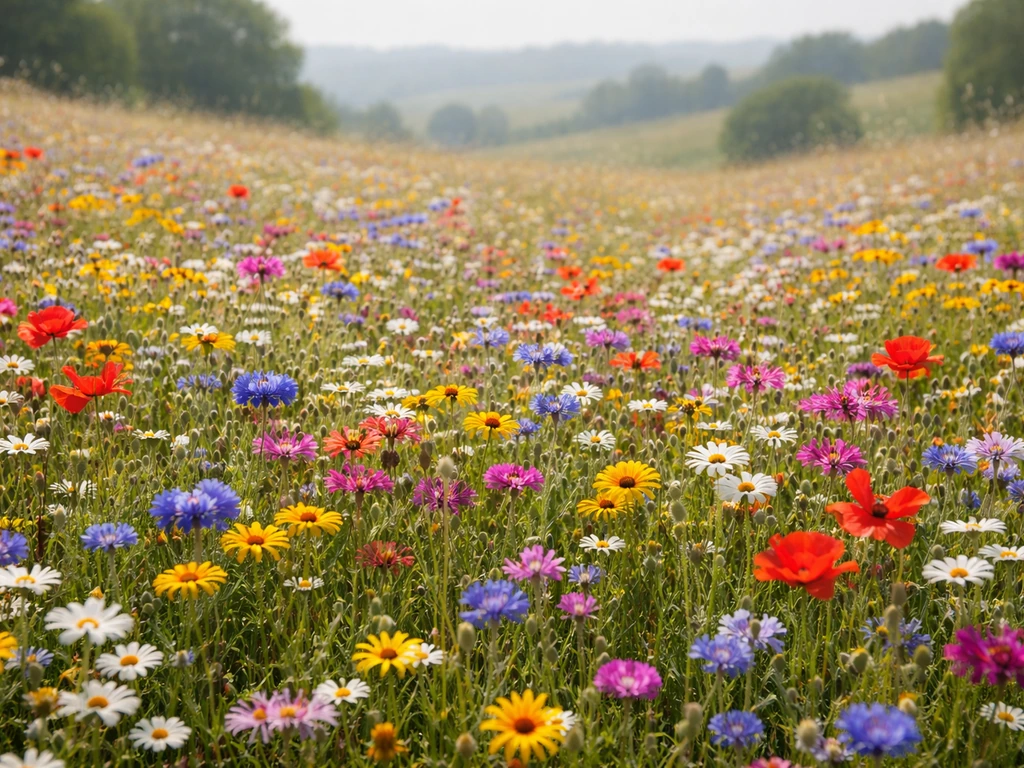
Over time, a well-established wildflower planting becomes largely self-managing. Plugs fill in, self-seed, and spread, and the main work shifts from planting to editing: removing aggressive species before they crowd others out, filling genuine gaps with new plugs, and doing that annual cut. If you're thinking longer term and want to expand into a fuller wildflower meadow, the same principles of lean soil and appropriate species selection apply at scale.
Your planting checklist at a glance
- Assess your site: sun/shade hours, soil type, drainage, and moisture levels
- Choose plug species matched to your site conditions and hardiness zone
- Harden off greenhouse-grown plugs for 7 to 10 days before planting
- Clear the bed of all weeds and avoid adding fertilizer or rich compost
- Plant plugs at the same depth they were in the tray cell, spaced 4 to 9 per square metre
- Firm soil around each plug to eliminate air pockets
- Water in thoroughly immediately after planting
- Water every 2 to 3 days for the first 2 to 4 weeks
- Hand weed around plugs regularly through the establishment phase
- Check nightly for slugs in the first few weeks
- Cut back perennial species in late summer after seed has set
- Replace any failed plugs promptly and note what went wrong for next time
FAQ
How long do wildflower plugs typically take to bloom after planting?
Expect visible growth quickly, but the bloom time depends on the species and planting season. Spring-planted plugs often show flowers within the same year for annuals, while many perennials may take until the following year to reach their full display. If you planted late summer to early fall, most perennials should be establishing roots and then flower the next season.
Should I soak wildflower plugs before planting?
Usually no, the plug already holds some growing medium moisture. What matters is a thorough watering immediately after planting to settle the soil around the roots and remove air pockets. If the plugs look dried out in transit, mist them lightly and plant promptly, then water in well rather than leaving them to soak for long periods.
Can I plant wildflower plugs in poor, weedy ground without removing everything first?
You can reduce weeds effectively, but you generally need to remove or manage the most competitive growth at plug level. If you leave dense weed cover, the plugs may struggle to establish even in lean soil. Hand-weed right around each plug, then revisit for the first couple of weeks until they’re strong enough to compete.
Do plugs need to be planted immediately, or can I store them for a day or two?
Plant them as soon as possible, especially if the roots are exposed to drying conditions. If you must wait, keep the plugs cool and shaded and keep the growing medium lightly moist, then transplant quickly when ready. Don’t let them sit warm in the sun, that’s a fast way to cause transplant shock.
What’s the best way to handle a plug if the root ball crumbles when I remove it?
It’s not automatically a failure. Keep as much of the root plug together as you can, plant at the correct depth, and water in thoroughly to re-establish contact between roots and soil. If most of the medium falls away and roots are damaged, consider spacing that plug slightly farther from heavy weed pressure and monitor it more closely for the first month.
How can I tell the difference between transplant shock and a truly dead plug?
A common pattern is dieback above ground while the base of the stem remains green or the plant shows new shoots later. Wait about two to three extra weeks before replacing, especially if the base is still viable. Replace sooner only if the stem is brown and collapsing from the bottom upward, or if there is clear fungal collapse at the crown.
Is it okay to mulch around wildflower plugs?
Heavy organic mulches like bark or wood chips can block light from reaching the soil surface and reduce self-seeding later. A light gravel mulch can suppress weeds while still allowing some natural seedling establishment, particularly for free-draining sites. If you use any mulch, keep it thin and avoid burying plug crowns.
How close should I space plugs if I want fewer, bigger clumps instead of a meadow spread?
The standard meadow guideline is based on square-metre density, but you can also think in terms of how fast you want them to knit together. For bigger, more defined clumps, group the same species in tighter clusters and keep some gaps elsewhere for future expansion or replacement. Just make sure tall species still get their extra room, overcrowding increases competition and can reduce flowering.
Should I fertilize wildflower plugs after planting?
In open ground, avoid fertilizing during establishment because it can shift plants toward leaves instead of flowers. If container plants look pale or weak after their first season, use only a very light liquid feed at quarter strength in spring. Overfeeding is one of the fastest ways to undo the lean-soil conditions wildflowers need.
What water strategy prevents overwatering in the first weeks?
Use a “consistent but not soggy” approach early on. Water after planting, then keep moisture steady for the first two to four weeks, only when the top few centimeters start drying. In open ground, switch to drought-checking after that window, since many wildflower plugs become drought-tolerant once rooted and overwatering becomes the bigger risk.
Do slugs and snails always show up, and when should I start protecting plugs?
They’re most dangerous when plugs are small and tender, especially in wet conditions. Start monitoring in the first couple of weeks after planting, including evenings, and act quickly if you see damage. For protection, you can use wildlife-friendly iron phosphate sparingly and consider temporary horticultural fleece for early fall plantings if hard frosts arrive.
How should I harden off greenhouse-grown plugs?
Move them gradually from protected conditions to outdoor conditions over about a week. Start in a sheltered spot for a few hours the first day, then increase exposure until they can sit outside overnight. Skip this, and the shock from cold nights and wind is a common reason plugs fail during the first week.
When should I cut back perennial wildflower plantings after they flower?
A good rule is late summer to early fall after seed has set. Cut the material back and remove it from the site so you do not add nutrients back into the soil. This also helps prevent dense, coarse growth from taking over and supports the meadow-style look over time.
Yes, grow wildflowers in raised beds with step-by-step sowing, bed prep, watering, weed control, and troubleshooting.
Step-by-step guide to grow wildflowers with minimal weeds using smart site prep, seeding, suppression, and first-season
Step-by-step guide to grow perennial flowers from seed to established beds, with site prep, timing, care, and troublesho