To make a flower cutting grow roots, take a 4 to 6 inch stem tip just below a node, strip the lower leaves, dip the cut end in rooting hormone, and push it about an inch into moist perlite or a peat-perlite mix. Cover it with a humidity dome or a clear plastic bag, keep it somewhere warm (around 75°F), out of direct sun, and wait. For most common ornamental flowers like geraniums, coleus, impatiens, and begonias, you'll see roots in 4 to 6 weeks.
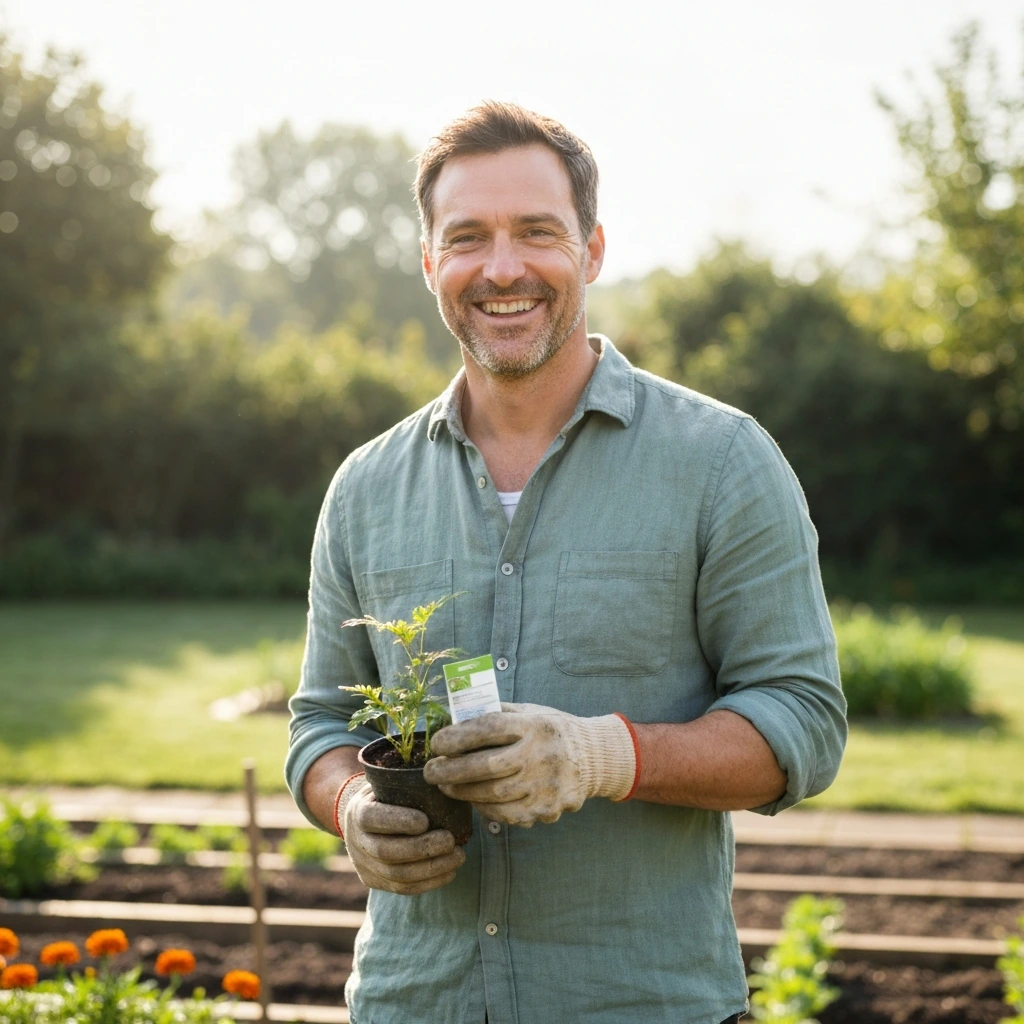
How to Make a Flower Grow Roots: Step-by-Step Guide
James Holloway
18 Jun 2026
What does 'making a flower grow roots' actually mean?
This question usually comes up in one of two situations. Either you have a healthy flowering plant you want to clone and multiply, or you have a cut flower from a vase and you're wondering if you can get it to root into a living plant. Both are worth addressing, because the answer is different for each.
Rooting a stem cutting from a living plant is called vegetative propagation. You take a piece of a healthy parent plant, encourage it to grow its own roots, and end up with a genetically identical new plant. This works really well for common ornamentals. Geraniums (Pelargoniums), coleus, impatiens, begonias, sedums, and snapdragons all respond well to this method. The new plant will look and behave exactly like its parent, which is a big advantage when you find a color or variety you love.
Rooting a cut flower from a grocery store bouquet is a trickier story. Using the right rooting steps helps your cut flowers form roots and grow into healthy plants. Some flowers, like roses, can sometimes be coaxed into rooting if the stem is fresh and healthy. Others, especially those that have been treated with preservatives or harvested very late in their development, rarely root successfully. If you want reliable results, starting from a cutting taken directly off a living plant is your best bet. Growing from seed is the other main route, and while it has its own rewards (more variety options, satisfying from-scratch experience), it does not give you an exact copy of the parent plant. For this guide, we're focused on getting cuttings to root.
How to pick the right cutting
The cutting you choose makes a bigger difference than most beginners expect. A bad cutting can sit in rooting medium for weeks and never do much. A good cutting from the right part of the plant at the right time practically roots itself.
You want a stem tip cutting from actively growing, healthy growth. Look for soft to semi-firm new growth, not the very newest, floppy growth at the very tip of a fast-growing plant, but the firm, young growth just behind it. Aim for 4 to 6 inches long. The stem should be green, not woody or brown. Avoid any stems that are flowering or have buds on them. I know it feels counterintuitive to snap off a bloom, but flowers pull energy away from root formation. Strip the buds before you stick the cutting.
Take your cutting in the morning if you can. The plant is most hydrated then, which means the cutting stays turgid longer before it can start to wilt. Keep it cool and moist until you're ready to process it. Wrapping it in a damp paper towel inside a plastic bag works fine for an hour or two. Timing also matters seasonally: late spring through midsummer is typically the best window for most ornamental annuals. The plant is growing vigorously, stems are the right texture, and the warm weather ahead helps with rooting speed.
One more important thing: make sure your cutting has at least one node. A node is that little bump or joint on the stem where leaves attach. Roots emerge from nodes, so if your cutting doesn't have one in the rooting medium, nothing will happen. For most 4 to 6 inch stem tip cuttings, this is automatic, but double-check before you plant.
Rooting in water vs. soil vs. rooting mix: which is best?
You have three main options for rooting medium, and they each work better for certain plants and situations. Here's how they compare:
| Method | Best For | Main Advantage | Main Risk |
|---|---|---|---|
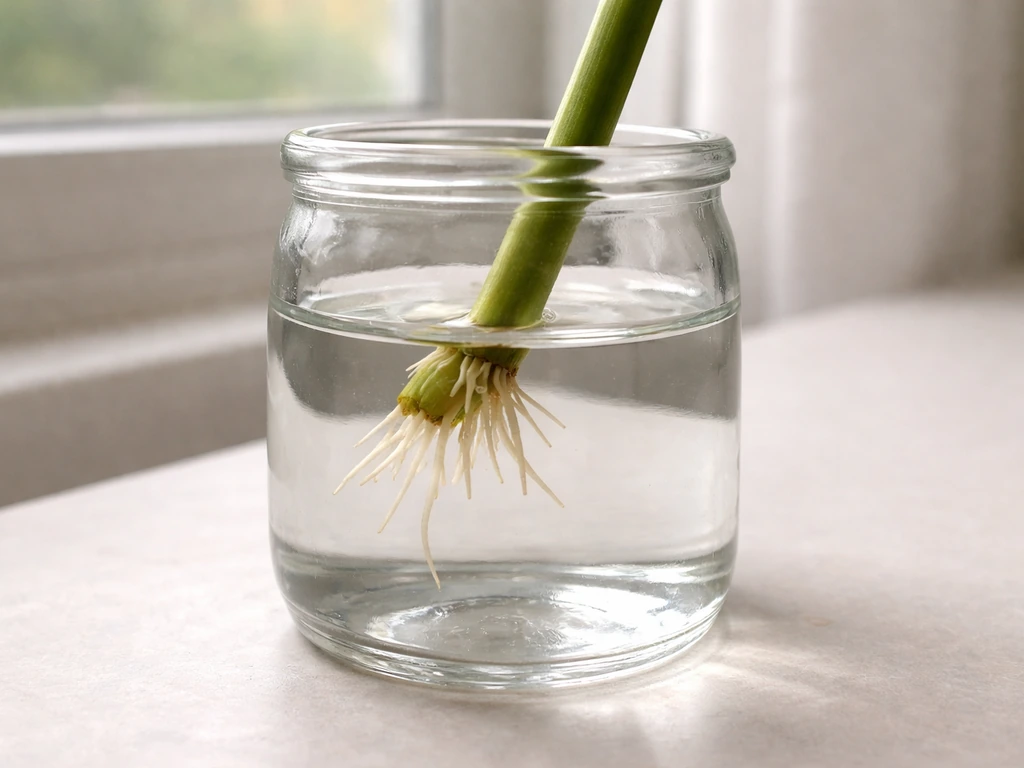
| Water | Soft, herbaceous stems (coleus, impatiens, begonias) | Easy to monitor root progress; no special materials needed | Roots adapted to water can struggle when transplanted to soil; stems can rot before rooting |
| Perlite or perlite/peat mix | Most ornamental flowers and annuals | Great aeration and moisture balance; reduces rot risk | Can dry out faster; less visual feedback on root progress |
| Straight potting soil | Transitioning rooted cuttings; not ideal for initial rooting | Long-term plant nutrition once roots form | Often too dense and wet for delicate new roots; higher rot risk |
For most ornamental flower cuttings, a rooting mix of perlite and peat moss (roughly 50/50) or straight perlite is my go-to. Perlite drains extremely well, has a neutral pH, and gives young roots the aeration they need. Vermiculite is another solid option, or you can use a premade propagation mix from a garden center. What you want to avoid is using regular garden soil or heavy potting mix right at the start. Both tend to stay too wet and suffocate the developing roots before they have a chance to establish.
Water rooting works well for very soft, herbaceous stems. Coleus roots in a glass of water on a sunny windowsill almost embarrassingly fast. Just make sure the nodes are submerged but the leaves are not, change the water every few days to keep it fresh, and use a clean container. The downside is that water-grown roots can be fragile and sometimes go through a bit of shock when you transplant them to soil. It's manageable, but it's a real thing.
For your container, small 3 to 4 inch pots or cell trays work well. They need good drainage holes. If you're doing multiple cuttings, a plastic cell tray with individual cells is convenient and keeps roots from tangling. Fill it up, water it until the medium is evenly moist but not soggy, and you're ready.
Step-by-step: how to root a cutting
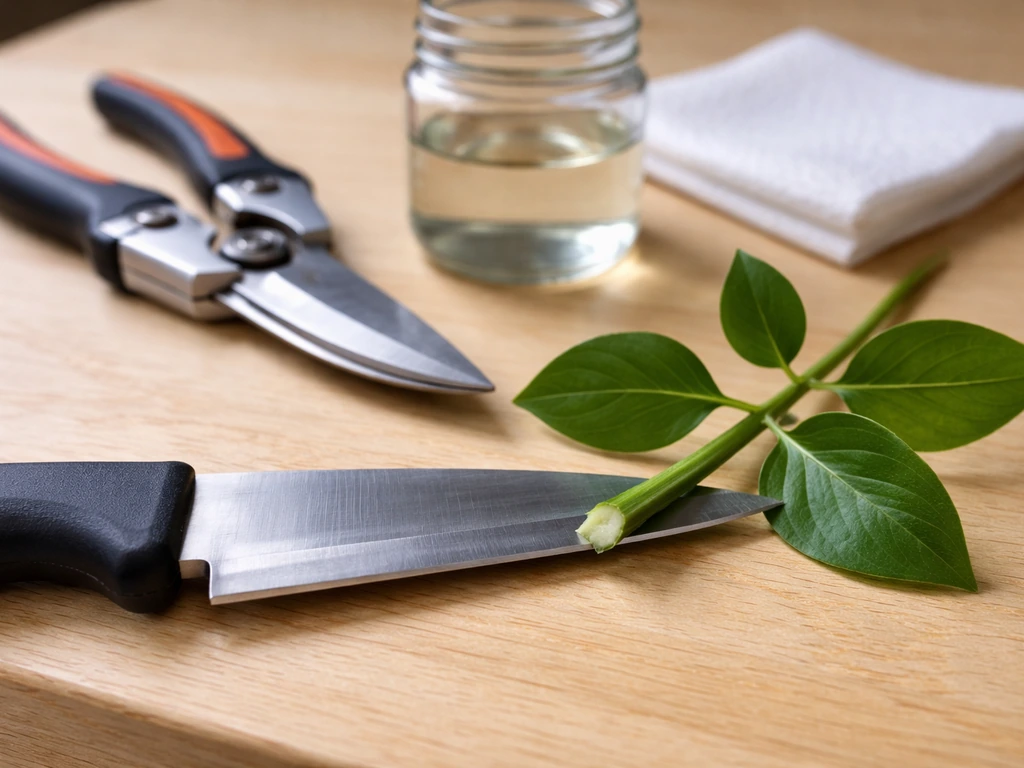
- Sterilize your cutting tool. Use a sharp knife, razor blade, or pruning shears wiped down with denatured alcohol before each cut. This sounds fussy but it actually prevents fungal and bacterial problems that can kill a cutting before it even starts.
- Make a clean cut just below a node, angled at about 45 degrees. A sharp, clean cut heals better than a crushed or ragged one.
- Remove all leaves from the bottom half of the stem. Leave two or three healthy leaves at the top. Too many leaves means too much moisture loss; too few means the cutting can't photosynthesize at all.
- Remove any flowers or flower buds. Every bit of energy needs to go toward root formation right now.
- Let the cut end dry for 15 to 30 minutes if you're working with succulents, geraniums, or any thick-stemmed plant. This allows a callus to begin forming on the cut surface, which reduces the chance of rot when you insert it into moist medium. For soft herbaceous cuttings like coleus or impatiens, skip this step and plant right away.
- Moisten the bottom inch of the stem slightly, then dip it into rooting hormone powder or gel. Tap off any excess powder gently. Rooting hormone contains IBA (indole-3-butyric acid), which signals the stem to produce roots. It genuinely speeds things up and improves success rates, especially for plants that are moderately difficult to root.
- Use a pencil, chopstick, or dibber to make a hole in your pre-moistened rooting medium before inserting the cutting. This prevents the rooting hormone from being scraped off the stem as you push it in.
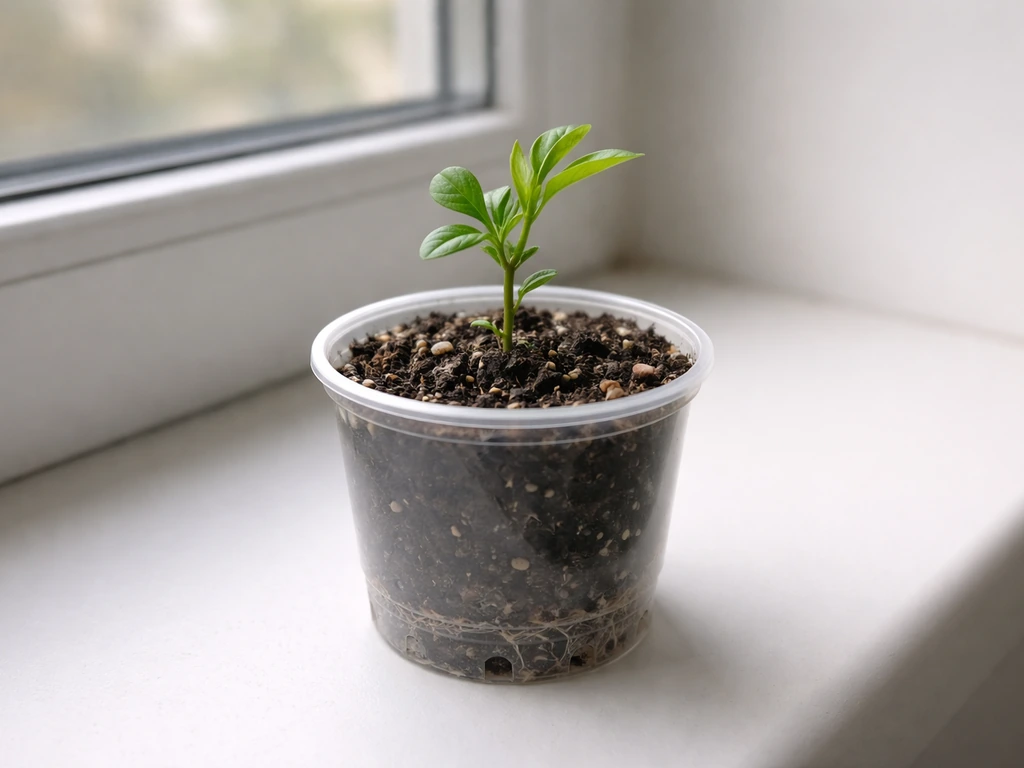
- Insert the cutting about an inch deep, making sure at least one node is buried in the medium. Gently firm the medium around it so it stands upright.
- Place the pot inside a clear plastic bag or under a humidity dome. This keeps humidity high around the leaves, which is critical because the cutting has no roots yet and can't replace water lost through its leaves.
- Put the cutting somewhere bright but out of direct sun. A north or east-facing windowsill, or a spot a few feet back from a south-facing window, works well. Direct sun through a dome will cook the cutting.
- Keep the temperature around 75°F. Warmth dramatically speeds up rooting. If you have a seedling heat mat, placing the pot on it can help, since warm root-zone temperature is particularly beneficial.
Caring for cuttings while roots develop
This is the waiting game phase, and it's where most beginners go wrong by either doing too much or too little. The single biggest mistake is overwatering. The medium should stay evenly moist, not soggy. Check it every two to three days and water lightly if it's starting to dry out, but never let the cutting sit in standing water. If you see the medium is consistently wet and the cutting looks slimy at the base, you have too much water.
Keep the humidity dome or bag on for the first two to three weeks. You can crack it slightly after the first week to allow a little air circulation, which helps prevent fungal issues. If you see significant condensation building up on the inside of the dome, vent it briefly each day. After about three weeks, start leaving the dome off for an hour, then two hours, then half a day. This gradual acclimation prevents the cutting from wilting when you finally remove it permanently.
Check for rooting by giving the cutting a very gentle tug at around the four-week mark. If you feel resistance, roots have formed. You can also look for new leaf growth at the top, which is usually a sign that the cutting has rooted and is starting to invest in above-ground growth again. For most common annuals and ornamentals, expect roots in 4 to 6 weeks. Some trickier or slower-growing species can take 6 to 8 weeks or longer.
During this entire period, keep the cutting out of direct sunlight and away from heat vents or drafts. You're not trying to grow a big plant yet. You're just keeping it alive long enough for it to develop roots.
When roots won't form: troubleshooting common problems

The stem is rotting at the base
Rot at the base is usually caused by one of three things: too much moisture in the medium, a dirty cutting tool that introduced pathogens, or a plant that needed to callus before planting (like a geranium) that was planted too quickly. For future attempts, sterilize your tools, let thick-stemmed cuttings dry for 20 to 30 minutes before planting, and ease up on watering. The medium should feel like a wrung-out sponge, barely moist, not wet.
There's a callus but no roots
A callus is actually a good sign. It means the cutting healed properly. Roots typically grow from or near the callus. If you have a callus but no roots after 6 or more weeks, the cutting probably needs more warmth. Try moving it to a slightly warmer spot or adding a heat mat under the pot. You can also try applying rooting hormone again to the callus and reinserting it into fresh medium.
Leaves are turning yellow or dropping
Losing a leaf or two is normal and not a sign of failure. The cutting is under stress, and dropping lower leaves is how it conserves energy. As long as the stem looks firm and green and you're not losing all the leaves rapidly, stay the course. Widespread yellowing usually means the cutting is getting too much light or the medium is staying too wet.
Nothing is happening after several weeks
If there's no rot, no callus, and no roots after 6 to 8 weeks, the cutting has likely failed. The most common causes are a cutting that was too old and woody, a cutting taken from a plant that was stressed or diseased, inadequate warmth, or not enough humidity. Start fresh with a new cutting, and pay extra attention to warmth and humidity this time. I've had batches where half the cuttings rooted beautifully and the other half just sat there looking defeated. It happens. Take more cuttings than you need.
From roots to blooms: when to transplant and what comes next
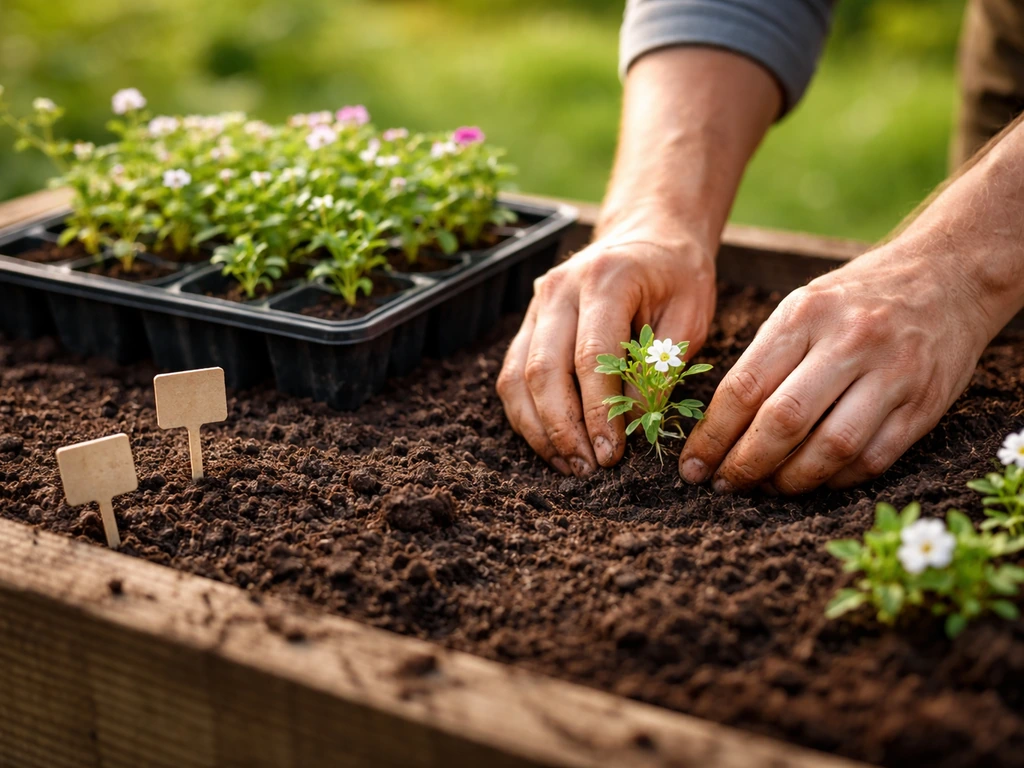
Once you can feel resistance when you gently tug the cutting, or you can see roots poking out of the drainage holes, it's time to pot up. Don't rush this step, but don't delay it too long either. A cutting that has outgrown its rooting cell starts to struggle for nutrients.
Move the rooted cutting into a small pot, something in the 3 to 4 inch range, filled with a quality potting mix. After a good-sized root system develops, University of Nevada, Reno Extension recommends moving the cuttings into small pots first and then switching to longer-term potting media afterward Propagating Houseplants. Avoid overpotting into a large container right away. Smaller pots help you control moisture levels better, which reduces rot risk while the young plant is still establishing. Water it in well after transplanting, then hold back a little. Once it's in potting mix with real nutrients available, you can let the top of the soil dry out slightly between waterings. That shift from the constantly-moist rooting medium to a slightly drier watering schedule is an important transition.
Give it a week or two in its new pot indoors or in a sheltered spot before moving it outside. If you're transitioning it to an outdoor garden, harden it off just like you would a seedling: start with an hour of outdoor exposure in a shaded spot, gradually increasing time and sun exposure over 7 to 10 days.
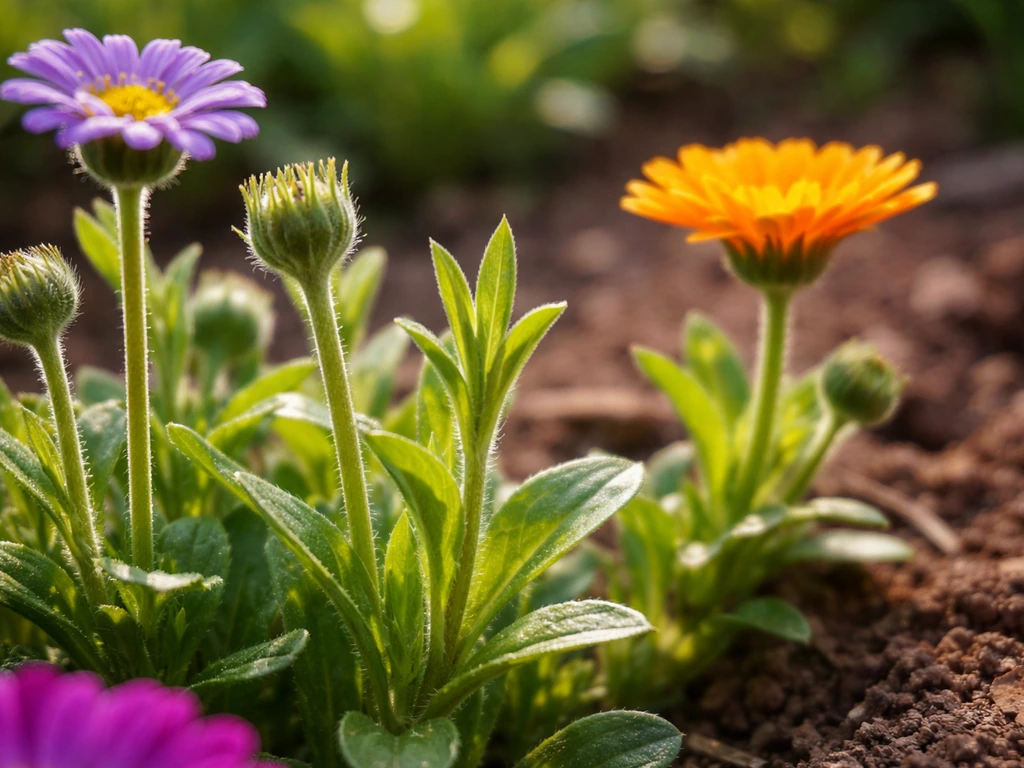
Once the plant is established in its pot and showing strong new growth, you can begin fertilizing with a balanced liquid fertilizer at half strength every two weeks. This is the point where you shift from survival mode into growing mode. For fast-growing annuals like coleus, impatiens, and geraniums, you can expect blooms within a few weeks to a couple of months from this stage, depending on how mature the parent plant was when you took the cutting. If your goal is how to grow big flowers, focus on strong light, consistent watering, and feeding to support larger blooms.
Getting a cutting to bloom is a genuinely satisfying moment, especially the first time you do it. You took a piece of a plant, convinced it to grow roots from scratch, and turned it into a full, flowering plant. If you want to take things further, the same principles apply to growing new flowers from seed or learning the other habits that lead to bigger, healthier blooms overall. You can use the same growing fundamentals to learn how to grow beautiful flowers from seed and keep those blooms coming growing new flowers. Each step builds on the last, and once you've rooted a few cuttings successfully, propagating your favorite ornamentals becomes one of the most rewarding parts of the whole growing season.
FAQ
Can I root a flower cutting that already has a bloom or buds on it?
Yes, but it is usually better to focus on non-flowering stems. If a cutting has a bud, strip the buds before rooting, then remove the flowers entirely. Blossoms keep pulling energy, and they can also trap moisture near the base where rot starts.
What if the only stems I can take are woody or brown?
If the stem is woody, success rates drop a lot. For rooting, aim for soft to semi-firm young growth that is green and flexible, cut into the 4 to 6 inch range. If you only have older wood, take multiple smaller tip cuttings from the green portion behind the newest growth.
How long should I keep the humidity dome or plastic bag on?
You should not. After the first week, cracked humidity is fine, but once you see roots and new top growth, you still need gradual acclimation. If you remove the dome suddenly, the cutting usually wilts because the roots are not yet able to replace lost moisture.
My cutting looks wet inside the dome, what does that mean and what should I do?
A little condensation is normal, but heavy droplets plus a slimy stem base usually means it is too wet. Vent daily when condensation is significant, and make sure the medium is evenly moist but not soggy before you rebag. If the medium feels like it is holding water, reduce watering and increase drainage.
Can I reuse perlite or propagation mix from a previous attempt?
If you must reuse medium, refresh it. Replace perlite/peat mix rather than topping off, because salts and microbial buildup increase rot risk. Also discard any medium that was exposed to a failed, rotting cutting.
If I used rooting hormone but it still won’t root, what are the most common causes?
Rooting hormone is helpful, but it is not the main factor if the cutting conditions are wrong. Make sure the cutting has at least one node in the medium, use a fast-draining mix, keep warmth around 75°F, and avoid direct sun. If you get callus but no roots after several weeks, warming (heat mat) is often the missing piece.
Can I move a water-rooted cutting into soil, and when is the best time?
Water-rooted cuttings can be transplanted, but do it when roots are actively growing and still healthy, not long and brittle. Rinse off clinging water medium gently, plant carefully without snapping fine roots, and keep the pot slightly more humid for about a week to prevent transplant shock.
What are reliable signs that my cutting has actually formed roots?
Look for resistance at a gentle tug, then confirm with new leaf growth. Roots also may show through drainage holes, but tug testing is often the quickest reliable indicator around the 4-week mark.
My cutting is dropping leaves and turning yellow, is that normal or a failure?
Yes, but count leaf loss carefully. Losing a leaf or two can be normal, especially early on, but widespread yellowing with a continuing decline usually signals too much light or excess moisture. Keep it out of direct sun, keep the medium barely moist, and check that drainage is working.
At what point should I give up on a cutting that is still not rooted?
If roots are not forming after 6 to 8 weeks, do not keep waiting indefinitely. Usually the cutting is too old/woody, too cold, too wet causing rot, or too dry from insufficient humidity. Start fresh with healthier, younger stems, and consider adding bottom heat before you reattempt.
How do I prevent rot from spreading when I’m taking multiple cuttings?
A sterile tool matters more than many people realize, especially for preventing base rot. Wipe blades with rubbing alcohol or a similar disinfectant before each cutting, and let the blade dry. Also avoid touching the cut end after hormone application.
How many cuttings should I take to improve my chances of success?
If you want more than one attempt from a parent plant, take several cuttings at once. This improves odds because variation in cutting age and node quality affects results, even when you do everything right.
How should my watering schedule change after I pot up rooted cuttings?
After potting up, a slower dry-down is safer than keeping it constantly wet. Water thoroughly, then allow the top layer to dry slightly before watering again, and keep it in bright, indirect light or a sheltered spot while it adjusts.
Next Articles
How to Grow Beautiful Flowers: Beginner to Bloom Guide
Step-by-step guide to grow beautiful flowers from seed or sowing to bloom with soil, watering, feeding, and pest fixes.
How to Make Flowers Grow: Step-by-Step Fixes to Bloom
Step-by-step fixes for getting flowers to sprout, grow strong, and bloom from seed to transplant to feeding and watering
Floret How to Grow Ranunculus: Step-by-Step Guide
Step-by-step Floret-style ranunculus guide: corm prep, planting, watering, frost care, troubleshooting, and harvest for