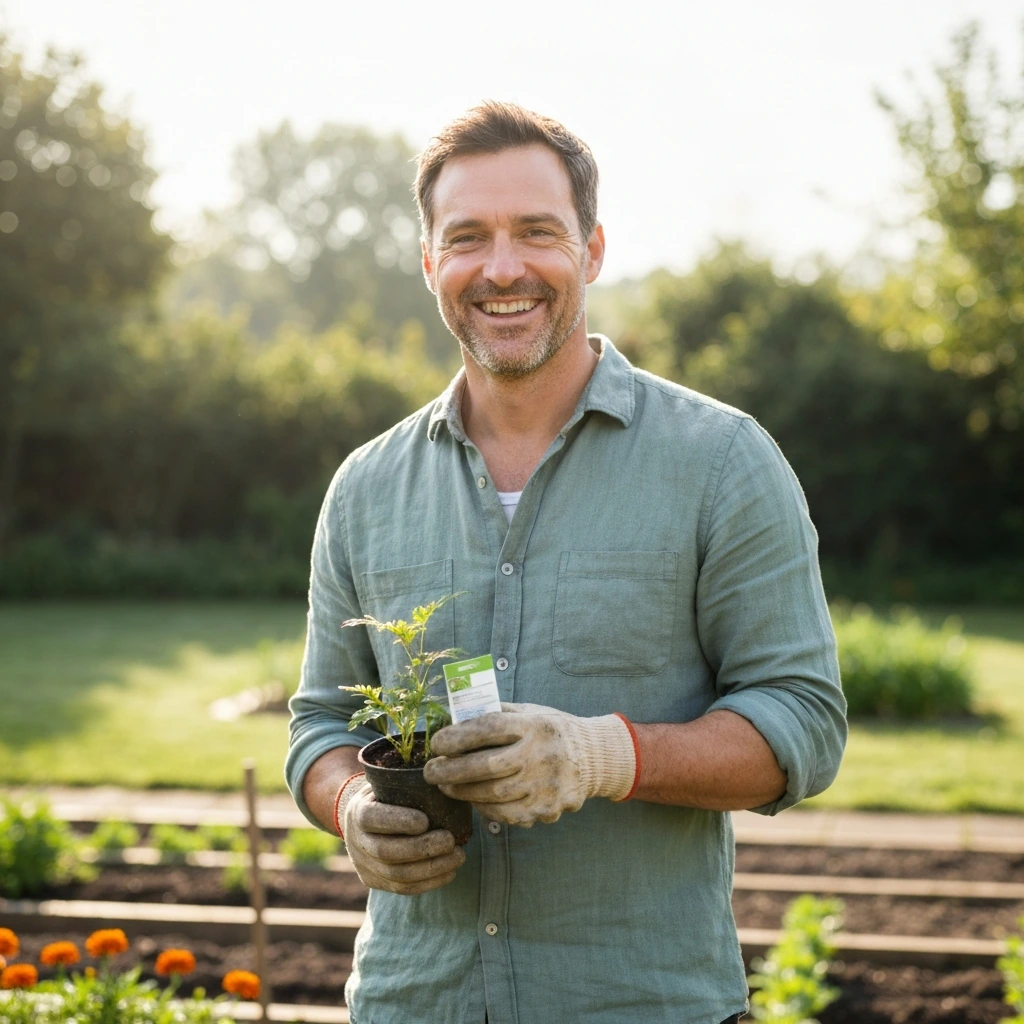
Most flowers fail for one of five fixable reasons: wrong light, bad soil drainage, inconsistent watering, seeds planted at the wrong depth or wrong time, or a pest and disease problem that crept in quietly. Once you pinpoint which one is holding your flowers back, the fix is usually straightforward. This guide walks you through the full lifecycle, from picking the right variety and sowing seeds to troubleshooting weak blooms and building a weekly routine that actually keeps things growing.
How to Make Flowers Grow: Step-by-Step Fixes to Bloom
James Holloway
5 May 2026
Quick diagnosis: why your flower isn't growing
Before doing anything else, match your situation to one of these common culprits. Most problems show up in the first few weeks after sowing or transplanting, and catching them early makes all the difference.
| Symptom | Most likely cause | Quick fix |
|---|---|---|
| Seeds not germinating after 2+ weeks | Wrong temperature, buried too deep, or dried out | Check soil temp, re-sow at correct depth, keep evenly moist |
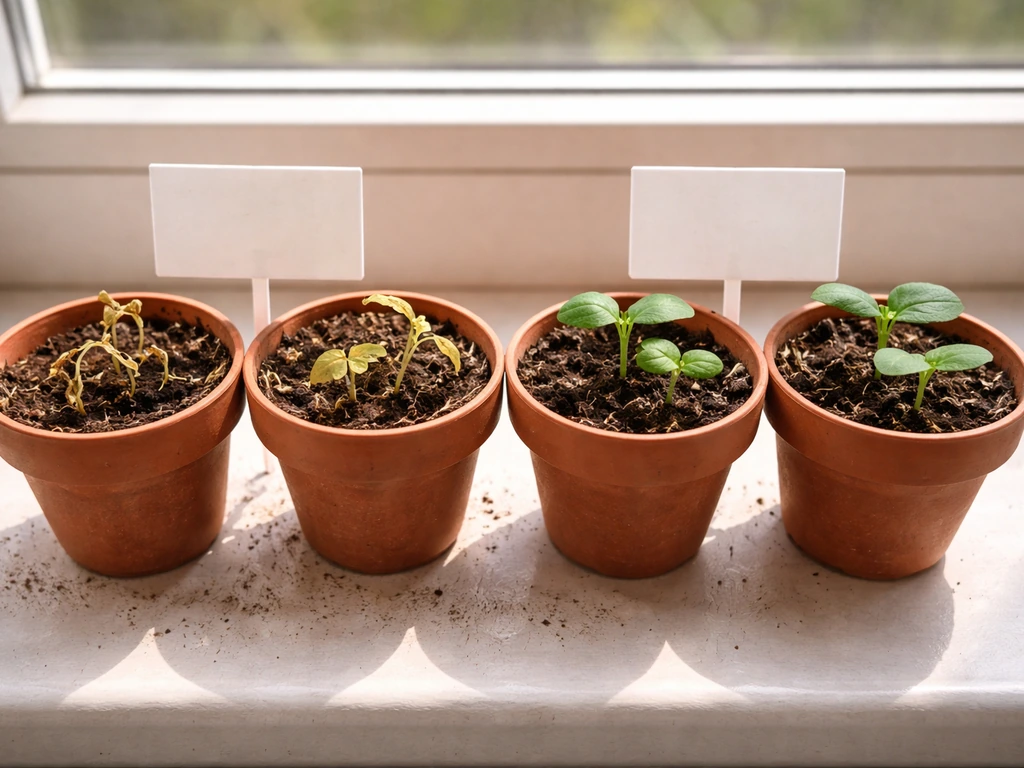
| Seedlings falling over at soil level | Damping-off (fungal, overwatering) | Improve airflow, reduce watering, use fresh sterile mix |
| Seedlings tall and spindly | Not enough light | Move to a brighter spot or add a grow light |
| Leaves yellow, growth stalled | Overwatering or nutrient deficiency | Let soil dry between waterings, start a balanced feed |
| Plants look healthy but won't bloom | Too much nitrogen, not enough sun, or too young | Cut back nitrogen, ensure 6+ hours of direct sun |
| Holes in leaves, sticky residue, or distorted growth | Pests (aphids, caterpillars, spider mites) | Inspect undersides of leaves, treat immediately |
If your seedlings are collapsing at the base with brown, water-soaked stems, that is damping-off. It spreads fast through wet media and low-light conditions and there is no saving the affected seedlings, but you can stop it from wiping out the whole tray by improving drainage and airflow immediately. If your seeds just are not sprouting, temperature is almost always the issue before anything else.
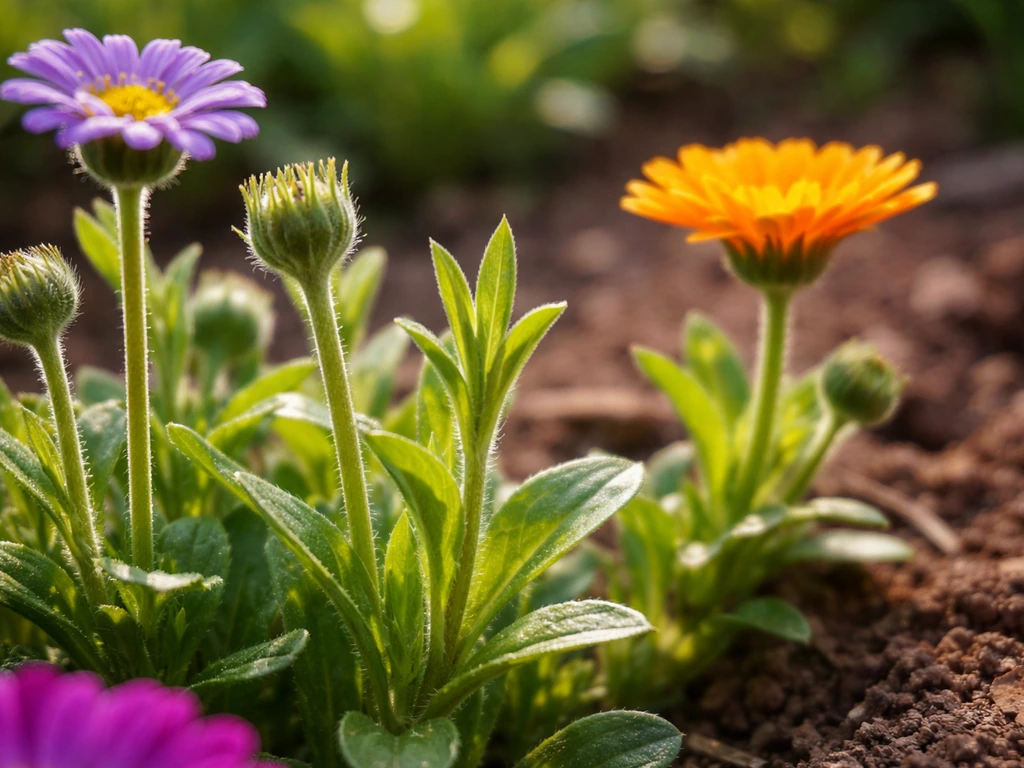
Start with the right flower and the right timing
Choosing a flower that suits your current season is one of the most underrated shortcuts in gardening. Planting a warm-season annual in cold soil, or starting a cool-season flower too late in summer heat, sets you up for failure before the seed even cracks open. Here is how the most popular ornamental flowers break down by timing.
| Flower | Season | Start method | Weeks from seed to bloom | Notes |
|---|---|---|---|---|
| Marigolds | Warm season | Indoors 4–6 weeks before last frost, or direct sow after frost | 8–10 weeks | Germinate best at 75–80°F; fast and beginner-friendly |
| Snapdragons | Cool season | Indoors 10–12 weeks before last frost | 12–16 weeks | Need light to germinate; surface sow only |
| Corn poppies | Cool season | Direct sow in early spring or fall | 8–10 weeks | Do not transplant; sow where they will grow |
| Zinnias | Warm season | Direct sow after last frost | 8–10 weeks | Hate root disturbance; direct sow is best |
| Wildflower mixes | Varies by mix | Direct sow in fall or early spring | Varies | Most need a cold/moist period to break dormancy |
| Lisianthus / cutting garden staples | Warm season | Indoors 12–16 weeks before last frost | 16–24 weeks | Slow starters; start early and be patient |
A good rule of thumb: if the packet says 'direct sow,' trust it. Poppies especially should not be transplanted because their taproots are fragile and they rarely recover from the move. Snapdragons are the opposite, they prefer to be started indoors with plenty of lead time and then set out as transplants once temperatures cool off a bit. Getting the method right from the start saves weeks of frustration.
Light, soil, and watering basics that actually work
Light
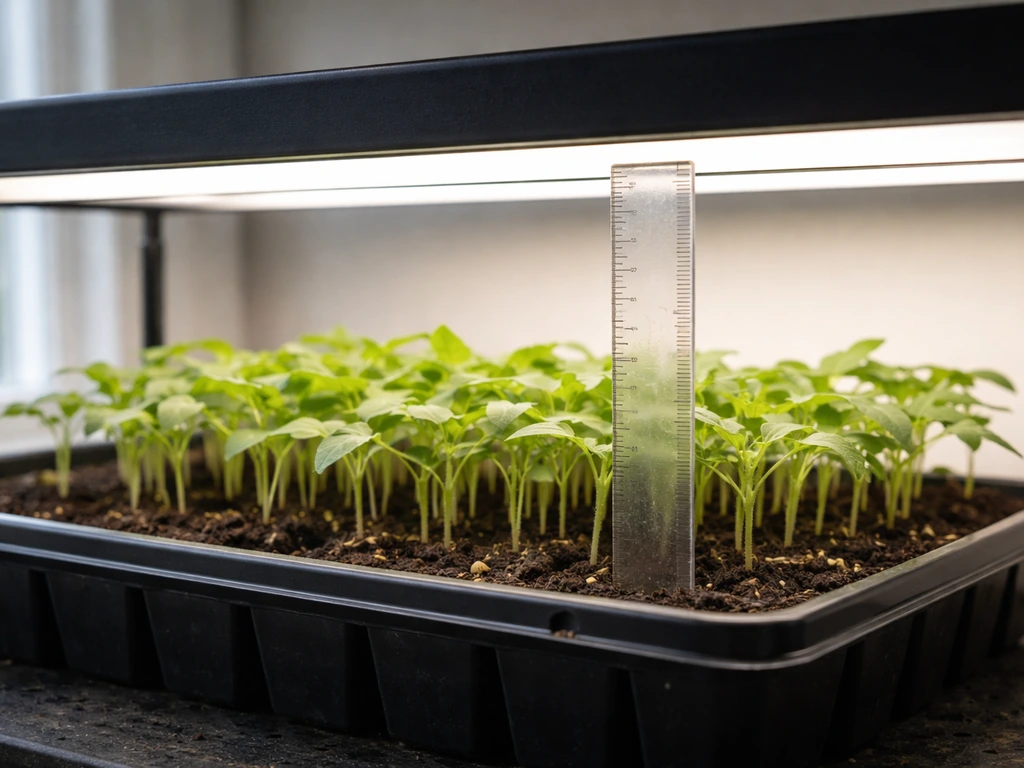
Almost every flowering annual needs at least 6 hours of direct sun per day, and most perform best with 8. If you are growing indoors under lights, keep seedlings about 2 to 4 inches below a full-spectrum LED grow light and run it for 14 to 16 hours a day. Leggy, pale seedlings that stretch toward the window are telling you they are light-starved, not that they need more water or fertilizer.
Soil
For seed starting, use a sterile, lightweight seed-starting mix, not garden soil or heavy potting mix. Garden soil compacts in trays and holds too much moisture, which is the fastest route to damping-off. For outdoor beds, aim for well-draining soil amended with compost. A simple test: squeeze a handful. It should clump loosely and break apart easily, not form a muddy ball or crumble into dust.
Watering
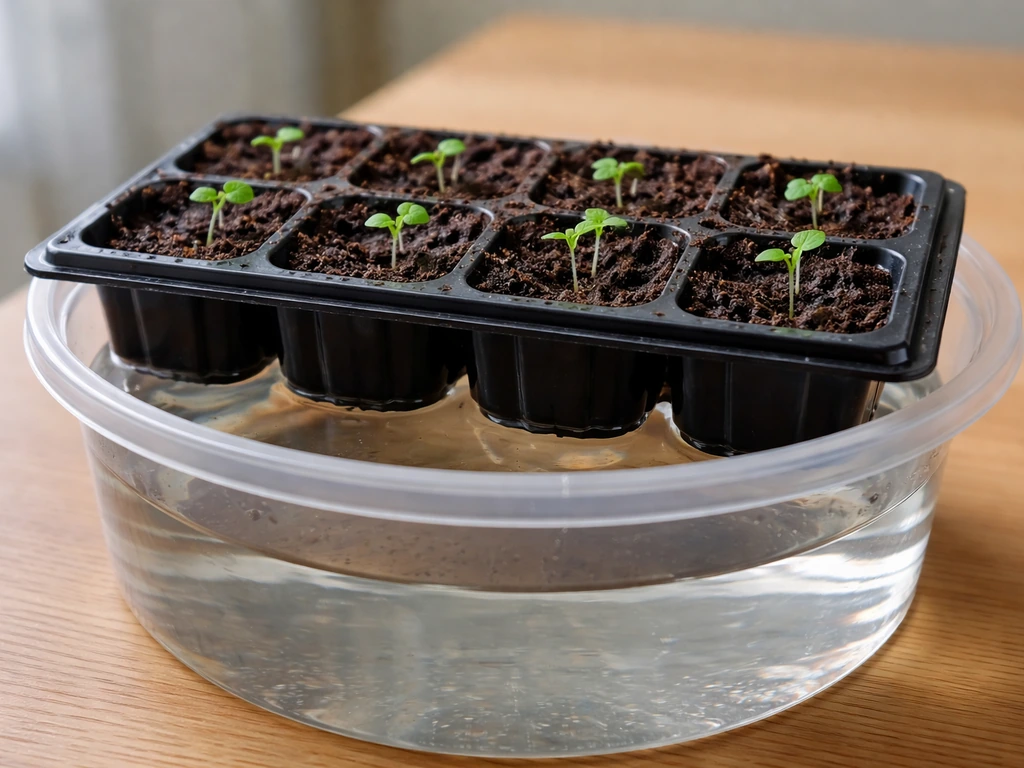
Overwatering kills more seedlings than underwatering. The goal is to keep the mix evenly moist, like a wrung-out sponge, not waterlogged. For seeds and seedlings, bottom-watering by setting the tray in a shallow dish of water works better than overhead watering because it keeps the surface of the mix drier and reduces damping-off risk. Once plants are in the ground, most flowering annuals do best with about 1 inch of water per week, either from rain or from you. Water deeply and less frequently rather than a little every day.
Seed starting and direct sowing: depth, spacing, and germination
Sowing depth and spacing
Depth is where a surprising number of people go wrong, especially with tiny seeds. The general rule is to sow seeds at a depth equal to two to three times their diameter. Tiny seeds like snapdragons and petunias need light to germinate and should be pressed onto the surface of the mix and barely covered, just enough to hold them in place. Burying them even a quarter inch too deep can prevent germination entirely. Larger seeds like marigolds and zinnias can go about a quarter inch deep. Corn poppies need about a quarter inch of cover too, but because they are direct-sown, you scatter them thinly and thin seedlings after true leaves appear rather than spacing them perfectly at planting.
| Flower | Sowing depth | Spacing (final) | Germination time | Light needed to germinate? |
|---|---|---|---|---|
| Marigolds | 1/4 inch | 6–12 inches | 4–7 days at 75–80°F | No |
| Snapdragons | Surface/barely covered | 6–12 inches | 10–14 days | Yes |
| Corn poppies | 1/4 inch | Thin to 6 inches | 10–14 days | No |
| Zinnias | 1/4 inch | 6–18 inches (by variety) | 5–7 days | No |
| Wildflowers | Surface or very shallow | Varies | 7–21 days | Many yes |
Germination troubleshooting
If nothing is sprouting after the expected window, check three things in order: soil temperature (a cheap soil thermometer is worth buying), moisture (the surface should never fully dry out while seeds are germinating), and depth. Marigolds in cold soil at 60°F can take three times as long as seeds at 78°F. If you are starting indoors and the room is cool, a seedling heat mat is one of the most effective purchases you can make. Set it to around 70 to 75°F for most flowers, and germination rates improve dramatically.
Transplanting and early growth care
When to transplant
Seedlings are ready to transplant when they have at least two sets of true leaves (not the first rounded seed leaves, which are cotyledons). At that point the root system is developed enough to handle the move. Do not rush it. Transplanting a seedling that only has one tiny set of true leaves usually sets it back by a week or more.
Hardening off (do not skip this)
Hardening off is the process of gradually introducing indoor-grown seedlings to outdoor conditions over 7 to 10 days, and skipping it is one of the most common reasons transplants fail. Start by setting seedlings outside in a sheltered, partially shaded spot for 1 to 2 hours on day one. Add an hour or two each day. By day 7 or 8, they can handle a full day in their final spot. If temperatures drop below 45°F overnight, bring them back in. Rushing this step causes sunscald, wilting, and sometimes death, even in healthy plants.
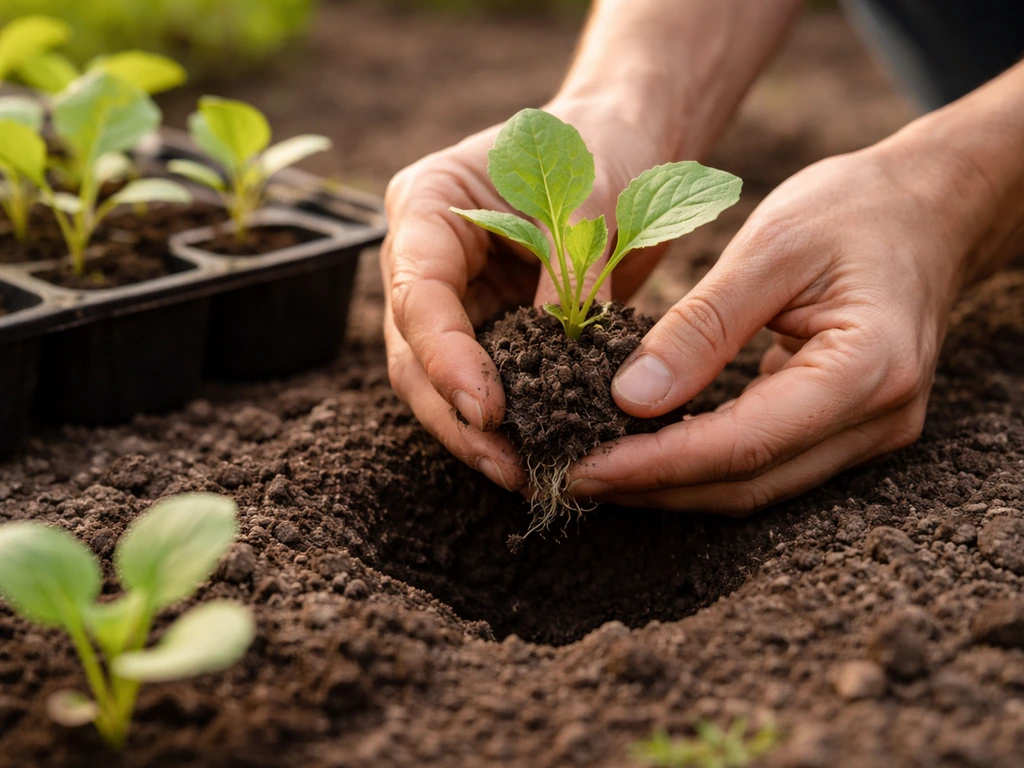
Planting out
Plant on a cloudy day or in the late afternoon to reduce transplant stress. Dig a hole slightly larger than the root ball, set the plant at the same depth it was growing in the tray (or slightly deeper for leggy seedlings), firm the soil gently, and water immediately. Give them a few days to settle before expecting much upward growth. That pause is normal, the plant is establishing roots underground. To encourage how to make a flower grow roots, keep the planting depth correct, water promptly, and avoid disturbing the seedling while it settles establishing roots underground.
Feeding, deadheading, and fixing bloom problems
Feeding schedule
Seedlings do not need fertilizer until they have been growing in their seed-starting mix for about 3 to 4 weeks, or once they go into the garden with amended soil. After that, a balanced, water-soluble fertilizer (something like a 10-10-10 or similar balanced NPK) every 2 weeks supports steady growth. Once plants are budding, switch to a fertilizer lower in nitrogen and higher in phosphorus (like a 5-10-5 or bloom booster formula). Too much nitrogen after buds form pushes leafy growth at the expense of flowers.
Deadheading to keep blooms coming
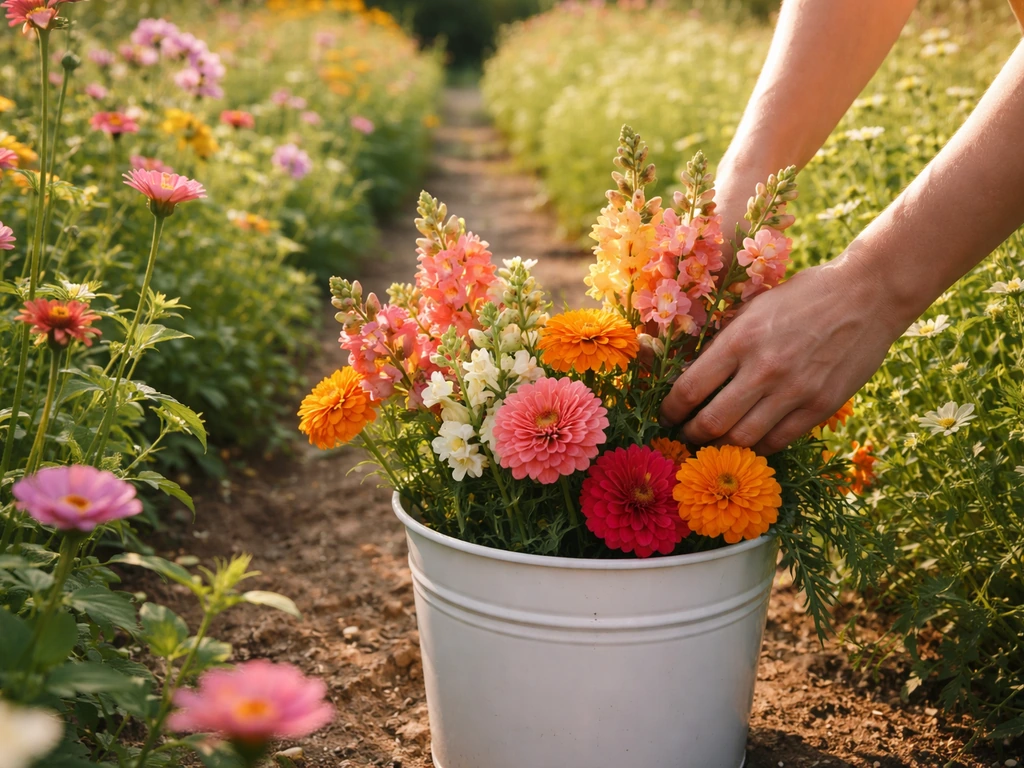
Deadheading, removing spent blooms before they set seed, is one of the simplest things you can do to extend a plant's flowering season. Marigolds and zinnias especially will pump out blooms for months if you keep up with this. Snip or pinch just below the spent flower head, back to a leaf node or side shoot. If you are growing for a cutting garden, harvesting blooms regularly does the same job. Either way, the plant's energy goes back into producing new flowers instead of maturing seeds.
Why plants look healthy but won't bloom
This is one of the most frustrating problems and it almost always comes down to one of three things: not enough sun, too much nitrogen, or the plant just needs more time. Marigolds can temporarily stall and drop blooms in extreme heat (above 90°F), but they usually bounce back when temperatures moderate. Snapdragons similarly prefer cooler weather and may pause blooming in midsummer heat before rebounding in fall. If your plant is lush and green but flowerless, cut back on any nitrogen-heavy feeding and make sure it is getting a full 6 to 8 hours of sun. Patience is often the real answer for plants started from seed, especially slow starters like lisianthus.
Pests and disease: what to look for and what to do now
Common pests
- Aphids: tiny, soft-bodied insects clustered on new growth and stem tips; leaves may curl or feel sticky from honeydew. Spray with a strong stream of water or apply insecticidal soap.
- Spider mites: fine webbing on undersides of leaves, stippled or bronzed foliage. More common in hot, dry weather. Insecticidal soap or neem oil applied to leaf undersides helps.
- Caterpillars and cutworms: holes in leaves or stems cut at soil level overnight. Hand-pick caterpillars; use a collar around seedling stems to deter cutworms.
- Thrips: silvery streaking on petals and leaves, distorted flowers. Blue sticky traps help with monitoring; spinosad or neem oil as a spray.
- Fungus gnats (indoors): larvae damage seedling roots; adults are a nuisance. Let the top of the soil dry between waterings to break the lifecycle.
Common diseases
Damping-off is the big one for seedlings, caused by fungal pathogens that thrive in wet, low-airflow conditions. Once seedlings have collapsed with brown, mushy stem bases, those plants cannot be saved. Remove them immediately to stop spread, improve ventilation with a small fan, reduce watering frequency, and consider dusting the remaining seedlings' soil surface lightly with cinnamon (a mild natural antifungal) as a precaution. For outdoor plants, powdery mildew shows up as a white powdery coating on leaves, usually in late summer. Improve spacing for airflow, avoid wetting foliage, and treat with a diluted neem oil or baking soda spray.
Prevention is much easier than treatment
Good spacing, adequate airflow, and avoiding overhead watering in the evening prevent the majority of fungal problems. Healthy, well-fed plants in good soil also simply resist pests better. Check your plants at least twice a week, because catching an aphid colony at 10 insects is infinitely easier than dealing with 10,000.
A simple weekly action plan to get flowers growing
Here is a practical week-by-week framework you can start today. Adjust the timing based on where you are in the growing season and what you have already started.
- Week 1: Diagnose your current situation using the symptom table above. Check light levels, soil moisture, and whether seeds are at the correct depth. If starting fresh, choose a variety suited to your current season and gather a sterile seed-starting mix, appropriately sized trays or pots, and a heat mat if temperatures indoors are below 68°F.
- Week 2: Sow seeds at the correct depth for your variety. Label everything with date and variety. Place trays under grow lights or in your sunniest window and bottom-water to keep moisture even. Check daily for the first signs of germination.
- Week 3: Once seedlings emerge, ensure they are getting 14 to 16 hours of light per day if indoors. Thin overcrowded seedlings to one per cell by snipping (not pulling) the weakest. Begin gentle airflow with a small fan to strengthen stems and reduce damping-off risk.
- Week 4: Start fertilizing with a dilute balanced fertilizer (half strength) once seedlings have two sets of true leaves. Monitor for pests and diseases. Begin hardening off if outdoor temperatures are consistently appropriate for your variety.
- Week 5–6: Transplant hardened-off seedlings into their final garden spot. Water in well. Mulch lightly around (not touching) stems to retain moisture and suppress weeds.
- Week 7 onward: Water deeply once or twice per week depending on rainfall. Deadhead spent blooms every few days. Switch to a bloom-booster fertilizer as buds form. Keep checking for pests twice weekly and address problems immediately.
Keep building on what's working
Once your flowers are in the ground and growing, the job shifts to maintenance and observation rather than troubleshooting. Keep a simple garden journal, even just a few notes on your phone, recording what you planted, when it germinated, and what worked or did not. That information is genuinely useful next season.
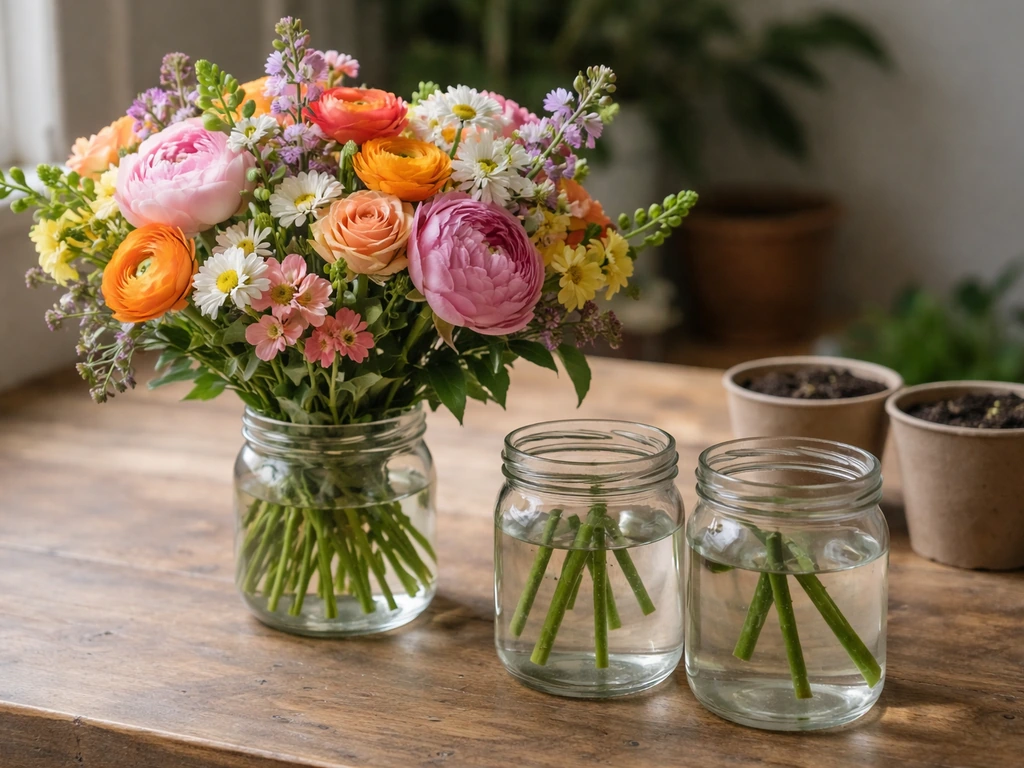
If you want to go deeper, there is a lot more nuance to explore: growing bigger, showier blooms, rooting cuttings from your best plants, or expanding into specific cutting garden varieties. If you want your own propagation method, learning how to make cut flowers grow roots can help you keep your favorite plants going. The fundamentals covered here apply across all of them.
Get the light, soil, water, and timing right, and flowers are far more forgiving than most people expect.
FAQ
How can I tell if my flowers need more light or more water?
Check the pattern first. Pale, stretched seedlings and leaf “reach” toward the window usually mean light is the limiting factor. Yellowing from bottom leaves with consistently soggy soil points to overwatering, while droop that improves after watering suggests thirst, not light. If you can, measure light hours (or keep the grow light at 14 to 16 hours) before adding fertilizer or changing watering.
What soil pH do flowers need to grow well?
The article covers drainage, but pH also affects nutrient uptake. Most flowering annuals prefer slightly acidic to neutral soil (roughly pH 6.0 to 7.0). If you see persistent yellowing despite correct watering and balanced feed, test soil or container mix, then adjust with lime (to raise pH) or sulfur (to lower pH) based on results.
Can I use potting mix instead of seed-starting mix for germination?
It can work, but seed-starting mix is lighter and stays more evenly aerated. Regular potting mix often holds more moisture and increases damping-off risk, especially in trays. If you only have potting mix, consider mixing in extra perlite for air and use bottom-watering and a fan to keep airflow up.
How often should I water during seed germination?
Aim for “evenly moist” not constantly wet. A practical approach is to water from the bottom when the surface starts to dry slightly, then re-check moisture in a few hours, not the next day. Covering trays with plastic can help moisture, but remove it as soon as you see sprouts to prevent overheating and fungal issues.
Do I need a heat mat if I am not using it right now?
If your room stays cool, germination often stalls, and the article suggests a heat mat set around 70 to 75°F for most flowers. If you are unsure, monitor soil temperature with a cheap thermometer. You can sometimes replace a heat mat by placing the tray on top of a warm appliance or using a warmer room, but avoid hotspots that overheat seedlings after sprouting.
What is the best depth rule for very tiny seeds beyond “two to three times”?
For light-requiring seeds, depth matters more than the diameter rule. Press them onto the surface so they have seed-to-soil contact, then barely cover only if the seed packet specifically instructs it. If you use a deeper cover “just to be safe,” germination may never start because the seed needs light to trigger sprouting.
Should I fertilize immediately after transplanting?
Usually no. Seedlings generally benefit from staying in their amended soil first, then feeding once they have been growing for about 3 to 4 weeks, as the article notes. If you want a gentle boost sooner, use a very diluted balanced fertilizer and only if plants are actively growing (not when they are still wilting or just settled after transplant).
Why are my plants producing lots of leaves but no buds even though I deadhead?
Deadheading helps redirect energy, but flowerlessness commonly comes from too much nitrogen or not enough sun. Reduce nitrogen-heavy feeding and confirm you have at least 6 hours of direct sun, ideally 8. Also check spacing and airflow, because crowded plants can stay “stuck” in vegetative growth due to stress.
What should I do if my seedlings get leggy?
Legginess is most often insufficient light, not a watering problem. Increase light intensity or lower the seedlings so they are about 2 to 4 inches from the full-spectrum LED, and keep the photoperiod consistent. If they are already tall, you can often “stabilize” them by gently burying part of the stem when transplanting (only if the plant type tolerates it).
Can I save seedlings that have damping-off starting?
Collapsed seedlings with brown, water-soaked bases cannot usually be recovered. What you can do is act immediately: remove the affected plants, improve airflow (fan helps), reduce watering frequency, and consider treating the remaining surface lightly. If many are affected, replace the entire tray’s mix rather than reusing wet, contaminated medium.
How do I prevent transplant shock beyond hardening off?
Hardening off is key, but also avoid moving plants at peak heat or full midday sun. The article recommends cloudy or late-afternoon planting and watering right away. Additionally, keep the transplant depth consistent (or slightly deeper for leggy starts) and avoid fertilizing immediately, since roots may not be fully established yet.
When is it too late to start flowers from seed for this season?
It depends on the variety’s days to maturity, which many packets list. A common mistake is starting too late for slow bloomers that need more time after germination. If you are near the end of your season window, switch strategy: start fewer seeds earlier, or buy transplants of faster varieties rather than forcing seed to catch up.
Is cinnamon and neem safe to use on all plants and conditions?
The article mentions cinnamon as a mild precaution and neem or baking soda for mildew. Use sparingly, test on a small section first, and avoid applying sprays in hot sun or on very stressed plants. For edible or cutting gardens, be mindful of waiting periods between treatments and harvest, and always check the product label guidance for the specific product you use.
Next Articles
Floret How to Grow Ranunculus: Step-by-Step Guide
Step-by-step Floret-style ranunculus guide: corm prep, planting, watering, frost care, troubleshooting, and harvest for
How to Grow Your Own Wedding Flowers Step by Step
Step-by-step guide to grow bouquet-ready wedding flowers, from planning and sowing dates to harvesting, conditioning, an
How to Grow Flowers From a Bouquet: Step-by-Step
Step-by-step guide to propagate bouquet stems into new flowers: prep, rooting in water/soil, transplanting, care, timeli