Yes, you can grow beautiful ornamental flowers in clay soil, and plenty of them will actually thrive once you stop fighting the clay and start working with it. The key moves are improving drainage in the root zone before you plant, adding organic matter every single season, choosing varieties that tolerate or even prefer heavier soil, and timing your planting around soil temperature rather than just the calendar. None of this requires a complete garden overhaul, and you can start seeing real results within one growing season. If you are also trying to skip seed-starting, you can look into ways to grow flowers without seeds using divisions, cuttings, and other vegetative propagation methods.
How to Grow Flowers in Clay Soil: Step-by-Step Guide
James Holloway
28 May 2026
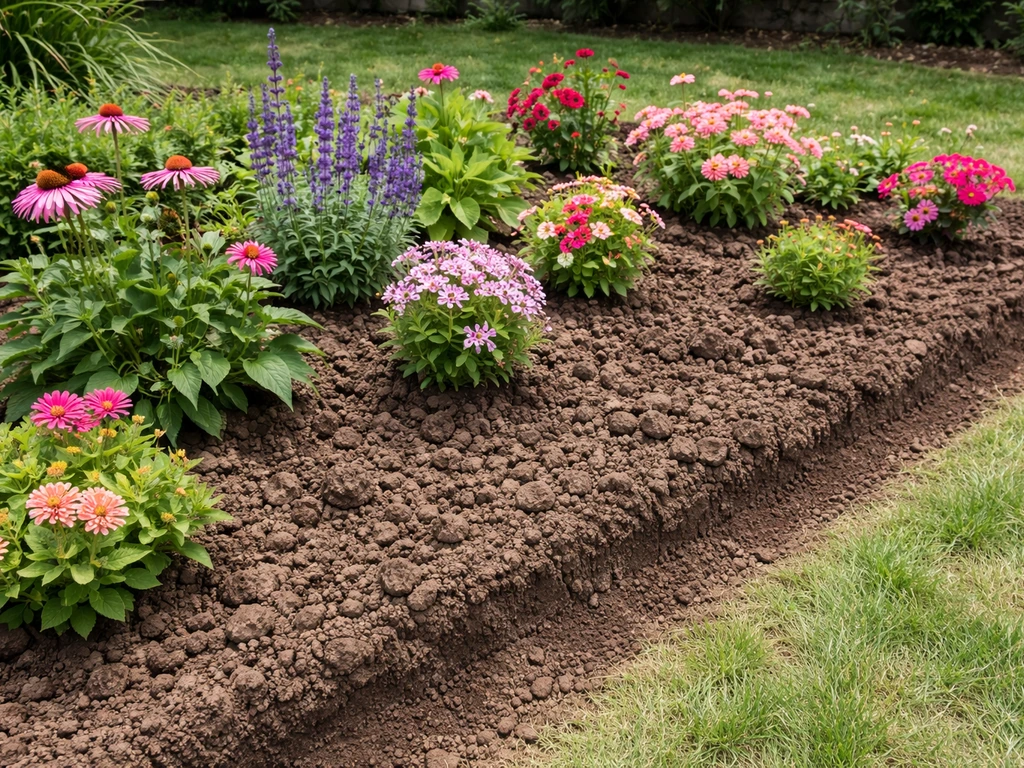
First, diagnose exactly what your clay is doing
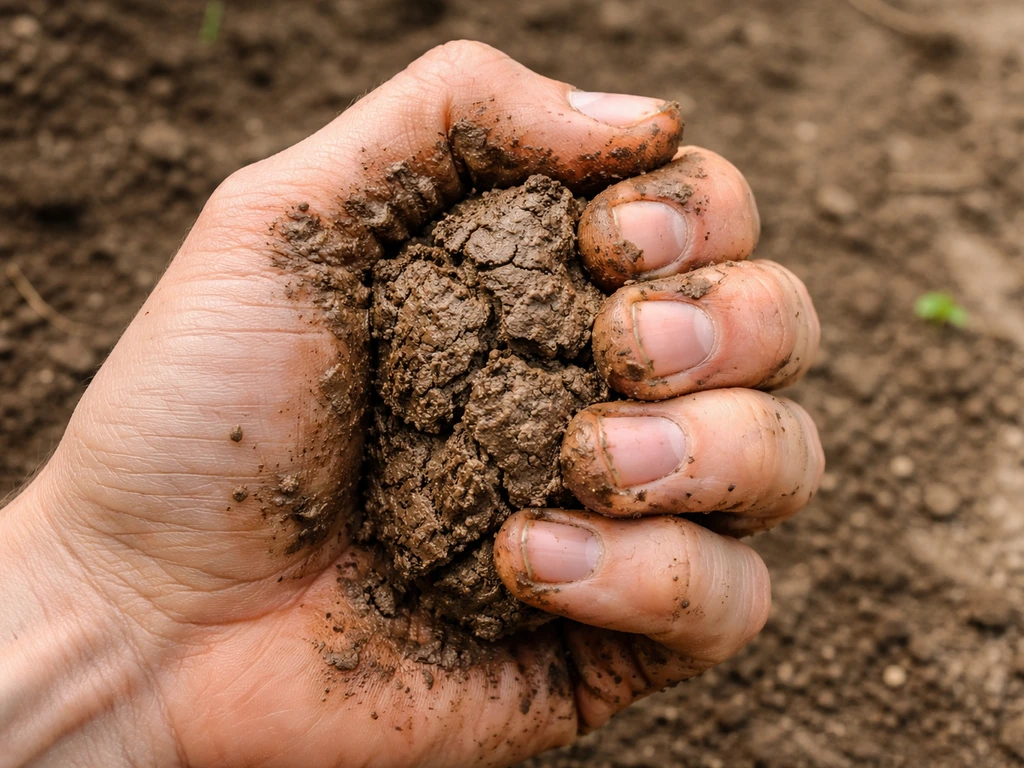
Not all clay problems are the same, and diagnosing yours correctly saves a lot of wasted effort. Clay soil fails flowers in three main ways: poor drainage, compaction, and slow warming in spring. Any one of these is manageable. All three together just means you need to address them in order.
The quickest diagnosis is the squeeze test. Grab a handful of damp soil and squeeze it into a ball. Clay-heavy soil will form a tight ball that flattens rather than crumbles when you press it. It feels smooth, almost sticky, and holds its shape long after you open your hand. That tells you immediately that drainage and aeration are your main challenges.
For a more precise read, do a jar test. Fill a clear jar about one-third with soil, top it up with water, shake it hard, and let it settle for 24 to 48 hours. Sand sinks fast to the bottom, silt settles in the middle, and clay stays suspended longest, forming the top layer. If that clay layer is thick relative to the rest, you're dealing with heavy clay and the slow drainage that comes with it.
Now look at how water actually behaves in your garden. After a rain, does water pool and sit for hours or days? That's either compaction, a hardpan layer beneath the surface, or both. Compacted soil reduces water infiltration dramatically, so what looks like a drainage problem is often really a structural problem a few inches underground. Dig down about 8 to 10 inches and see if the soil abruptly changes to a dense, almost rocklike layer. That's a hardpan, and it needs to be broken up before anything else will work long-term.
The third issue, slow warming, is subtle but real. Clay holds moisture, and wet soil takes much longer to warm up in spring than sandy or loamy soil. If you plant seeds or transplants at the same time as a neighbor with sandy soil, your clay beds may still be 10 to 15 degrees colder. That translates directly into slow germination, stunted early growth, and more disease pressure.
Build the bed before you plant anything
The most effective thing you can do for flowers in clay is improve the root zone structurally before a single seed goes in. There are two main approaches, and which one you choose depends on how severe your situation is.
The raised bed approach
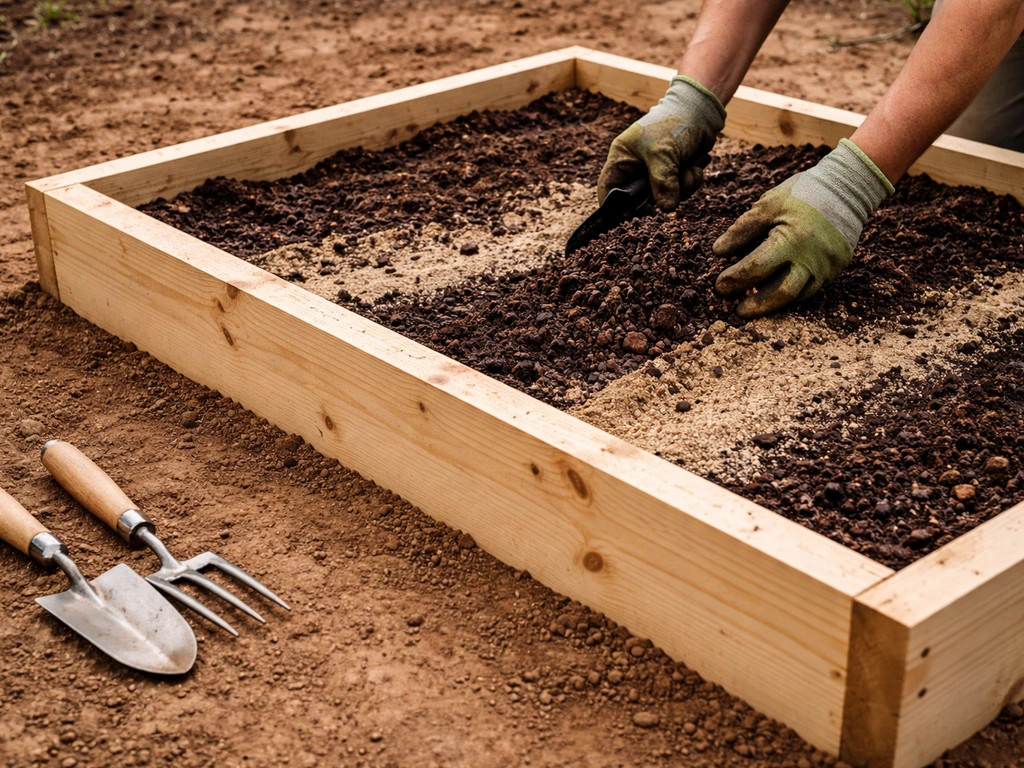
If your clay is severe, compacted, or drains really poorly, building a raised bed is genuinely the best option. You're essentially giving your flowers a completely different root environment above the clay layer. Raised beds drain better, aerate faster, and warm up weeks earlier in spring. Even a 6 to 8 inch raised bed filled with quality blended soil on top of lightly broken up clay makes an enormous difference. The clay beneath still provides some moisture retention, which can actually be a benefit during dry summers, but the roots establish in much better conditions first.
Working directly in clay beds
If you want to improve your existing clay beds rather than build on top of them, the critical rule is: never work wet clay. Tilling or digging soggy clay creates a compacted, cloddy mess that dries into hard chunks and worsens your soil structure significantly. Wait until the soil is just barely damp, not sticky and not bone dry. At that point, work it to a depth of about 6 to 8 inches. That's deep enough to improve the root zone for most ornamental flowers without destroying the structure deeper down.
If you have a genuine hardpan problem, double digging is worth considering for small beds. You dig out the top layer, loosen the layer beneath it, and then replace and amend the top layer. It's labor intensive, and most extension specialists acknowledge it's rarely done anymore compared to no-dig methods, but for a persistent drainage problem in a specific flower bed, it can break the cycle in a way that surface amendments alone won't.
What to actually add to clay (and what to skip)
This is where most people go wrong, either adding the wrong things or expecting fast results. Let me be honest: improving clay soil is a multi-season project. Meaningful change in heavy clay typically takes two to three years of consistent organic matter additions. Meaningful improvement in heavy clay often takes time, and guidance from Utah State University Extension notes that you may need 2, 3 years of consistent organic matter additions before seeing meaningful change two to three years of consistent organic matter additions. That doesn't mean you can't grow great flowers this season, it just means you're also building for next year at the same time.
Compost and organic matter: your best tools
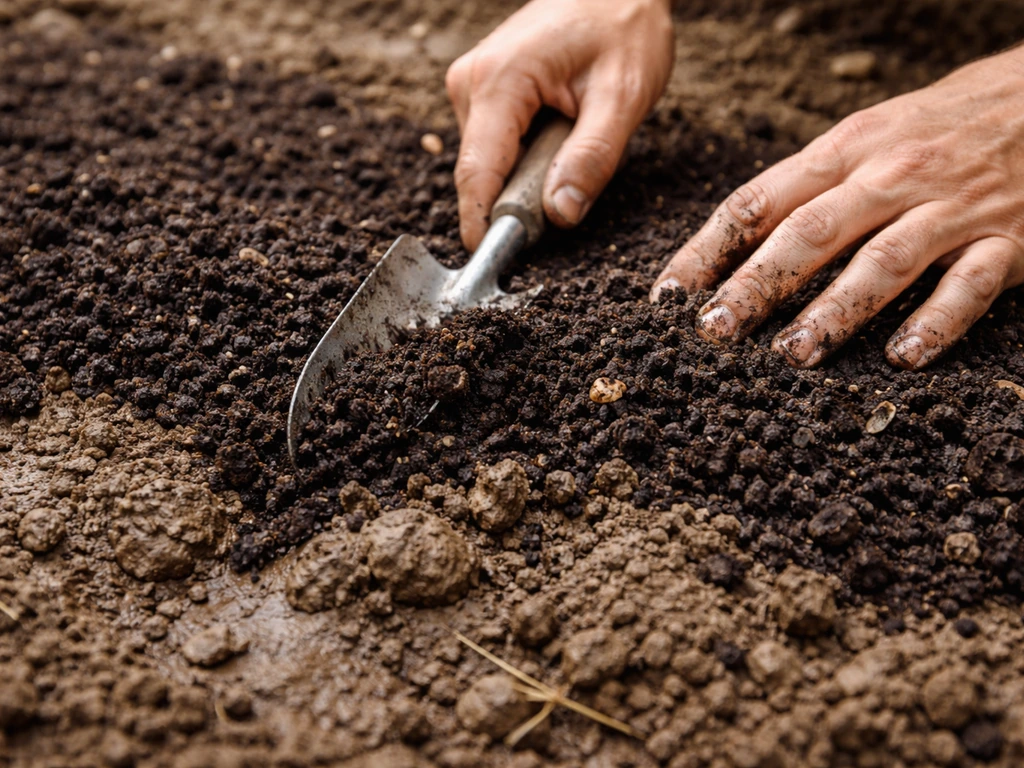
Compost is the single most effective amendment for clay. It physically separates clay particles, creates air pockets, and feeds the soil biology that keeps the whole system working. Add 2 to 4 inches of compost across the bed surface and work it into the top 6 to 8 inches every season, ideally in fall so it has time to integrate, but spring works too. Aged wood chips, leaf mold, and well-rotted manure all count toward your organic matter budget. The goal is building organic matter content over time, and every season you add to it, the soil genuinely gets easier to work.
Gypsum: useful only in specific situations
You'll see gypsum recommended constantly for clay, and sometimes it helps, but it's not a general clay fix. Gypsum works by providing calcium that displaces sodium in sodic soils, where dispersed clay particles create a sticky, structureless mess. If your clay is sodic (high sodium content, often indicated by a white crust on the surface or soil that becomes especially slick and greasy when wet), gypsum can genuinely improve drainage and structure. The amount needed depends on your specific soil chemistry, so a basic soil test is worth doing before you spend money on gypsum. For typical non-sodic clay, though, compost and organic matter will do more for you.
What not to add
Please do not add sand to clay soil unless you are prepared to add an enormous, impractical amount of it. A little sand mixed into clay creates something closer to low-grade concrete than improved garden soil. The clay particles fill the spaces between sand grains and the result is often denser and harder than what you started with. Stick to organic matter.
Planting strategy: timing and seeds vs transplants
In clay, planting timing matters more than in almost any other soil type. The soil has to be warm enough for roots to establish before it gets waterlogged again, and it has to be dry enough to work without destroying structure. The most reliable guide is soil temperature, not just the last frost date on your calendar.
For most ornamental flowers, you want soil temperature consistently at or above 50°F before direct seeding, and 60°F or warmer for warm-season annuals like marigolds. Soil thermometers are inexpensive and take the guesswork out of it completely. In clay, soil temperatures often lag 2 to 3 weeks behind air temperatures in spring, so what feels warm outside may still be cold in the ground.
Seeds in clay
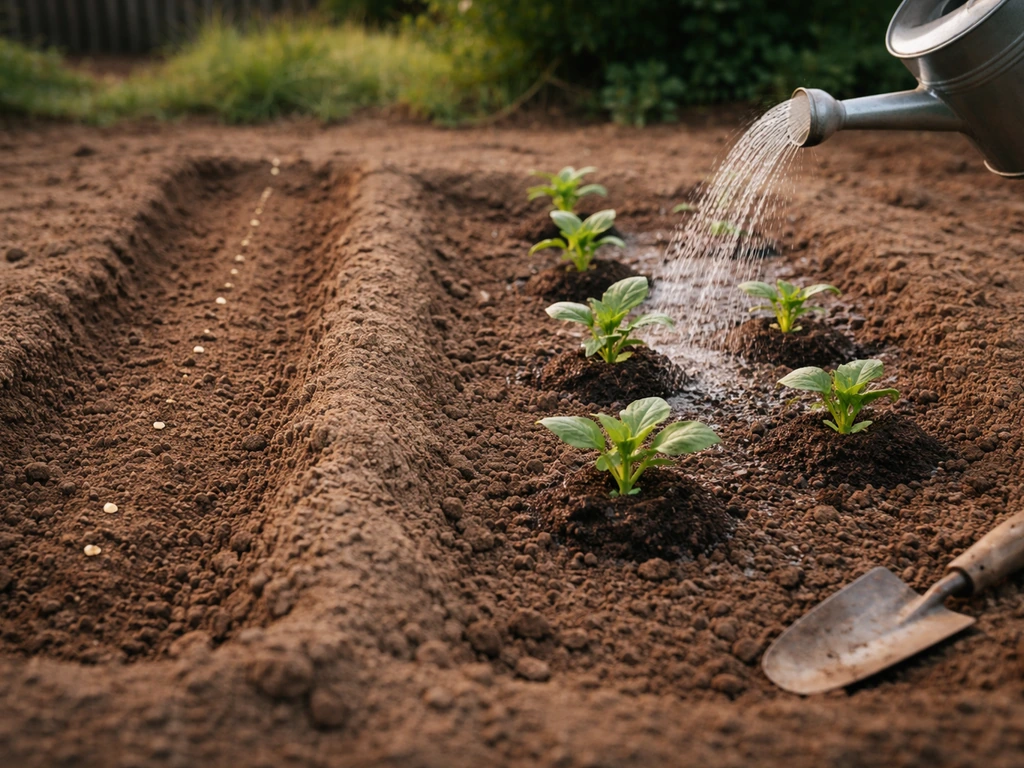
Direct seeding in clay is absolutely possible, especially for hardy annuals like poppies and wildflower mixes that prefer to be sown in place. The key is surface preparation. Create a fine, crumbly seed bed by raking the amended top 2 to 3 inches well after the clay has dried slightly. Sow seeds at the correct depth, then water gently so you don't compact the surface into a crust.
Soil crusting is a real problem with clay: it can form a hard cap over germinating seeds and block emergence. Light mulching over seeded areas helps prevent this. If you're sowing cool-season flowers like poppies or snapdragons, you can often start earlier in spring because they tolerate cooler soil, but you still want to avoid working the soil when it's saturated.
Transplants in clay
For warm-season flowers like marigolds, starting seeds indoors 4 to 6 weeks before your last frost date and transplanting once soil temperatures are reliably warm gives you a real head start. Transplants establish faster than seeds in cold, wet clay because they already have a root system. When planting out, amend the planting hole individually if you haven't improved the whole bed: mix compost into the displaced soil before backfilling. Don't create a perfectly amended hole surrounded by unamended clay, though, because roots will circle rather than venture out. Improve as wide an area as you can.
If your springs are cold and wet and clay takes a long time to warm, row covers or low tunnels can extend your effective planting window by several weeks. Heavy row cover fabrics can protect plants down to around 20°F, and even lighter covers help warm the soil beneath them before planting day. Lay them over the bed a week or two before transplanting to pre-warm the soil and you'll notice a real difference in how quickly transplants take off.
Watering, mulching, and keeping soil temperature stable
Clay's built-in moisture retention is actually a feature, not just a bug. In well-amended clay, established flowers often need less frequent watering than they would in sandy soil. A general guideline for clay gardens is watering deeply once a week rather than frequent shallow watering.
As you plan your watering and amendments, aim for enough soil depth and volume to support the roots for your specific flower type, not just surface comfort how much soil do flowers need to grow. The key check: dig down about 2 inches with your finger or a screwdriver. If it's still moist at that depth, don't water yet.
Relying only on surface dryness will lead you to overwater, which is one of the fastest ways to get root rot in clay.
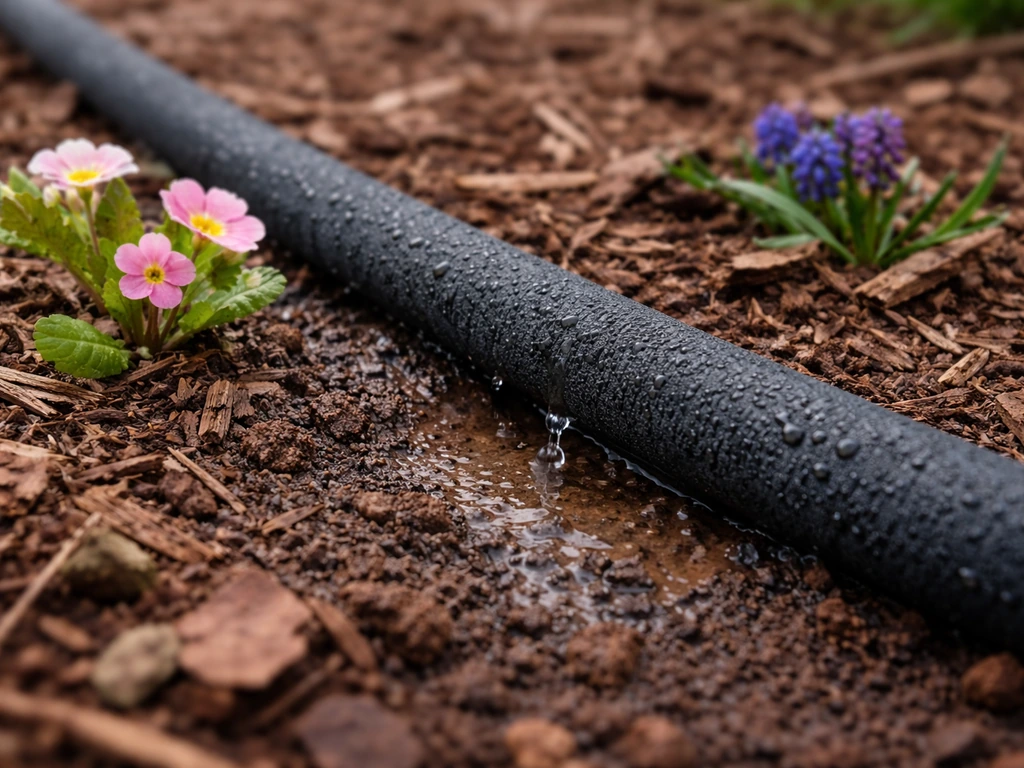
When you do water, water low and slow. A soaker hose or drip irrigation set on a low flow rate lets water penetrate clay rather than run off the surface. Fast, heavy watering on clay often puddles on top and moves sideways rather than down to the root zone.
Mulch is one of the most underused tools in clay gardening. A 2 to 3 inch layer of organic mulch (shredded leaves, straw, wood chips) does several things at once: it prevents surface crusting, moderates soil temperature swings, reduces evaporation in summer, and breaks down slowly to add more organic matter. In spring, pull mulch back from your beds a week or two before planting to let the soil warm faster, then re-apply around established plants once soil has warmed up. This one habit alone can make a noticeable difference in how well your flowers establish.
Troubleshooting: when things go wrong in clay
Even with the best preparation, clay gardens throw problems at you. Here's what to look for and what to do about it.
| Problem | What it looks like | What to do |
|---|---|---|
| Root rot | Yellowing leaves, brown or black roots/crown, sudden collapse of otherwise healthy plants | Improve drainage immediately; avoid overwatering; relocate affected plants to a better-drained spot or raised bed |
| Surface crusting | Hard cap over seeded area; seeds fail to emerge; soil surface cracks in dry spells | Mulch over seeded areas; water gently; break crust carefully by hand if seedlings are pushing up |
| Stunted growth | Plants stay small, look pale, produce few blooms despite adequate sun | Check soil temp (may still be too cold); check drainage; top-dress with compost; verify you're not overwatering |
| Waterlogging after rain | Puddles sit for more than a few hours; soil stays soggy for days | Improve bed drainage with organic matter; consider raised beds; avoid planting in low spots |
| Nutrient lockout | Pale leaves, poor color, lack of vigor despite fertilizing | Test soil pH; clay can lock up iron and other nutrients especially in wet conditions; improve drainage first, then address pH if needed |
Root rot is the most serious one because by the time you see symptoms, the roots are already compromised. Phytophthora and similar soil-borne pathogens thrive in poorly drained, perpetually wet clay. The real fix is drainage improvement, not fungicide. If a specific spot in your garden consistently loses plants to rot, don't keep trying to grow flowers there until you've fixed the underlying drainage problem. Raised beds or redirecting water away from the area are your best options.
Stunted growth without an obvious root rot problem often comes down to soil temperature or compaction. If the clay is still cold and compacted in spring, roots simply can't expand, and the plant sits there looking unhappy for weeks. This is where your pre-season work with organic matter and soil warming really pays off.
Flower varieties that actually do well in clay
Choosing the right varieties is honestly the biggest shortcut you have when working with clay. Some flowers are remarkably forgiving of heavy, poorly drained soil. Others will just sit and sulk no matter how much you amend. Match the plant to your actual conditions and you'll have far more success than trying to force a moisture-sensitive flower into a wet clay bed. If you want a true no-soil option, you can also learn how to grow flowers without soil using hydroponics or other soil-free growing methods.
Reliable choices for clay gardens
- Marigolds (Tagetes spp.): One of the most clay-tolerant annuals you can grow from seed. They're tough, germinate reliably once soil is warm enough (60°F minimum), and tolerate the heavier moisture retention of clay without much fuss. French marigold varieties tend to be more compact and easier to manage in beds you're still improving.
- Poppies (Papaver spp.): Hardy annual poppies like Papaver rhoeas (corn poppy) and P. somniferum (breadseed poppy) actually prefer direct sowing in heavier soils and can handle cool, moist conditions better than most annuals. Scatter them in fall or very early spring and let them establish on their own schedule.
- Wildflower mixes: Many native wildflowers evolved in clay-heavy meadow soils and thrive where cultivated varieties struggle. Look for mixes that include species native to your region. Mule's ear (Wyethia) is a classic example of a wildflower that actually dominates heavy clay soils in its native range. Native coneflowers (Echinacea), black-eyed Susans (Rudbeckia), and prairie blazingstar (Liatris) are all excellent choices for clay gardens with partial to full sun.
- Snapdragons (Antirrhinum majus): Cool-season snapdragons handle heavier soils well, especially when transplanted rather than direct seeded. They appreciate the moisture retention of clay during spring and early summer. Plant transplants out 2 to 4 weeks before your last frost date when soil is workable.
- Rudbeckia (Black-eyed Susan): Extremely clay-tolerant, especially the perennial types. They establish slowly but once settled they're essentially bulletproof in heavy soil.
- Helenium and Hemerocallis (daylilies): Both handle clay drainage issues better than most perennials and produce reliable blooms once established.
- Baptisia (false indigo): A prairie-native perennial that thrives in clay with minimal fuss once established in its first season.
Matching varieties to your specific conditions
The best starting point is matching your variety to whether your clay tends to stay wet or dries out in summer. If you have wet, slow-draining clay in a sunny spot, lean toward moisture-tolerant natives like Rudbeckia, Helenium, and Liatris. If your clay dries out and cracks in mid-summer after a wet spring, drought-tolerant annuals like marigolds and zinnias actually perform well because clay holds residual moisture longer than sandy soil does. Avoid rhizome-heavy plants or anything labeled 'excellent drainage required' until you've had at least two seasons of organic matter building under your belt.
If you're interested in expanding into other growing methods alongside your clay beds, growing flowers in raised beds is a natural companion approach, and some gardeners find it useful to start new varieties that way while their in-ground clay beds continue to improve season by season.
Your practical starting point for this season
Here's what I'd actually do if I were starting fresh in a clay garden today. If you want a quick, step-by-step approach to how to grow climbing flowers in clay soil, focus first on drainage, then choose a support structure before planting. First, do the squeeze test and check for pooling after rain to understand what you're dealing with.
Then, before anything goes in the ground, work 3 to 4 inches of compost into the bed at a depth of 6 to 8 inches (only when the soil is just barely damp, never soggy). If drainage is severe, seriously consider a simple raised bed for at least part of your planting space. Then choose forgiving varieties like marigolds, poppies, and native wildflowers for your first season, and watch how the soil behaves around them. Add more compost in fall.
By your second season, you'll already notice the clay is easier to work, roots are exploring more freely, and your flowers are establishing faster. Clay gardens reward patience and consistency more than any other soil type, but they genuinely do reward it. Compost can also be a useful growing medium for flowers, so you can try growing them in compost if you balance it with proper drainage growing flowers in compost.
FAQ
How do I know the right day to plant, especially in wet spring weather?
If you try to plant when clay is sticky or squishy, you often create compaction and clods that take longer than a normal season to recover. A practical rule is to test the 8 to 10 inch zone after a sunny day, if it crumbles when squeezed but leaves moisture in your hand, you are close. If it smears or holds a tight ball, wait.
Will a raised bed fix clay drainage for sure, or are there situations where it still fails?
Raised beds do drain faster, but they still need a drainage plan at the site level. If water is pooling in the yard generally, raised beds can become temporary ponds unless you also redirect runoff, improve the path of flow, or choose a higher spot. Before building, observe pooling after the next rain and note where water goes.
Should I water more or less in clay after I add compost and mulch?
Yes, but you should use it as a tool, not a blanket solution. If you add compost and mulch, clay usually improves enough to avoid frequent watering, but very rainy climates can still cause waterlogging. If you use drip or a soaker, reduce run times and monitor moisture at 2 inches deep, only irrigate when that depth starts drying.
How can I tell if my clay soil actually needs watering, not just the surface?
For most ornamental flowers, it is a bad idea to trust surface dryness because clay holds moisture below the surface. Instead, check at about 2 inches deep with a finger or screwdriver, and for deeper-rooted plants check closer to 6 inches. If lower layers are still moist, do not water even if the top looks dry.
My flowers are growing slowly, when should I suspect it is fertilizer versus drainage or temperature?
If you see pale growth, poor flowering, or plants that look underfed despite good watering, the cause is often limited root expansion or compaction rather than fertilizer shortage. After confirming drainage and soil temp are not the issue, consider a light feed with compost-based nutrients, and avoid heavy doses early because clay can keep salts in the root zone. Reassess after one growth cycle.
Why are my seeds germinating but not emerging in clay soil?
Clay can crust over even with good amendments, especially after overhead watering or heavy rain. If seedlings struggle to emerge, gently re-check the surface after watering, and avoid a hard, fine mulch layer right over seeds. Use light mulching designed for seedlings, and water gently enough that the surface stays porous.
Is it okay to amend only the planting hole instead of the whole bed?
You can, but it should be targeted. If you mix compost only into individual holes, you can trap roots in the amended pocket, especially for plants that grow wide root systems. The fix is to amend a radius around the planting, typically the widest expected spread of the plant over a year or two.
When is gypsum worth using, and how do I avoid wasting money on clay gypsum that does not help?
Gypsum is most useful when sodium is driving dispersion, which often shows up as slick, greasy texture when wet or a white crust. If you have non-sodic clay, gypsum usually offers little improvement compared with ongoing organic matter. The decision aid is a basic soil test, then apply gypsum only if sodium-related issues are confirmed.
My clay cracks in summer, does that mean drainage problems are solved?
Do not assume cracked clay means the soil is already healthy. Cracking can mean the clay is drying hard, but it does not tell you whether drainage, aeration, or root penetration are adequate. Combine observations, pooling after rain, and the squeeze or jar tests to decide whether the primary fix should be drainage structure or moisture management.
What is the best way to deal with hardpan that seems to be a few inches down?
Hardpan beneath the surface often requires structural intervention, not just more compost on top. For small beds, double digging can help break the barrier, but for larger areas the more sustainable approach is adding compost and using raised beds or localized berms where the barrier is worst. Treat hardpan as a targeted zone problem, not a whole-yard assumption.
Can I use hydroponics or compost-based growing to bypass my clay soil while still improving the yard over time?
Yes, and it can help you avoid reintroducing compaction. For clay, soil-free or amended growing media can let roots establish without fighting the native structure. If you want to try it alongside in-ground clay, use it for problem plants first, then keep building the garden soil for the rest.
Next Articles
Floret How to Grow Ranunculus: Step-by-Step Guide
Step-by-step Floret-style ranunculus guide: corm prep, planting, watering, frost care, troubleshooting, and harvest for
How to Grow Your Own Wedding Flowers Step by Step
Step-by-step guide to grow bouquet-ready wedding flowers, from planning and sowing dates to harvesting, conditioning, an
How to Grow Flowers From a Bouquet: Step-by-Step
Step-by-step guide to propagate bouquet stems into new flowers: prep, rooting in water/soil, transplanting, care, timeli