Growing wallflowers from seed is very doable, but it rewards a little planning. Sow seeds indoors 4 to 8 weeks before your last frost date, keep them cool and bright to avoid leggy growth, then transplant outside once nights stay reliably above freezing. Most common wallflowers (Erysimum cheiri) are grown as biennials, which means you sow in late spring or summer one year and get blooms the following spring. Annual types skip that wait and flower in their first season. Get that timing piece right and the rest falls into place.
How to Grow Wallflowers From Seed: Step-by-Step Guide
James Holloway
13 Jun 2026
Choosing the right wallflower variety and seed source
Before you order anything, it helps to know what kind of wallflower you're actually growing, because the category changes your whole timeline. There are three main types to choose from: biennial, annual, and perennial wallflowers, and they behave very differently.
| Type | Botanical name | Flowering time | Grown as |
|---|---|---|---|
| Biennial (common wallflower) | Erysimum cheiri | March to June (up to 3 months) | Biennial — sow year 1, bloom year 2 |
| Annual wallflower | Erysimum varieties | From May in first season | Annual — sow and bloom same year |
| Perennial wallflower | Erysimum (e.g. 'Winter Joy') | From February in mild springs | Short-lived perennial, often replanted |
The biennial common wallflower gives you the longest show, nearly three months of bloom from around March through June. If you want flowers this coming spring, you need seeds that were sown last summer. If you're starting now and happy to wait, sowing biennials in late spring or early summer this year will give you a stunning display next spring. Annual wallflowers are the shortcut: sow early in the year, get flowers by May. Perennial types can flower as early as February in mild regions, which is a real bonus.
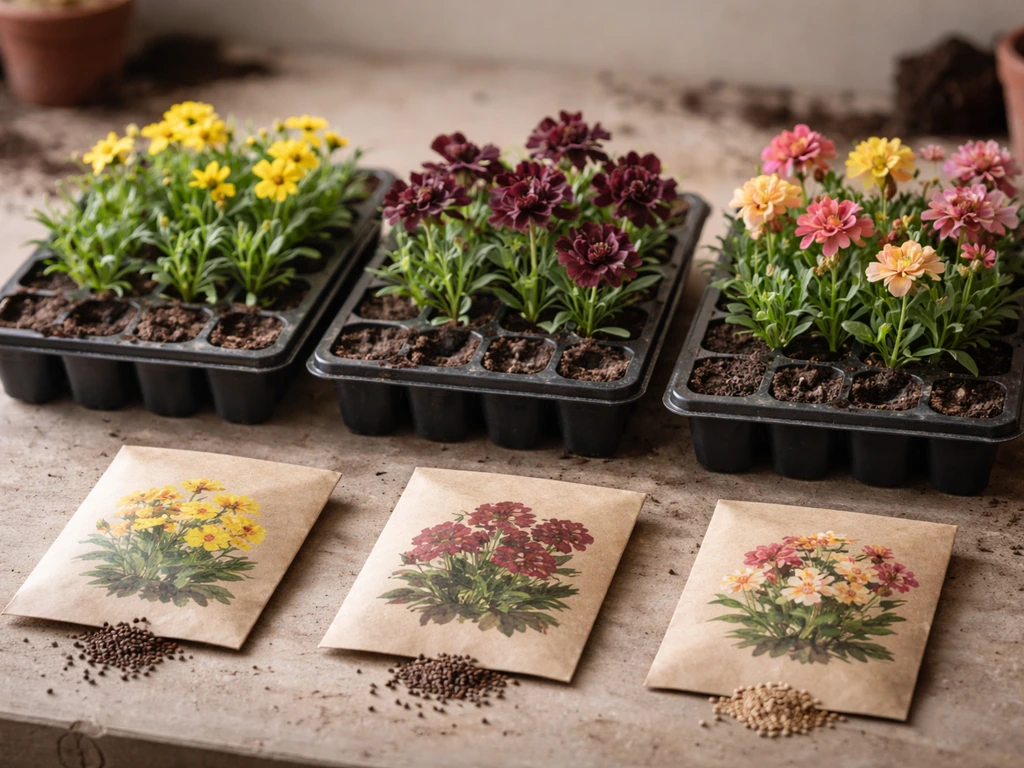
For variety picks, 'Charity Mix' is a reliable biennial blend that produces rich, mixed colors from April to June. Promesse de Fleurs also lists the flowering period for Erysimum cheiri ‘Charity Mix’ as April to June, and in some conditions again from August to October rich, mixed colors from April to June. It's a good first wallflower for beginners because the seed germinates readily and the plants are vigorous. For annuals, look for varieties specifically labeled 'annual' or 'first-year flowering' on the packet. Buy seeds from a reputable supplier, fresh seed makes a real difference to germination rates, and wallflower seed doesn't store well for more than a season.
Timing and planning: when to start seeds and transplant
Timing is honestly where most wallflower projects succeed or fail, so let's get specific. The type you're growing dictates everything.
Biennial wallflowers
Sow biennial wallflowers outdoors in a nursery bed or seed tray from late May through July in the Northern Hemisphere. They need a period of cold to trigger flowering, that's the whole point of the biennial cycle. By autumn, you'll have sturdy young plants ready to move into their final positions. They overwinter as rosettes and burst into bloom the following spring. If you're in a colder zone (Zone 5 or below), aim for the earlier end of that sowing window so plants are big enough to handle winter.
Annual wallflowers (indoor sowing)
For annual types, start seeds indoors 4 to 8 weeks before your last expected frost date. If you want more details on the full process, including starting seeds, transplant timing, and early care, follow this guide to how to grow annual flowers start seeds indoors 4 to 8 weeks. In most of the UK and the Pacific Northwest US, that's late February to early March. In colder regions (Zones 5 to 6), mid-March works well. You're aiming to transplant once nights are reliably above freezing, usually April or May depending on your location. Don't rush it, wallflowers can handle a light frost once established, but tender seedlings fresh from indoors need hardening off first.
Outdoor direct sowing
You can direct sow annual wallflowers outdoors after your last frost in a prepared bed. Germination is slower and thinning is more work, but it's perfectly viable if you missed the indoor window. Just keep the soil consistently moist until seedlings are up, and thin to the right spacing early, crowded seedlings are a problem we'll cover below.
Step-by-step: how to grow wallflowers from seed
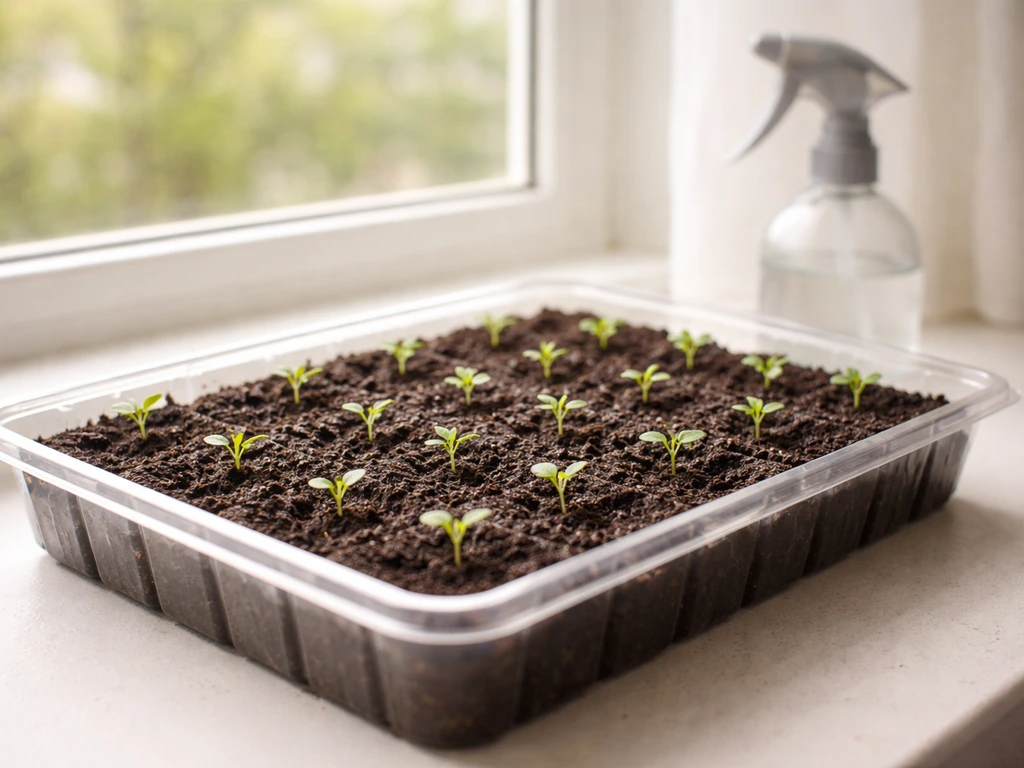
Here's the full indoor sowing process that I use. It works for both annual wallflowers and for getting biennial types off to a clean start before moving them to a nursery bed.
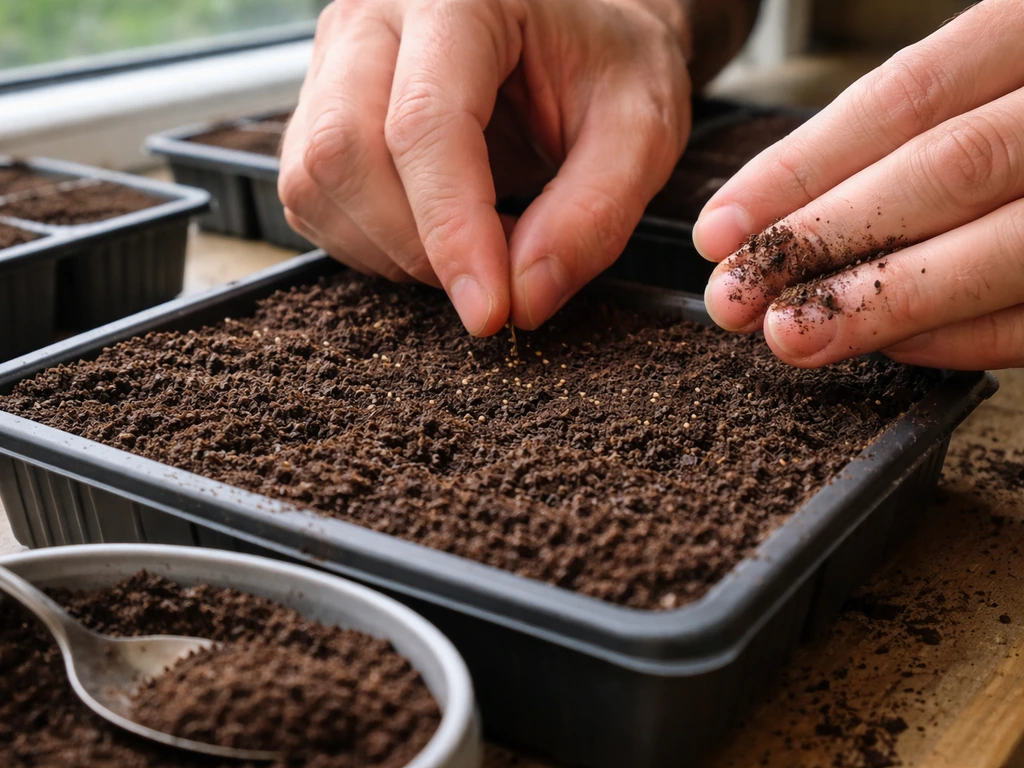
- Fill a seed tray or small pots with a fine, free-draining seed-starting compost. Avoid heavy potting mixes — wallflowers hate sitting in wet soil and damping off is a real risk with this plant. A 50/50 mix of seed compost and perlite works well.
- Sow seeds thinly on the surface. Wallflower seeds are small but manageable — aim for about one seed per centimeter so you're not fighting overcrowding later. Cover lightly with a thin layer of compost or vermiculite, about 3 to 5mm deep.
- Water gently using a fine rose or mist sprayer. You want the compost damp but not sodden. This is where damping off starts, so don't overdo it.
- Place the tray in a warm spot at around 18 to 21°C (65 to 70°F) to encourage germination. A heat mat speeds things up, but a warm windowsill works too. Expect germination in 7 to 14 days.
- Once you see seedlings emerging, move them somewhere bright and slightly cooler — around 15 to 18°C (60 to 65°F). This is critical. Warm + low light = leggy, floppy seedlings that never recover properly.
- Remove the propagator lid or plastic covering as soon as seedlings appear to improve airflow. Stagnant, humid air is the main cause of damping off in wallflowers.
- Water from below by setting the tray in a shallow dish of water when the compost surface starts to dry. This keeps the stems and surface dry, which dramatically reduces disease risk.
Caring after germination: light, water, and thinning
The stretch between germination and transplanting is where a lot of people lose seedlings without knowing why. Wallflowers are very susceptible to damping off, that's the fungal problem where stems pinch off at soil level and seedlings keel over. West Coast Seeds specifically flags this as a major risk with Erysimum, and I'd agree completely based on my own experience losing an entire tray to it one March.
Light
Give seedlings as much light as possible. A south-facing windowsill is fine in late winter and spring. If you're sowing in January or February in a low-light climate, a grow light positioned 5 to 10cm above the seedlings for 14 to 16 hours a day makes a huge difference. Leggy seedlings (tall, thin, floppy) are almost always a light problem, not a watering one. You can bury leggy seedlings slightly deeper when you pot them on, which helps somewhat, but it's better to prevent the problem in the first place.
Watering
Water less than you think you need to. Let the top layer of compost dry slightly between waterings. Bottom watering (setting the tray in water and letting it soak up from below) is genuinely the best method for wallflowers because it keeps the soil surface and stem bases dry. If you see any seedlings collapsing at the base, remove them immediately and improve airflow around the remaining plants, a small fan on low setting helps.
Thinning and potting on
Once seedlings have their first true leaves (the second set, which look like miniature versions of the adult leaves), thin or prick them out into individual small pots or module trays. Give each seedling its own 7 to 9cm pot filled with a slightly richer potting mix. Handle seedlings by their leaves, not their stems, wallflower stems are surprisingly fragile at this stage. After potting on, keep them growing in bright, cool conditions until they're ready to harden off.
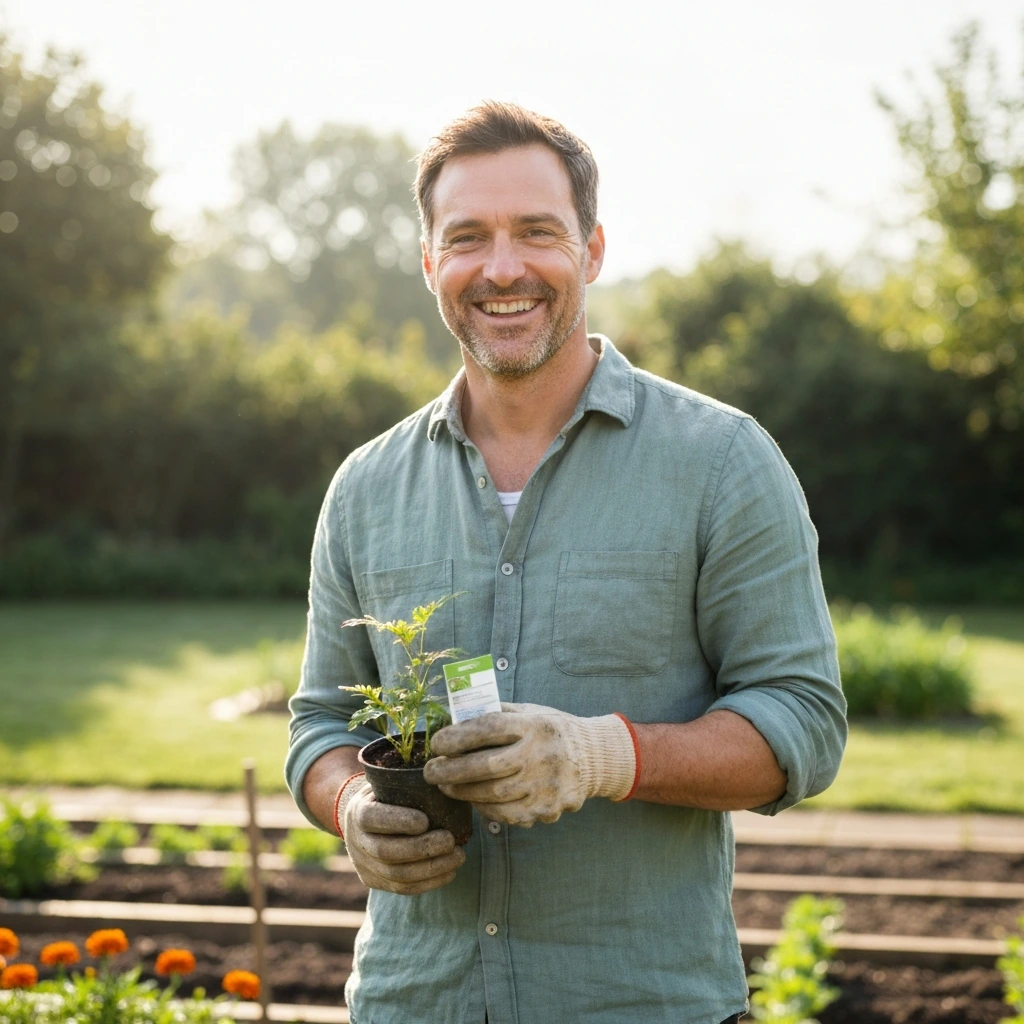
Transplanting to the garden and early establishment
About two weeks before you plan to plant out, start hardening off your seedlings. Put them outside in a sheltered spot during the day and bring them back in at night. Gradually extend outdoor time over 10 to 14 days until they're outside day and night. Skipping this step is one of the most common causes of transplant shock, indoor-grown plants go soft and struggle badly if you move them outside suddenly.
Choosing a spot
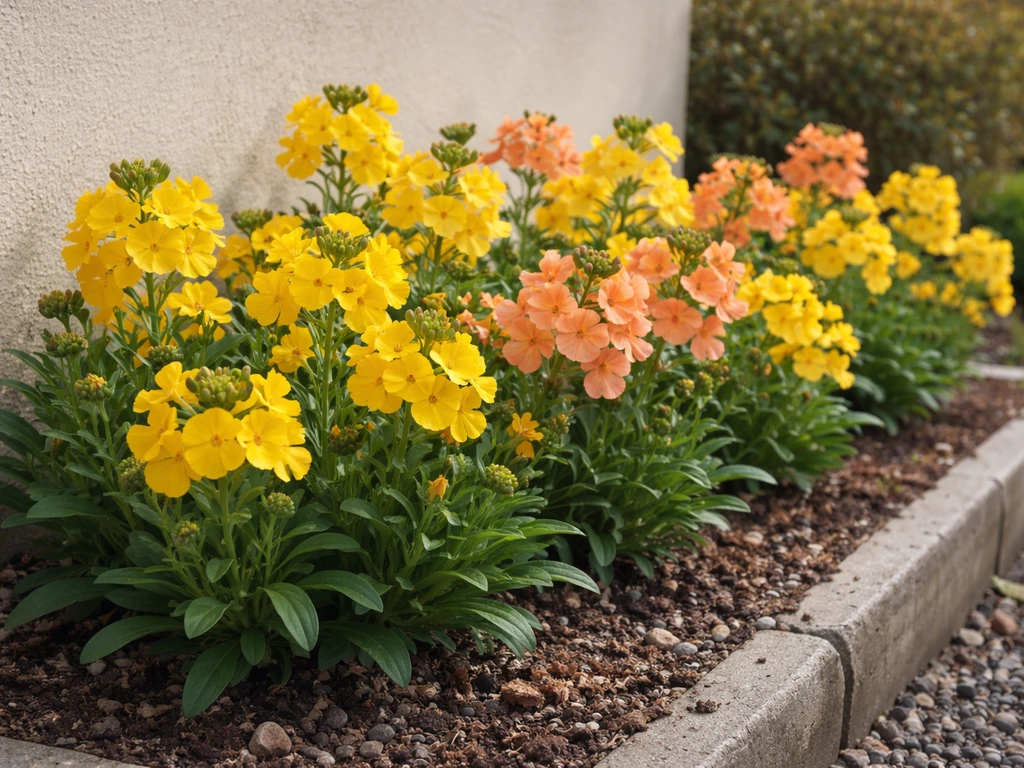
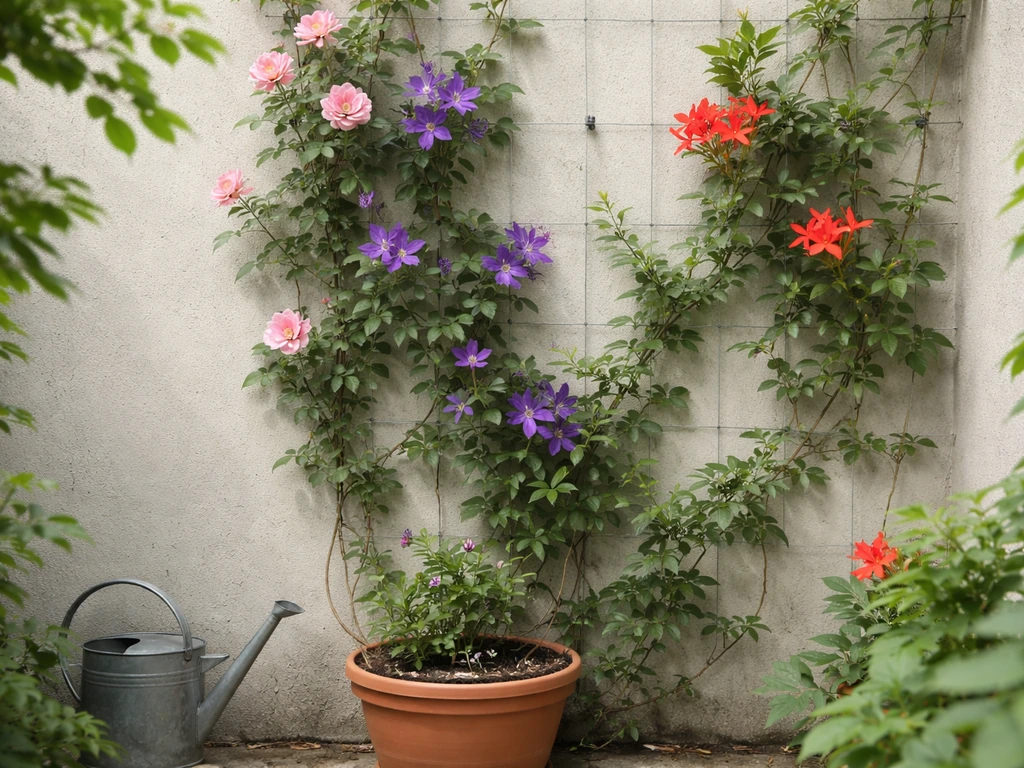
Wallflowers do best in full sun to partial shade and prefer well-drained, slightly alkaline soil. They're actually quite tolerant of poor, stony soil, they grow wild on old walls and chalky banks, which is where the name comes from. If you want even more ideas for wall-focused planting, the same spacing and sun rules apply when you grow flowers up a wall wallflowers grown on walls. Heavy clay that holds water in winter is the one thing they really struggle with. If your soil is clay-heavy, mix in plenty of grit when planting or choose a raised bed.
Spacing and planting
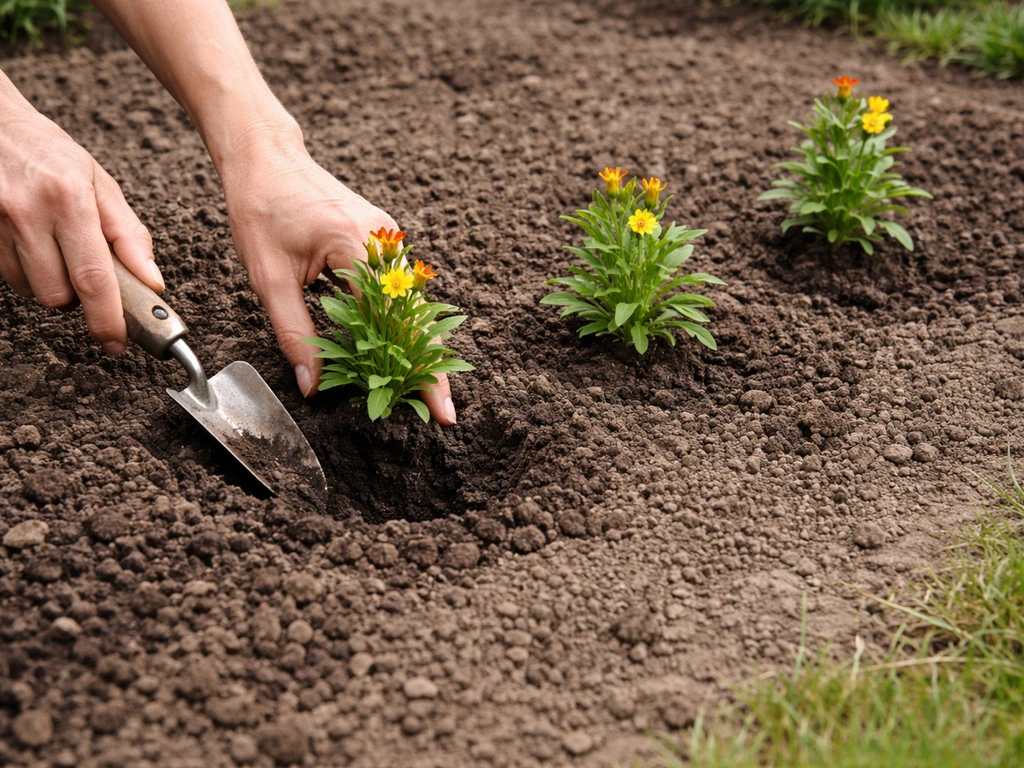
Plant wallflowers 30 to 38cm (12 to 15 inches) apart. It might look sparse at first, but they fill in quickly and good airflow between plants keeps disease down. Dig a hole slightly deeper than the root ball, firm the plant in well, and water thoroughly. For biennial wallflowers being moved into their final positions in autumn, plant them firmly, they'll rock in winter winds and loose planting leads to frost heave. Press the soil around the roots firmly with your foot after planting.
If you're thinking about growing other flowers in the same bed, wallflowers pair beautifully with tulips and forget-me-nots for a classic spring combination. They're also a natural companion for any cottage garden planting. If you're interested in growing annual flowers more broadly, many of the same seed-starting principles here apply across the board. If you want to try a different container option, you can also learn how to grow flowers in plastic bottles growing other flowers. If you want to try something different, you can also adapt your approach to growing flowers in glass jars how to grow flowers in glass jars.
After planting
Water newly transplanted wallflowers every couple of days for the first two weeks, then scale back as they establish. Avoid feeding with high-nitrogen fertilizer, it pushes leafy growth at the expense of flowers. A light application of a balanced, low-nitrogen fertilizer in spring is fine for biennial plants that have overwintered.
Troubleshooting common issues and next steps to bloom
Even when you do most things right, problems come up. Here are the issues I see most often and what to do about them.
| Problem | Likely cause | Fix |
|---|---|---|
| Poor or patchy germination | Old seed, too cold, or sown too deep | Use fresh seed from a reliable supplier; aim for 18–21°C during germination; cover seed with no more than 5mm of compost |
| Leggy, floppy seedlings | Not enough light, too warm | Move to a brighter spot or add a grow light; lower temperatures to 15–18°C after germination |
| Damping off (seedlings collapse at base) | Fungal disease from wet, humid conditions | Remove affected plants immediately; improve airflow; switch to bottom watering; use a clean compost mix |
| Seedlings wilting after transplant | Transplant shock from skipped hardening off | Harden off for 2 full weeks before planting; water in well and shade for a few days if hot weather strikes |
| No flowers on biennial plants | Planted too late or winter wasn't cold enough to trigger flowering | Sow biennials by early July; in mild-winter climates, choose annual or perennial varieties instead |
| Yellowing leaves | Waterlogged soil or nitrogen deficiency | Check drainage; if soggy, improve with grit; if well-drained, apply a balanced fertilizer |
The most common reason wallflowers fail to bloom isn't disease or pests, it's timing. Biennial wallflowers genuinely need that cool winter period to set buds. If you're in a very mild climate (Zone 9 and above), biennials often disappoint because winters aren't cold enough. In that case, growing annual wallflower varieties or treating them as cool-season annuals sown in autumn for late winter and spring bloom is a smarter approach.
Once your wallflowers are in bud, you're nearly there. Deadhead spent flowers regularly to extend the blooming season, common wallflowers can flower for close to three months if you keep on top of this. After bloom, biennial plants will decline and should be pulled and composted to make way for summer planting. Annual and perennial types may rebloom if cut back hard after the first flush. Save that seed from your favorites, store it in a paper envelope in a cool dry place, and you'll have next year's crop taken care of for free.
FAQ
Do wallflowers need stratification (time in the fridge) to germinate?
Usually no, but the “cold” requirement is mostly about biennial flowering later in the lifecycle. For germination, focus on fresh seed, steady moisture, and bright light after sprouting. If you try stratification, keep the window short (about 2 to 4 weeks) and still provide good light once germination starts, otherwise seedlings can emerge pale and weak.
What spacing should I use in containers, and does it differ from in-ground planting?
Yes, containers need tighter but still breathable spacing. Use the same general spacing target, then choose a pot wide enough for airflow around the crown (aim for roughly 12 to 15 inches equivalent per plant). Ensure excellent drainage, because wallflowers in pots dry unevenly and stay wet at the stem base longer than in-ground plants.
How can I tell if my wallflowers are leggy because of light versus overwatering?
Leggy seedlings that stretch are most often low-light. Overwatering usually shows up as collapsing or pinched stems at the soil line (damping off) or consistently soggy compost. A quick check is to let the top layer dry slightly between waterings and confirm you are using bottom watering; if height continues to surge despite drier surface, increase light or move the tray closer to the light source.
My seedlings keep falling over at the base. What should I do immediately?
Remove collapsed seedlings right away and reduce moisture, then improve airflow (even a small fan on low helps). Switch to bottom watering so the stem base stays drier. If the tray stays cool and wet, damping off risk rises quickly, so consider a slightly warmer location that is still bright.
Can I direct sow biennial wallflowers instead of starting in beds or trays?
You can, but it is easier to lose them during winter if they stay too small or too wet. Biennials benefit from getting established before cold weather, so direct sowing works best where winters are not harsh and the site is well-drained. Otherwise, sow in a nursery bed or tray, then transplant once they are sturdy enough to handle overwintering.
When is the best time to transplant wallflowers outdoors?
Follow the frost rule for your location, then add a weather buffer. Transplant when nights are reliably above freezing, and avoid planting during a cold, rainy spell right after potting up or hardening off. If a late cold snap is forecast, protect newly planted seedlings briefly with fleece to prevent cold stress before roots establish.
Should I pinch or cut wallflower seedlings to make them bushier?
Generally no for the first growth stage. Early cutting can delay flowering and increase stress during an already fragile phase. If plants get too tall indoors, correct the cause (light and temperature) and, when potting on, you can bury leggy seedlings slightly deeper to stabilize them rather than pruning tops.
What soil pH is best, and what if I cannot add lime to raise alkalinity?
Wallflowers prefer slightly alkaline, well-drained soil, but they are fairly tolerant if drainage is good. If you cannot amend pH, prioritize structure by adding grit and using raised beds in heavy areas. In pots, use a free-draining mix and avoid keeping the soil saturated during winter, which matters more than exact pH for preventing failure.
How much should I water after planting out, and when do I stop watering?
Water more frequently only during establishment, then taper. A practical approach is to water every couple of days for about two weeks if conditions are dry, then switch to watering only when the top few centimeters of soil feel dry. For in-ground plants, stop extra watering once you see active new growth and the weather is reasonably mild.
Why did my wallflowers stop growing or look worse after I planted them?
The most common causes are transplant shock and root stress from compacted or poorly drained soil. Make sure the planting hole is deep enough, firm the soil gently but not excessively, and water thoroughly right after planting. If you see deterioration, check drainage first, because wallflowers dislike winters where the crown stays wet.
Can annual wallflowers be saved for seed, and how should I store it?
Yes, but only save seed from healthy, true-to-type plants if you care about keeping colors or traits consistent. After pods mature, dry the seed fully, then store in a paper envelope in a cool, dry place. Seed viability commonly drops after about one season, so label dates and plan to sow the next year promptly.
What feeding approach works best, especially if my plants have lots of leaves but few flowers?
Avoid high-nitrogen fertilizer, it encourages lush foliage at the expense of buds. If your plants are leafy, pause feeding and switch to a low-nitrogen, balanced option in spring only. For biennials overwintered in place, a light, cautious feed is enough, if any.
Next Articles
How to Grow Flowers Up a Wall: Step-by-Step Guide
Step-by-step guide to grow flowers up a wall: plan support, pick plants for light, plant, train, water, and maintain blo
How to Grow Flowers in Glass Jars: A Complete Guide
Step-by-step guide for growing flowers in glass jars: jar choice, seed starting, care, transplant timing, and troublesho

How to Grow Annual Flowers: Step-by-Step From Seed to Bloom
Step-by-step guide to grow annual flowers from seed to bloom, with timing, soil, spacing, watering, and fixes for common