
Perennial wallflowers (mainly Erysimum species and hybrids) are some of the most rewarding flowers you can grow from seed. They bloom for months, smell incredible, come back year after year in the right climate, and are genuinely forgiving for beginners. Sow seeds in late winter indoors (6 to 8 weeks before your last frost) or in autumn directly outdoors, give them a sunny, well-drained spot, and most perennial types will flower reliably from spring into early summer, and in many climates, on and off all year. This guide walks you through every step: picking the right species and variety for your zone, timing your sowing, caring for plants through the seasons, propagating your favorites, and troubleshooting the problems that actually come up in real gardens. For broader guidance on how to grow perennial wildflowers, see this related guide.
How to Grow Perennial Wallflowers: Seed to Year-Round Blooms

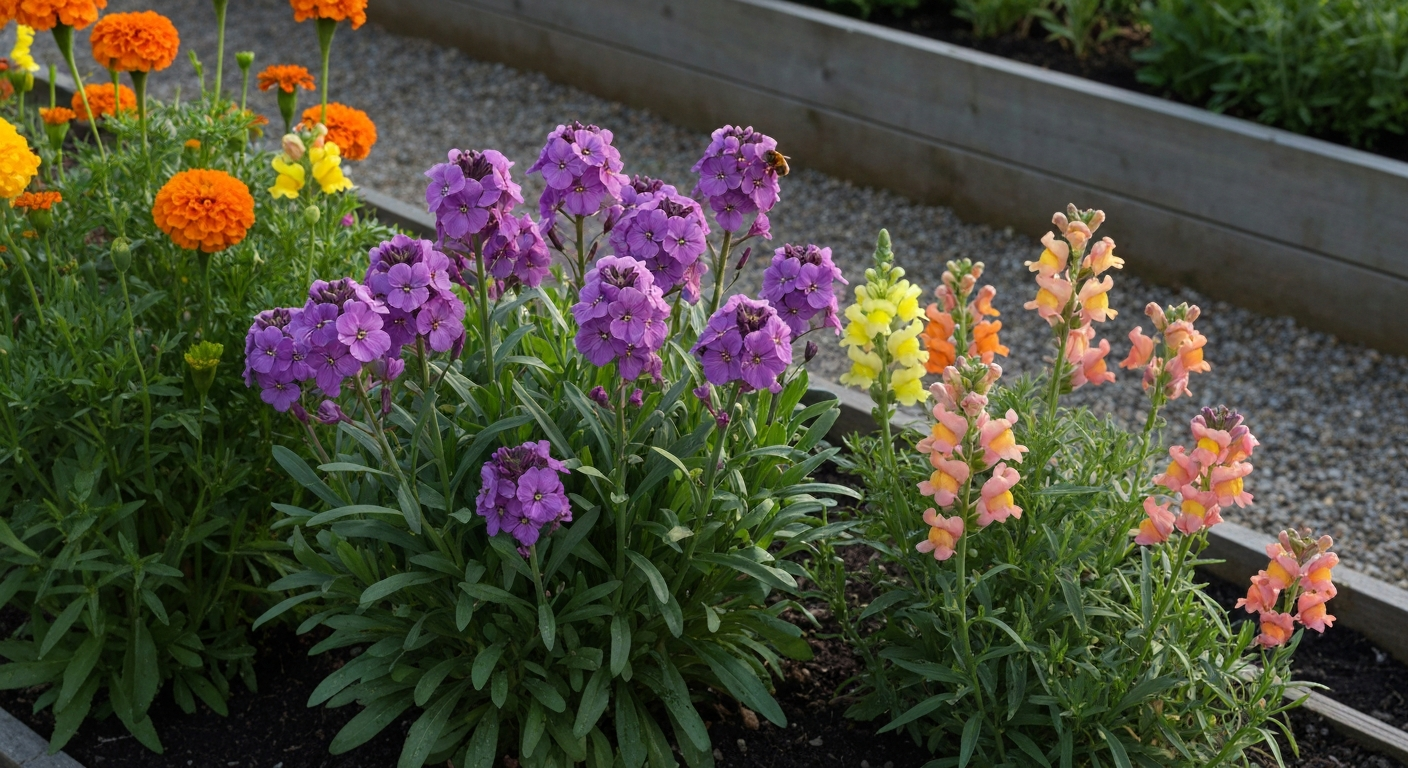
Perennial vs biennial wallflowers: what the difference actually means for you
This is the single most confusing thing about wallflowers, and it tripped me up the first time I grew them. The genus Erysimum contains annual, biennial, and perennial species, and the same genus also includes shrubby subshrubs. World Flora Online documents Erysimum species as annual, biennial, or perennial and notes they are rarely subshrubs or shrubs (Erysimum L. | World Flora Online). The classic bedding wallflower (Erysimum × cheiri, often still sold under Cheiranthus) is almost always grown as a biennial: you sow in year one, plants establish through summer and autumn, then they bloom in spring of year two and typically die after setting seed. Many gardeners assume all wallflowers work this way, but that is not the full story.
True perennial wallflowers, particularly shrubby or semi-woody species like Erysimum 'Bowles's Mauve', E. linifolium selections, and many modern hybrid cultivars, behave quite differently. They build a woody or semi-woody base, keep their foliage through winter (especially in milder zones), and come back and bloom for multiple seasons. They are often described as evergreen or herbaceous perennials, though most are technically short-lived perennials: expect three to five productive years before plants get woody and flowering drops off. The practical upshot is simple: if you want a wallflower you plant once and enjoy for years, choose a named perennial cultivar or species rather than the standard biennial bedding types.
The biology behind this is interesting. Research into Brassicaceae flowering behavior shows that the shift between annual, biennial, and perennial life histories in this family is controlled by overlapping genetic pathways, which explains why some Erysimum cultivars sit in a gray zone, behaving as short-lived perennials under good conditions or as biennials if they experience heat or drought stress. Knowing this helps you understand why the same cultivar might last three years in a cool Pacific Northwest garden and only one year in a Texas summer. It is not a failure on your part, it is biology.
Wallflower basics: species, hardiness, and how climate shapes their behavior
Erysimum is a large genus in the mustard family (Brassicaceae) with hundreds of species found across a wide range of habitats, from coastal cliffs to mountain meadows. For garden purposes, the ones you will most likely encounter fall into a few broad groups. The biennial types (E. × cheiri and its selections) are best for cottage-garden bedding but are outside the scope of this perennial-focused guide. The perennial and shrubby types, particularly E. 'Bowles's Mauve', E. linifolium and its cultivars, E. asperum (western wallflower, native to North America), and E. capitatum (another native species), are what you want for a long-lived garden planting.
Hardiness varies meaningfully across these types. Most perennial Erysimum cultivars are reliably hardy in USDA zones 6 to 9, though 'Bowles's Mauve' can survive in zone 5 with good drainage and some shelter. Native North American species like E. asperum and E. capitatum are documented as perennial-capable across a broader range and can cope with colder winters. In warmer zones (9 to 11), including much of Florida, Texas, and the Southwest, the challenge flips: wallflowers struggle not with cold but with summer heat and humidity. In those climates, perennial Erysimum are best treated as cool-season ornamentals, planted in autumn and allowed to perform through winter and spring before summer ends their run.
One thing I have learned through experience is that drainage matters more than almost any other site factor. Wallflowers will rot in waterlogged soil, period. A plant that would be a short-lived perennial in a gravelly, free-draining border becomes an annual in a clay-heavy, wet spot. This is especially important in wet winters, if you are in the Pacific Northwest or a humid Southeast climate, raised beds or slopes are your best friend.
Recommended varieties: compact, tall, and especially fragrant
Choosing the right variety makes a huge difference. Here are the ones I keep coming back to and that consistently perform well in trials and home gardens across North America and the UK.
- Erysimum 'Bowles's Mauve': the gold-standard perennial wallflower. Evergreen, bushy, reaches 24 to 30 inches tall, produces rich mauve-purple flowers almost continuously in mild climates. Hardy in zones 6 to 9 (sheltered zone 5 with excellent drainage). Strongly fragrant. Does not come true from seed — propagate by cuttings.
- Erysimum 'Constant Cheer': a compact, multi-colored perennial with flowers that shift from purple to orange as they age. Grows to about 18 inches. Hardy zones 6 to 9. Good fragrance and a long bloom period.
- 'John Codrington': a classic British cottage garden variety with warm yellow, orange, and mauve tones. Semi-woody perennial, zones 6 to 9. Excellent fragrance. Worth growing if you can find seed or plants.
- Erysimum 'Superbowl' series (also sold as 'Erysistible' in some markets): compact, bred for heavy flowering and good garden hardiness. Good choice for containers. Zones 6 to 9.
- Erysimum 'Flambe Orange': a compact, warm-toned variety used in trial gardens including UF/IFAS plantings in Florida, indicating it performs as a cool-season ornamental in warm climates. Zones 7 to 11 as a seasonal plant.
- Erysimum asperum (prairie wallflower / western wallflower): a native North American species, biennial to short-lived perennial, USDA zones 4 to 8. Bright orange-yellow flowers, naturally adapted to dry, open sites. Grows well from seed and self-seeds reliably.
- Erysimum capitatum (sand dune wallflower): another native species, USDA zones 3 to 9 depending on provenance. Excellent for dry, rocky or sandy sites. Biennial to perennial habit.
- 'Ray's Early Giants': a taller, robust variety often listed in RHS trial notes for reliable performance. Good for cutting. Zones 6 to 9.
A note on hybrid varieties: many modern perennial wallflower cultivars are hybrids bred for reduced seed set and extended flowering. This is great for the garden, fewer seeds means more energy going into blooms, but it means seeds collected from these plants will not produce the same cultivar. If you fall in love with a particular named variety, take cuttings rather than saving seed.
Quick variety and zone reference
| Variety | Type | Height | USDA Zones | Fragrance | Notes |
|---|---|---|---|---|---|
| Bowles's Mauve | Evergreen perennial | 24–30 in | 6–9 (sheltered 5) | Strong | Propagate by cuttings only |
| Constant Cheer | Semi-woody perennial | ~18 in | 6–9 | Good | Color-shifting flowers |
| John Codrington | Semi-woody perennial | 18–24 in | 6–9 | Excellent | Cottage-garden classic |
| Superbowl / Erysistible | Compact perennial | 12–18 in | 6–9 | Moderate | Good for containers |
| Flambe Orange | Short-lived perennial | 12–16 in | 7–11 (cool season) | Moderate | Cool-season performer in warm climates |
| Erysimum asperum | Biennial to perennial | 12–24 in | 4–8 | Light | Native species; self-seeds well |
| Erysimum capitatum | Biennial to perennial | 8–20 in | 3–9 | Light | Dry/rocky sites; cold-hardy |
| Ray's Early Giants | Semi-woody perennial | 18–30 in | 6–9 | Good | Tall; suitable for cutting |
Picking the right wallflower for your region and microclimate
Your USDA zone is a starting point, but your microclimate is what actually determines success. Consult the 2023 USDA Plant Hardiness Zone Map (use with extension planting timing rules) to confirm your zone and check local extension guidance for the best sowing and transplanting windows. A south-facing wall in zone 6 can behave like zone 7 for an overwintering wallflower, this is where the common name 'wallflower' actually comes from historically, plants naturalizing on warm stone walls. Conversely, a low-lying frost pocket in zone 8 can damage plants that should technically be fine. When in doubt, plant near a wall or fence for extra warmth and shelter.
For Texas gardeners: most of Texas falls in zones 7 to 9, with southern and coastal regions reaching zone 10. The key challenge is summer heat and humidity rather than cold. Plant wallflowers in October or November for winter and spring bloom. Choose heat-tolerant compact varieties like 'Flambe Orange' or 'Superbowl'. Provide afternoon shade in Central and South Texas, and do not expect plants to persist through a hot, humid Texas summer, treat them as a gorgeous cool-season annual that you replant each fall, which honestly is not a hardship given how long they bloom from October through May. For tips on native and adapted species for the Lone Star State, see our guide on how to grow Texas wildflowers.
For Florida gardeners: UF/IFAS has included Erysimum cultivars like 'Flambe Orange' in demonstration garden plantings, confirming they are workable as cool-season ornamentals in Florida. For related guidance on planting native and wildflower-friendly species and optimizing seasonal timing in the state, see how to grow wildflowers in Florida. Plant in October through December in Central and North Florida. In South Florida (zones 10 to 11), wallflowers are best as a short winter season plant. Prioritize excellent drainage, Florida's heavy summer rains are not the issue if you time planting correctly, but sitting in wet soil even briefly in winter will cause root rot. Raised beds or containers are ideal. If you enjoy growing edible flowers or perennial wildflowers in Florida, the same cool-season timing principles apply across those plant groups.
For the Pacific Northwest: this is arguably the best wallflower climate in North America. Mild winters, cool summers, and reliable moisture suit Erysimum perfectly. 'Bowles's Mauve' can bloom for ten or eleven months of the year in a sheltered Pacific Northwest garden, which is genuinely staggering. Plant in spring or autumn, ensure drainage is good, and expect multi-year perennial performance. Native E. capitatum also thrives in dry east-side Pacific Northwest conditions.
Soil, site, and container setup
Wallflowers want full sun (six or more hours) and sharply drained soil. They are more drought-tolerant than many flowers and genuinely perform better in lean, low-fertility soil than in rich, heavily amended beds. In fertile soil they put on lush growth but produce fewer flowers and are more prone to flopping and disease. If your garden soil is heavy clay, the simplest fix is to raise the bed by 6 to 8 inches with a mix of topsoil, coarse grit, and a little compost. A pH of 6.0 to 7.5 suits most species, and they are notably tolerant of alkaline or chalky soils.
Containers work very well for wallflowers, especially compact varieties like 'Superbowl' or 'Flambe Orange'. Use a mix of standard potting compost and perlite or coarse grit at roughly a 2:1 ratio. Make sure pots have drainage holes and never let them sit in saucers of water. Container-grown wallflowers in warm climates can be moved to shade or indoors during the hottest weeks, which extends their life considerably. Repot into fresh compost every second year if plants persist that long.
Seed-starting and planting: a step-by-step timeline by USDA zone
Wallflower seed has a few quirks worth knowing before you start. Most Erysimum seed germinates best in light, do not bury it. Sow seeds onto the surface of moist, fine-textured seed compost and press gently so they make contact with the surface. Cover with only the thinnest dusting of fine grit or leave them uncovered. Keep the tray cool (around 60 to 68 degrees Fahrenheit) and consistently moist. Germination typically takes 10 to 21 days. Some species and seed lots benefit from cold stratification: if germination is slow or erratic, place the slightly damp seed in a sealed plastic bag in the fridge for four to six weeks, then bring to room temperature. This mimics natural winter conditions and often dramatically improves germination rates.
- Fill seed trays or small pots with fine-textured seed compost mixed with 20 percent perlite or fine grit.
- Moisten the mix thoroughly before sowing — not dripping wet, just evenly damp.
- Surface-sow seed thinly. One or two seeds per small cell if using cell trays.
- Press seeds gently into the surface. Do not cover with compost. A very thin dusting of fine grit is optional and helps retain moisture around the seed.
- Place trays somewhere cool and bright — a cold frame, an unheated greenhouse, or a windowsill away from direct heat. Avoid temperatures above 70 degrees Fahrenheit during germination.
- Keep the compost evenly moist. Bottom-watering (placing the tray in a shallow dish of water) prevents disturbing the seeds.
- Check daily from day 10. Once seedlings appear, move to brighter light to prevent legginess.
- When seedlings have two true leaves (beyond the initial seed leaves), prick them out into individual 2- to 3-inch pots.
- Harden off outdoor-destined plants over 7 to 10 days before transplanting — set them outside for a few hours each day, increasing exposure gradually.
- Transplant to their final position when plants are stocky and well-rooted, at least 12 to 18 inches apart depending on the variety.
Timing by USDA zone
Zones 3 to 5: Start seeds indoors under lights in late February to early March, 6 to 8 weeks before your last expected frost date. Transplant outdoors after your last frost (May to early June depending on location). Alternatively, sow in autumn (September) into a cold frame for overwintering and spring planting. Expect flowers from late spring through early summer. In zones 3 and 4, choose cold-hardy native species like E. capitatum or E. asperum for the best chance of perennial return.
Zones 6 to 7: Two windows work well here. Sow indoors in late February to early March for late spring planting and summer bloom. Or sow outdoors in August to September, overwinter young plants as a rosette, and enjoy spring flowers. The autumn-sowing route often produces bigger, stronger plants and more prolific early spring bloom, it is my preferred approach in this zone range.
Zones 8 to 9: Autumn planting is the clear winner. Sow seeds in August to September or set out transplants in October to November. Plants establish through the mild winter and bloom strongly from late winter through spring. Avoid spring planting if you can, plants started in spring in these zones hit summer heat before they are fully established and often struggle.
Zones 10 to 11: Treat wallflowers entirely as cool-season ornamentals. Plant transplants in October through December. Expect flowering from December through March or April before heat terminates the show. Seed-starting in late September works well if you have a cool, bright spot for germination. Do not attempt to carry plants through summer.
Regional timing guide for U.S. gardeners
| Region | Typical Zones | Sow/Plant Window | Bloom Window | Key Notes |
|---|---|---|---|---|
| Northeast (MA, NY, PA, CT) | 5–7 | Indoors Feb–Mar; transplant May | Late May–July | Cold-frame autumn sowing also works well; mulch crowns for winter |
| Midwest (IL, OH, MN, MO) | 4–6 | Indoors late Feb–Mar; transplant late Apr–May | May–July | Choose cold-hardy species in zones 4–5; excellent drainage critical |
| Southeast / Florida | 8–11 | Sow or plant Oct–Dec | Dec–Apr | Treat as cool-season annual; raised beds or containers for drainage |
| South/Central — Texas | 7–10 | Plant Oct–Nov | Nov–May | Afternoon shade in zones 9–10; excellent drainage essential |
| Southwest (AZ, NM, CA deserts) | 8–11 | Plant Oct–Nov | Nov–Apr | Low humidity is an advantage; protect from reflected heat |
| Pacific Northwest (WA, OR coast) | 7–9 | Plant spring or autumn | Late Feb–Nov (near-year-round) | Best wallflower climate in the US; 'Bowles's Mauve' thrives |
| Mountain West (CO, UT, ID upper elevation) | 4–6 | Indoors Mar; transplant May–June | June–Aug | Use native E. asperum or E. capitatum for cold hardiness; perfect drainage on slopes |
Watering, feeding, and day-to-day care
Once established (about six weeks after transplanting), perennial wallflowers are quite drought-tolerant. Water young plants consistently during their first season, especially in dry spells, but ease off once they are settled in. Overwatering is a much more common mistake than underwatering with wallflowers. Aim for the soil to dry slightly between waterings. In containers, check moisture every two to three days in warm weather and water when the top inch of compost feels dry.
Feeding should be restrained. Rich feeding produces lush, floppy growth and reduces flowering. A light application of a balanced, low-nitrogen fertilizer (such as a 5-10-10 formula) in early spring is enough to support the season. If your soil is genuinely poor or sandy, a second light feed in midsummer is fine. Skip the high-nitrogen general-purpose fertilizers, they are the wrong tool for wallflowers.
Deadheading and pruning
Deadheading spent flower spikes as they fade encourages a second or third flush of blooms, particularly in cooler seasons. On shrubby types like 'Bowles's Mauve', use clean, sharp scissors or secateurs and cut the spent stem back to a set of healthy leaves or a lateral shoot. After the main spring flush, cutting plants back by one-third keeps them bushy rather than leggy. Avoid cutting back into old, bare wood, unlike many shrubs, wallflowers do not regenerate well from very old woody stems. Light and regular is the pruning philosophy here.
Overwintering
In zones 6 and above, established perennial wallflowers need minimal winter protection. Good drainage is their most important survival requirement, a plant that would die in a wet winter will often sail through a cold but dry one. In zones 5 and colder, a 2- to 3-inch mulch of straw or dry leaves over the crown (not smothering the foliage) provides useful insulation. Container plants in cold zones should be moved to an unheated greenhouse, garage, or sheltered corner. Do not bring them into a heated room, they need the cool rest period.
Propagation: cuttings, division, and saving seed
Because most named perennial wallflower varieties are hybrids that do not come true from seed, vegetative propagation is the main way to keep a beloved cultivar going. Cuttings are straightforward and very satisfying once you do it the first time.
Taking cuttings
- Take cuttings in spring or early summer, once new growth is several inches long but before it becomes woody — semi-softwood is the target.
- Cut a non-flowering shoot about 3 to 4 inches long, just below a node.
- Strip the lower leaves, leaving two to three at the tip.
- Dip the cut end lightly in rooting hormone powder (optional but helpful).
- Push the cutting into a mix of equal parts perlite and compost, in a small pot or cell tray.
- Cover loosely with a clear plastic bag or propagator lid to retain humidity. Keep out of direct sun.
- Check for rooting after three to four weeks — a gentle tug that meets resistance means roots are forming.
- Once rooted and showing new growth, pot on into standard compost and treat as a young plant.
Division
Clump-forming Erysimum species (like some native types) can be divided in early spring before new growth begins. Use a sharp spade to split the clump, making sure each division has healthy roots and shoots. Replant immediately and water well. Shrubby cultivars like 'Bowles's Mauve' do not divide easily and are much better propagated by cuttings.
Saving seed from open-pollinated types
If you are growing an open-pollinated species (not a named hybrid cultivar), saving seed is easy and rewarding. Erysimum produces dry, elongated seed pods called siliques, which is standard for the mustard family. Wait until the pods turn tan and papery, if you open one, the seeds inside should be brown and firm. Harvest on a dry day by cutting the stems and placing them upside down in a paper bag. Let them dry for a further two weeks in a warm, airy space, then thresh (shake or rub) to release the seeds. Store in a paper envelope inside a sealed jar in the fridge or a cool, dark cupboard. Stored this way, Erysimum seed remains viable for two to three years.
Pests, diseases, and heat stress: what to watch for
Wallflowers are relatively problem-free but they do have a handful of reliable enemies. Knowing them in advance saves a lot of frustration.
- Flea beetles: tiny beetles that leave small round holes in leaves. They are annoying but rarely fatal to healthy, established plants. Protect young seedlings with row cover. Avoid planting in the same spot as other brassicas year after year.
- Slugs and snails: most damaging to seedlings and young transplants. Use grit mulch around the base of plants, copper tape on containers, or iron-phosphate slug pellets if populations are high.
- Clubroot: a soil-borne disease (Plasmodiophora brassicae) that causes distorted, swollen roots. There is no cure — remove and destroy affected plants. Rotate planting away from any brassica (including wallflowers) for at least four years. Clubroot thrives in acidic, wet soil, so improving drainage and raising pH to 7.0 or above reduces risk.
- Downy mildew: greyish coating on leaf undersides, often in humid, cool conditions. Improve air circulation by spacing plants well and avoiding overhead watering. Remove badly affected leaves.
- Heat stress: yellowing leaves, bud drop, and wilting are the common signs. In warm climates, provide afternoon shade and ensure plants are not water-stressed going into the hottest weather. In zones 9 and above, accept that summer will end the plant's run and plan to replace in autumn.
- Powdery mildew: white powdery coating on leaves, usually in dry summers. Remove affected growth, improve air circulation, and avoid overhead watering. It rarely kills wallflowers but weakens them.
One honest note: in my experience, the biggest single cause of wallflower failure is not pests or diseases, it is waterlogged soil in winter. If your plants are dying in late winter or early spring without an obvious pest problem, check the drainage before anything else.
Uses in the garden: borders, cut flowers, and drying
Perennial wallflowers are incredibly versatile. In borders, taller varieties like 'Ray's Early Giants' or 'Bowles's Mauve' work beautifully at the front to mid-section, providing structural presence and colour from late winter when not much else is happening. They pair particularly well with spring bulbs, tulips and alliums blooming through a carpet of wallflower foliage is a classic combination that is genuinely hard to beat.
As cut flowers, wallflowers are underused. Cut stems in the morning when a third to half of the flowers on the spike are open, immediately place in deep water, and change the water daily. They last five to seven days in a vase. The fragrance indoors is exceptional, this is honestly one of my favourite things about growing them.
For drying, wallflowers are best harvested just before peak bloom and hung upside down in small bunches in a warm, dark, airy space. The colours fade somewhat when dried, but the structure of the seed pods that follow can be attractive in dried arrangements. If you grow everlasting flowers alongside your wallflowers, the combination of dried wallflower stems and everlastings makes excellent long-lasting arrangements. For guidance on pairing and preserving stay-bright blooms, see our short primer on how to grow everlasting flowers.
Edibility and safety notes
This is worth addressing clearly. Wallflower petals (Erysimum species) are technically edible and have historically been used as garnishes and in salads. However, they are not in the same category as fully established edible flowers, they contain glucosinolates and other compounds that can cause digestive upset if consumed in quantity, and some individuals are sensitive to them. Use wallflower petals only in very small amounts as garnishes, not as a primary ingredient. If you or anyone in your household is pregnant, on medication, or has a history of thyroid issues (glucosinolates can affect thyroid function in large amounts), avoid consuming them entirely. If you are interested in growing a full range of edible flowers, there are much better-documented and safer options to explore alongside your wallflowers. For a practical guide to choosing and growing safe, well-documented edible flowers, see how to grow edible perennials. For a practical list and growing tips, see our guide to edible flowers you can grow.
Your season-by-season action checklist
Late winter / early spring
- Start seeds indoors (zones 3 to 7) under lights or on a bright, cool windowsill
- Cold-stratify seed of native species if germination is slow
- Cut back overwintered plants by one-third once new growth starts
- Apply a light spring feed (low-nitrogen balanced fertilizer)
Spring
- Harden off seedlings over 7 to 10 days before transplanting
- Transplant to final positions in zones 3 to 7 after last frost
- Deadhead spent flower spikes regularly to encourage repeat blooms
- Watch for flea beetles and slugs on young plants
- Take cuttings from shrubby cultivars for propagation
Summer
- Cut back plants by one-third after main flush to prevent legginess
- Water containers regularly; ease off on ground-planted established plants
- Allow seed pods to develop on open-pollinated plants if saving seed
- In zones 8 to 11: note plants may decline — this is expected, not a failure
Autumn
- In zones 8 to 11: plant new wallflower transplants or sow seeds for winter and spring bloom
- In zones 3 to 7: sow seed outdoors or in cold frames for overwintering
- Harvest and dry seed from open-pollinated plants
- Apply light mulch over crowns in zones 5 and colder
Winter
- Check drainage around overwintering plants — address any pooling water
- In mild zones (8 to 9): enjoy winter and early spring bloom
- Move containerized plants to shelter in zones 5 and below
- Order seed and plan next season's sowings
Growing perennial wallflowers rewards you quickly, faster than many perennials, and the combination of fragrance, early colour, and adaptability makes them worth carving out space for regardless of your climate. Start with one reliable variety for your zone, get the drainage right, and everything else follows. Once you have grown them through a full season you will understand why gardeners have been planting them against sunny walls for centuries.
FAQ
What is the difference between perennial and biennial wallflowers (Erysimum)?
Erysimum species vary: some are annual or biennial (typical garden wallflowers grown as seed→flower in year two), while many garden selections and species are herbaceous or shrubby perennials that return year after year. The distinction comes from species genetics and flowering‑time pathways—some cultivars are short‑lived perennials or evergreen shrubs (e.g., Bowles’s Mauve), others behave as biennials. Modern perennial/shrubby cultivars are often selected or bred for multi‑season performance; hybrid seed may not breed true, so use cuttings to preserve cultivars.
Which wallflower varieties are recommended and what USDA zones suit them? (short table)
Recommended varieties and typical hardiness: Bowles’s Mauve — evergreen/short‑lived perennial, zones 6–9; SuperBells/Superbowl/‘Erysistible’ series — compact garden types, zones 5–8 (check specific tag); Ray’s Early Giants — classic garden wallflower, often grown as biennial, zones 5–8; Constant Cheer/John Codrington — reliable garden performers, zones 5–8; species like E. cheiranthoides (biennial) and E. linifolium selections (shrubby perennial) vary by source—always check cultivar zone on the label. (Use local extension or seed vendor zone tags for exact match.)
How should I plan seed‑starting and planting by USDA zone?
General calendar by zone: Zones 3–6: sow indoors 6–8 weeks before last frost or cold‑sow outdoors in autumn for spring establishment; transplant after risk of hard frost. Zones 7–8: best sown or transplanted in autumn (Sept–Nov) for cool‑season growth and spring bloom; can also start late winter for spring. Zones 9–10 (warm/hot): treat as cool‑season plants — sow or transplant in autumn or very early winter for fall/winter/spring blooms; avoid planting in late winter/spring heat. For biennial types, sow autumn for first‑year rosettes and flowering in year two. If no autumn sowing possible, cold‑stratify seed 2–8 weeks in moist fridge, then germinate at 15–20°C.
What seed‑starting steps give the best germination success?
Use a fine, well‑draining seed mix, sow very thinly on the surface (seeds need light), press lightly—do not bury >2 mm. Keep medium evenly moist and cool. For autumn sowing, sow outdoors in situ (surface sow) so natural cold stratification occurs. For spring, refrigerate moist seed 2–8 weeks before moving to 15–20°C to boost germination if packet or local trials indicate dormancy. Thin seedlings to 6–8 in (15–20 cm) spacing when large enough to handle.
What soil, site and container conditions do wallflowers prefer?
Soil: fertile but very well‑draining soil, neutral to slightly alkaline pH preferred for many garden wallflowers; amend heavy clay with grit or sharp sand. Site: full sun to part sun—most cultivars flower best with at least 6 hours of sun; in hot climates provide afternoon shade. Container: use deep, free‑draining pots with high‑quality potting mix plus grit/perlite; ensure containers are shaded in peak summer heat and have good airflow to reduce disease risk.
How often and how much should I water and feed wallflowers?
Water: establish seedlings with regular moisture but avoid waterlogging—allow top 1 in (2.5 cm) to dry between waterings. Mature plants are fairly drought tolerant if planted in free‑draining soil but need consistent moisture during bud and flower set. In hot climates, water more often and mulch (not against crowns) to conserve moisture. Feed: apply a balanced, low‑nitrogen fertilizer at planting; then a light feed (slow‑release or dilute liquid feed) at early spring and monthly during the main growing/flowering season. Avoid excessive high nitrogen which promotes leafy growth over flowers.
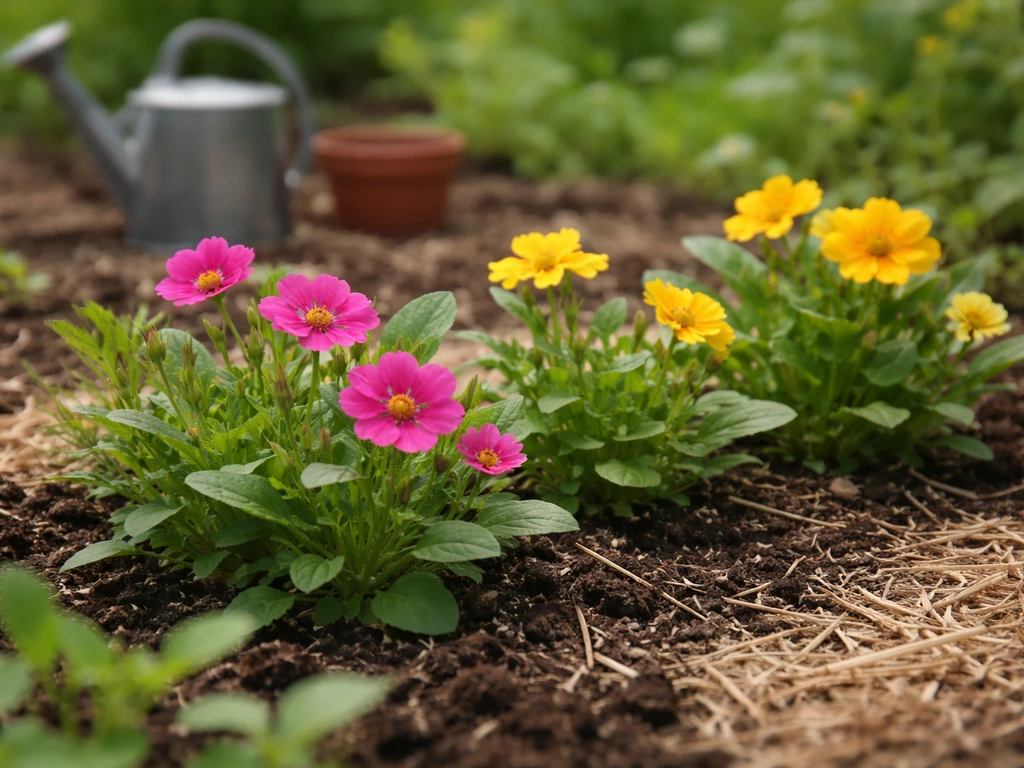
Beginner guide to edible flowers you can grow, with easy varieties and step-by-step seed-to-bloom growing tips.
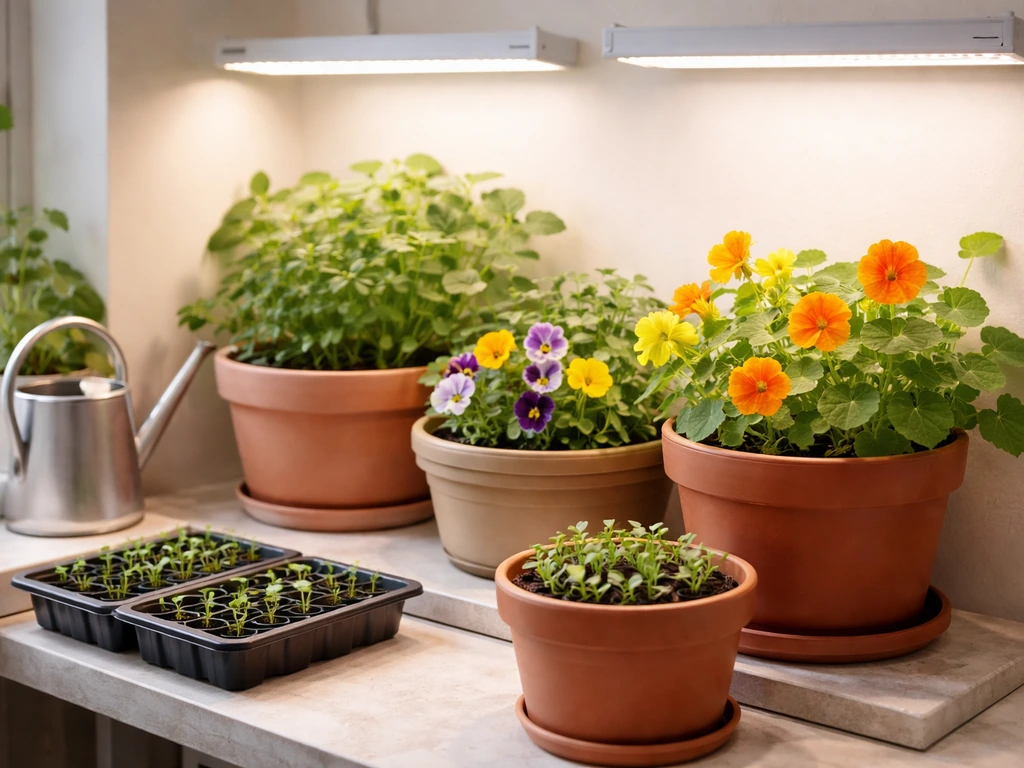
Step-by-step seed to bloom guide to grow edible flowers indoors in containers, with lighting, care, pests, and best vari
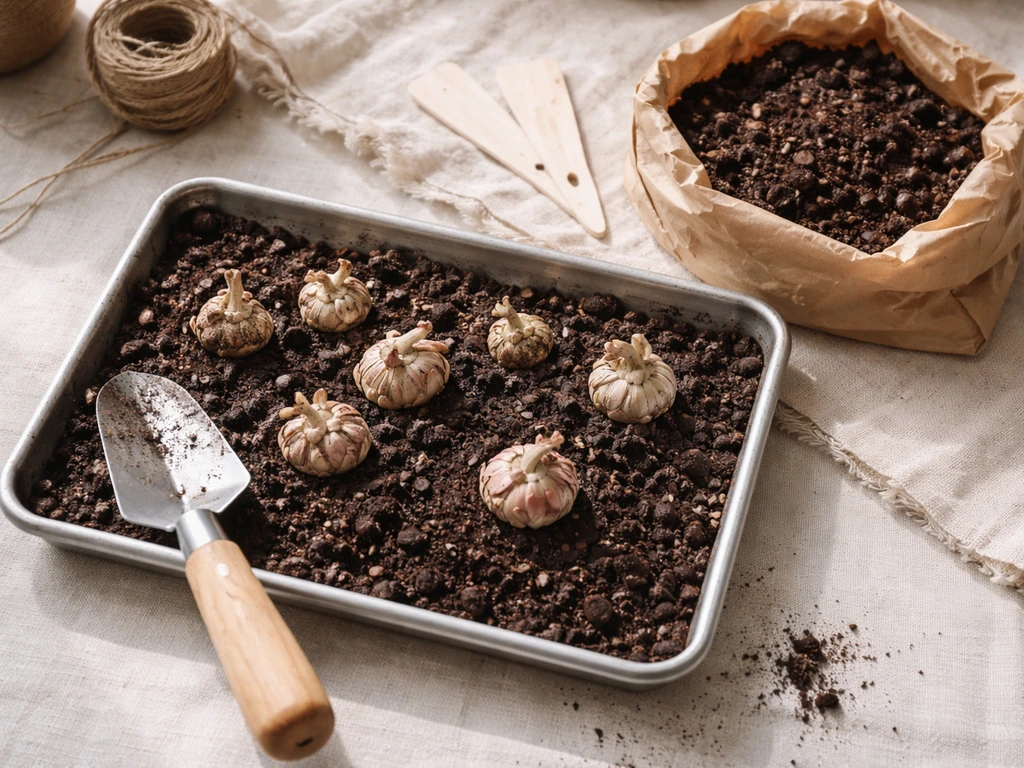
Step-by-step Floret-style ranunculus guide: corm prep, planting, watering, frost care, troubleshooting, and harvest for