Yes, you can absolutely grow edible flowers indoors from seed, and plenty of beginner-friendly varieties will bloom happily in containers on a bright windowsill or under a simple grow light. Nasturtiums, calendula, pansies, violas, borage, and marigolds are all realistic options for home growing, and most of them go from seed to first bloom in six to ten weeks.
How to Grow Edible Flowers Indoors at Home, Seed to Bloom
James Holloway
28 Apr 2026
If you want to expand your list beyond basics, edible flowers you can grow include nasturtiums, calendula, pansies, violas, borage, and marigolds. The main things you need to get right are light intensity, a clean seed-starting mix, consistent but not excessive watering, and some patience during germination. Get those four things in order and you'll be picking flowers for your salads and desserts before you know it.
Can you grow edible flowers indoors?
The short version: yes, and it's more forgiving than most people expect. Many edible flowers are annuals that naturally grow in beds, raised beds, and containers, which means they don't have deep roots or demanding structural needs. That makes them a great fit for pots, window boxes, and grow trays. Nasturtiums actually prefer a bit of neglect, pansies and violas are cool-season crops that don't need summer heat, and calendula is famously tough.
The biggest limitation indoors is light. Most edible flowers need significantly more light than a typical houseplant to actually bloom, not just survive. A north-facing windowsill alone usually won't cut it. But a south- or west-facing window in spring and summer, or a decent grow light, solves that problem quickly. Once you crack the light puzzle, indoor edible flower growing becomes very achievable.
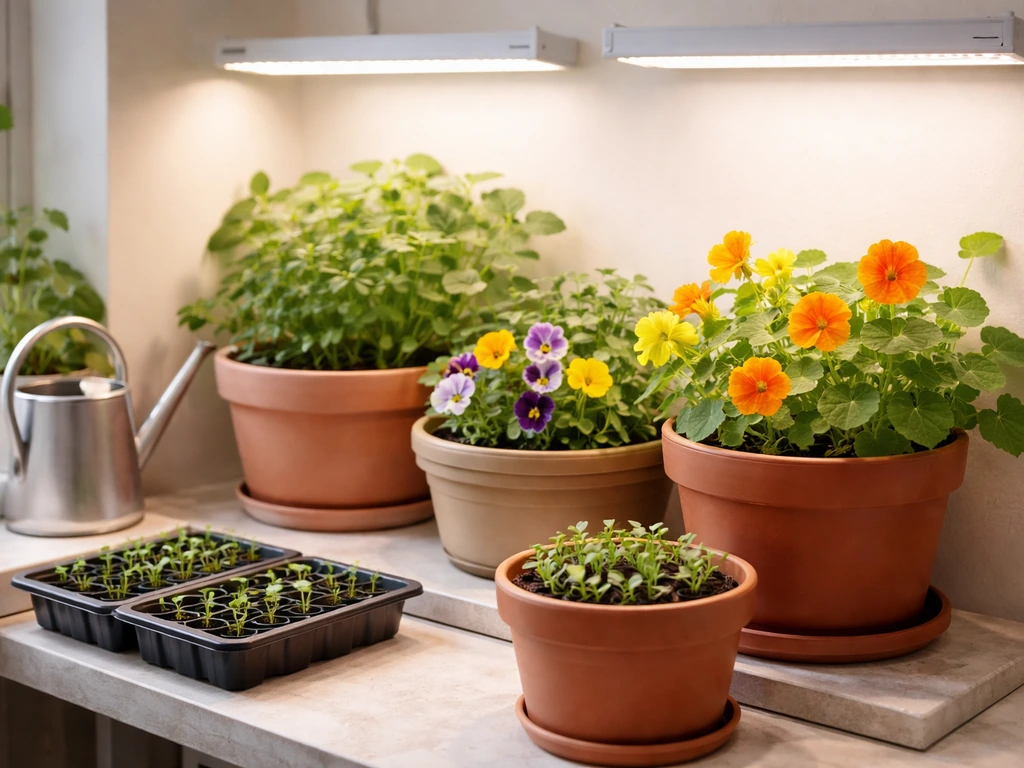
Here are the varieties that consistently work well indoors in containers:
- Nasturtium: fast-growing, peppery-tasting flowers and leaves, does well in smaller pots, direct sow recommended
- Calendula: slightly bitter petals used mainly for color in dishes, compact varieties stay tidy in 6-inch pots or larger
- Pansy and viola (Viola spp.): grassy, mild flavor, cool-season favorites that don't mind indoor temperatures in fall and early spring
- Borage: cucumber-flavored star-shaped blue flowers, grows taller so needs a deeper pot (at least 8 inches)
- French and gem marigolds: small, edible petals with a mild citrus-herbal flavor, very compact and container-friendly
Setting up your indoor growing space
Before you sow a single seed, it's worth spending a few minutes setting up your space properly. Indoor edible flower growing doesn't require anything fancy, but skimping on light or using the wrong soil are the two mistakes that derail most beginners.
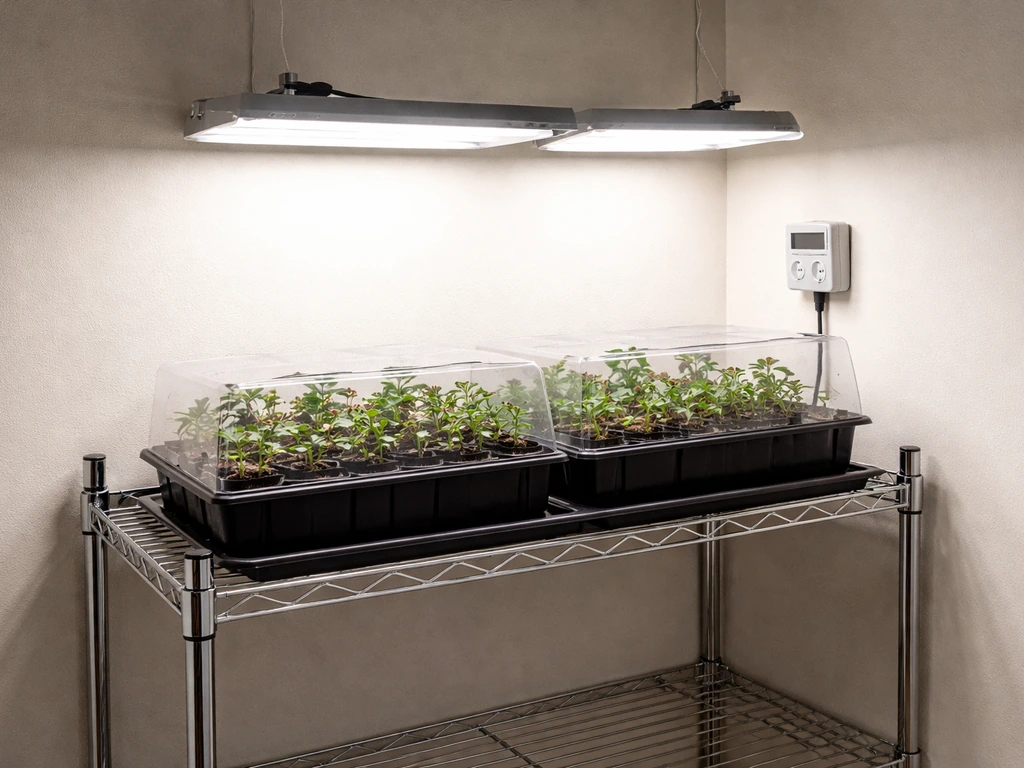
Light
Flowering plants need significantly more light than foliage plants. For reference, seedlings need less than 100 PPFD (photosynthetic photon flux density) to get started, vegetative growth needs roughly 100 to 500 PPFD, and flowering requires 400 to 1,200 PPFD. Your brightest south- or west-facing windowsill may hit that range on a sunny day, but it often drops off in winter or in rooms with deep overhangs. A dedicated grow light takes the guesswork out of it.
Position fluorescent or LED plant lights about 3 to 4 inches above seedlings and run them for 16 hours on, 8 hours off each day. As your plants grow taller, raise the light to maintain that distance. Light intensity drops quickly with distance from the source, so check in every few days rather than setting and forgetting.
Containers and drainage

Most edible flowers do well in 6- to 10-inch pots, though borage needs at least 8 to 10 inches of depth for its taproot. Whatever container you choose, drainage holes are non-negotiable. Sitting water leads to root rot and damping-off, which is one of the most common killers of indoor seedlings. Terracotta pots breathe nicely and help prevent overwatering. Plastic containers hold moisture longer, which can be helpful if you tend to underwater.
Soil and growing media
Never use garden soil from outside for indoor containers or seed-starting trays. Garden soil compacts, drains poorly in pots, and can introduce pathogens that cause damping-off. Use a sterile, commercial seed-starting mix for germination, then transplant into a quality potting mix when seedlings are ready to move up. A potting mix with perlite added improves drainage and aeration for adult plants.
Temperature and airflow
Most edible flowers germinate best between 65°F and 72°F, which is comfortable room temperature for most homes. Pansies and violas are the exception: they prefer cooler conditions around 55°F to 65°F and actually get leggy and stressed in warmer rooms. Once seeds have sprouted, good airflow matters a lot. Running a small fan near your seedlings for a few hours each day strengthens stems, reduces humidity around the foliage, and helps prevent the fungal problems that thrive in stagnant air.
General care: watering, feeding, and keeping plants happy
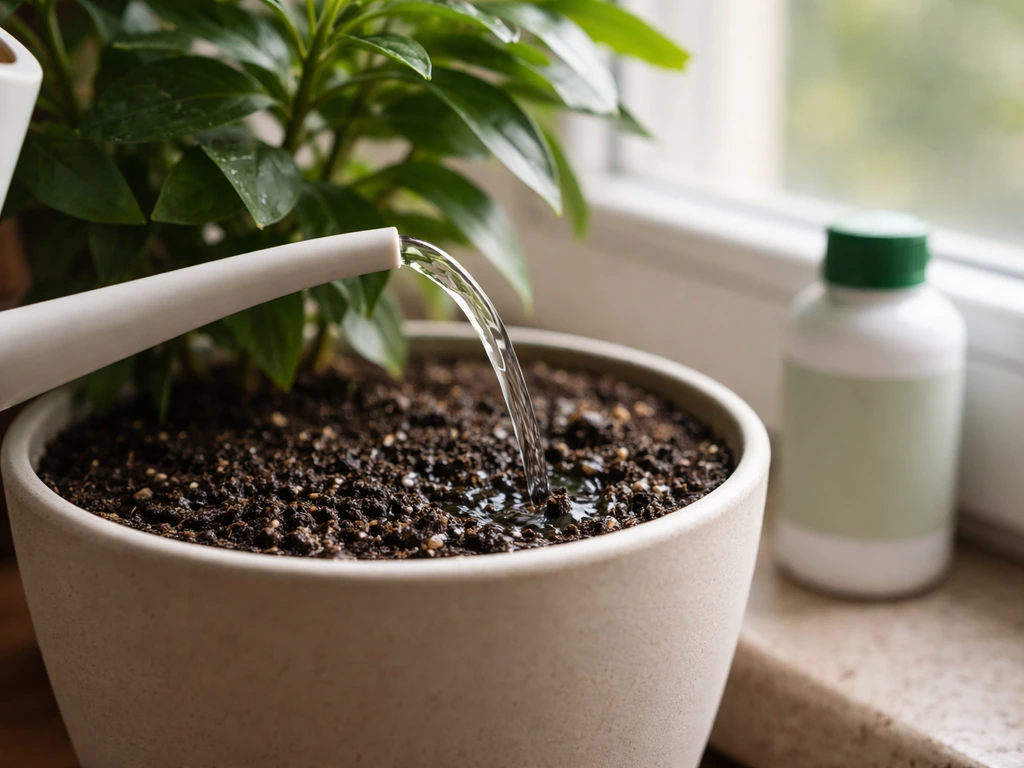
The single biggest mistake I see beginners make with edible flowers indoors is overwatering. More plants die from too much water than too little. The goal is consistently moist soil, not wet soil. Stick your finger about an inch into the potting mix: if it feels dry at that depth, water thoroughly until it drains from the bottom. If it still feels damp, leave it alone. For seedlings especially, keep the growing medium moist but not soggy, and avoid letting trays sit in pooled water for days. For long-term harvests, the same indoor setup principles can also help you figure out how to grow edible perennials.
For fertilizing, a balanced, water-soluble fertilizer at half strength once every two weeks works well once seedlings have their first true leaves. Avoid overfeeding with high-nitrogen fertilizers, which push leafy green growth at the expense of flowers. Once plants are actively budding, you can switch to a fertilizer slightly higher in phosphorus to support blooming. Because you're growing these flowers to eat, choose an organic or food-safe fertilizer rather than synthetic options where possible, and always follow label directions.
Nasturtiums are a notable exception: they actually bloom more prolifically in lean soil with minimal fertilizing. If you fertilize nasturtiums heavily, you'll get lush foliage and very few flowers. Under-feed them on purpose and they'll reward you with blooms.
How to grow edible flowers from seed
Starting from seed is the most economical and satisfying route, and it gives you access to far more variety than what you'll find as transplants at a garden center. Here's how to do it reliably.
Timing your sow
For indoor growing in containers, you have a lot of flexibility because you're not tied to outdoor frost dates. That said, if you're planning to eventually move plants outside, you'll want to count backward from your last frost date. Calendula and marigolds typically need 4 to 6 weeks of indoor growing before they're ready to transplant outdoors. Pansies and violas need a longer runway: sow them 7 to 9 weeks before you plan to plant out. Nasturtiums grow so fast that starting them 3 to 4 weeks before your target date is plenty.
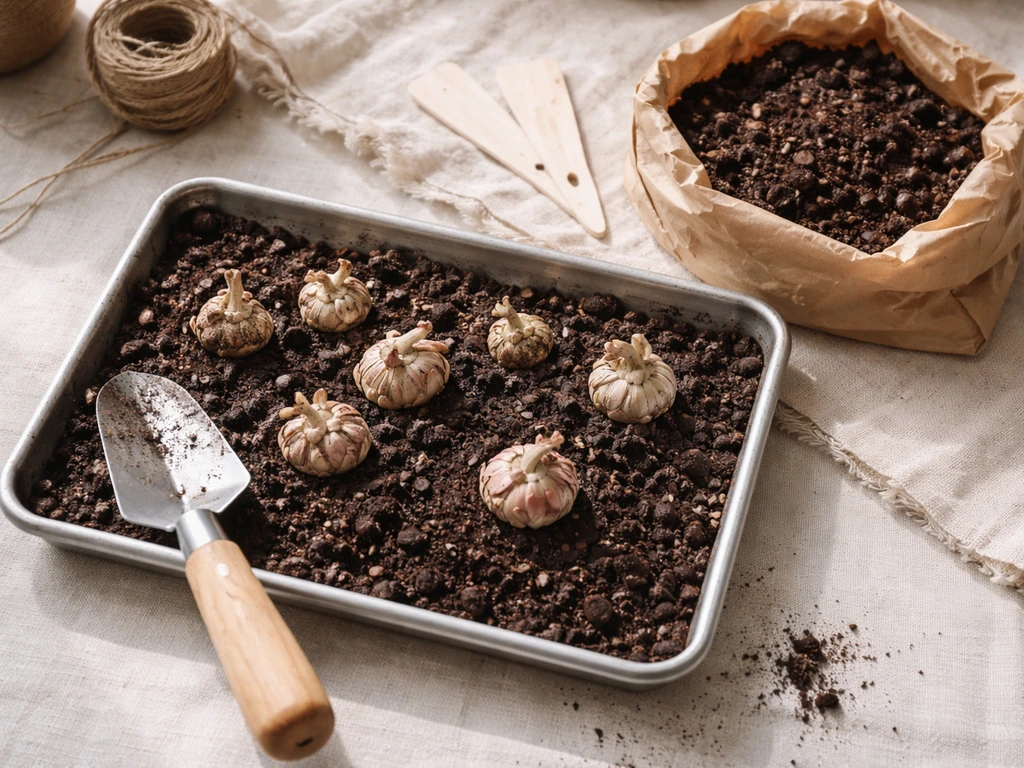
Seed-starting step by step
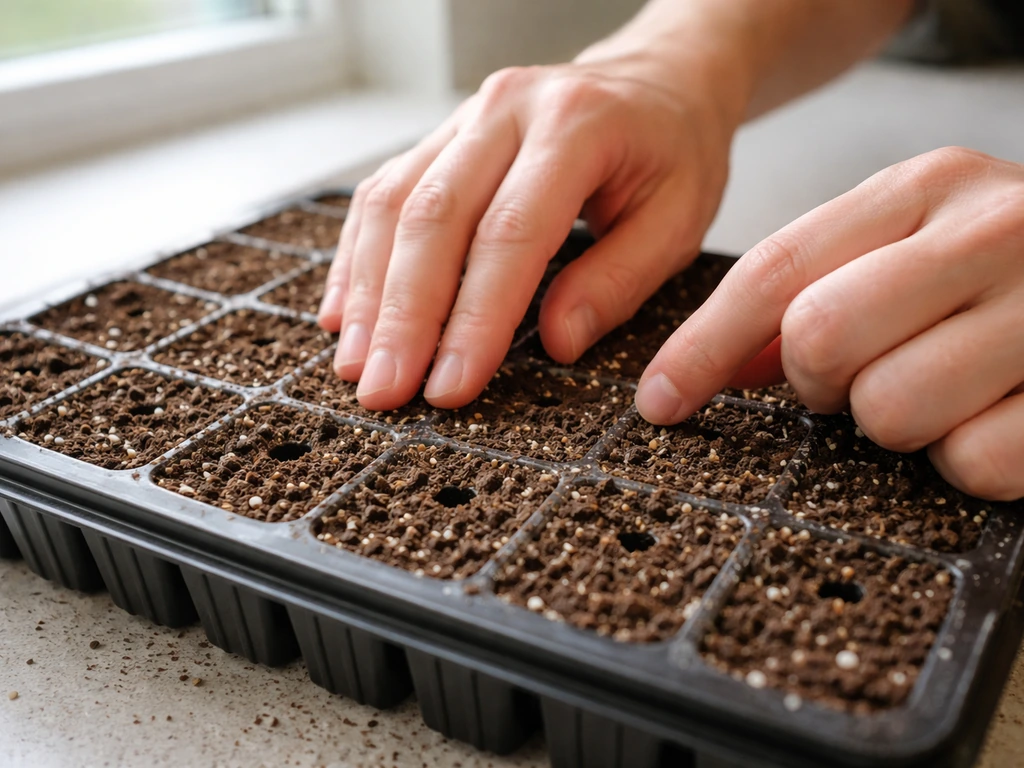
- Fill your seed tray or small pots with a sterile seed-starting mix. Before sowing, add water gradually to the dry mix in a bowl or tray and stir until it holds together when squeezed but doesn't drip. It should feel like a wrung-out sponge.
- Sow at the correct depth for your variety. Calendula goes in at about 1/4 inch deep. Nasturtium seeds are larger and need 1/2 to 1 inch depth. Marigolds just need a light covering of soil over the seed. Pansies and violas go in at about 1/8 inch deep.
- Label each container with the variety name and sow date. You will forget otherwise.
- Cover the tray loosely with a clear plastic dome or plastic wrap to hold humidity during germination. Remove it as soon as you see sprouts.
- Place in a warm spot (65°F to 72°F for most; cooler for pansies). Bottom heat from a seedling heat mat accelerates germination noticeably.
- Expect germination in 5 to 14 days for calendula, 7 to 14 days for marigolds, and roughly 7 to 14 days for nasturtiums (sometimes faster). Pansies can take up to 14 days and sometimes a bit longer at cool temps.
- Once seedlings emerge, move them under grow lights or to your brightest window immediately. Don't wait. Leggy, pale seedlings happen fast when light is insufficient.
A quick comparison of seed-starting details by variety
| Variety | Sow Depth | Days to Germinate | Weeks Before Planting Out | Direct Sow or Transplant |
|---|---|---|---|---|
| Calendula | 1/4 inch | 5–14 days | 4–5 weeks | Direct sow preferred; transplant works too |
| Nasturtium | 1/2–1 inch | 7–14 days | 3–4 weeks | Direct sow preferred; resents root disturbance |
| Marigold (French/gem) | Light cover | 7–14 days | 4–6 weeks | Transplant recommended |
| Pansy/Viola | 1/8 inch | Up to 14 days | 7–9 weeks | Transplant recommended |
| Borage | 1/4–1/2 inch | 7–14 days | 3–4 weeks | Direct sow preferred; taproot dislikes moving |
Transplanting seedlings and helping them reach bloom
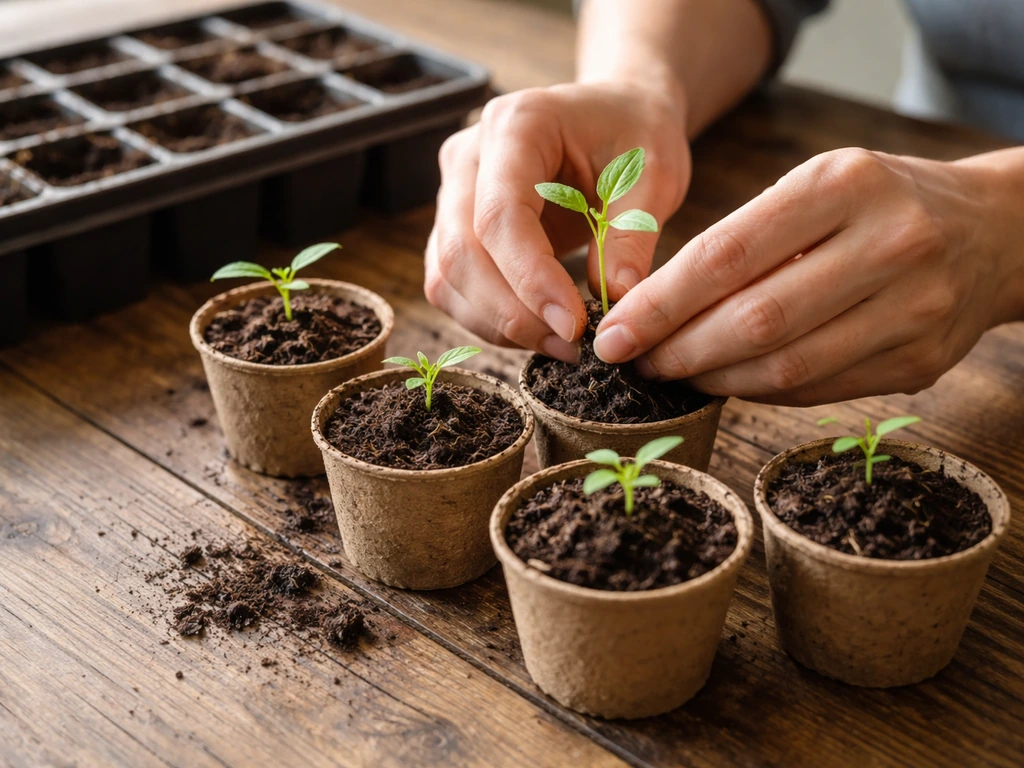
Once your seedlings have two sets of true leaves (not just the first seed leaves), they're ready to move up into their permanent containers. This is one of the most satisfying moments in the process. Handle the root ball gently, especially with nasturtiums and borage which dislike having their roots disturbed. If you started them in biodegradable cells, you can plant the whole cell directly into the larger pot.
If you're planning to move plants outdoors eventually, harden them off first. About a week before transplanting outside, set them in a sheltered outdoor spot for an hour or two each day, gradually increasing exposure over 5 to 7 days. Going from indoor conditions straight to full outdoor sun and wind causes transplant shock and can set plants back by weeks.
Spacing and pruning for more flowers
In containers, spacing matters less than it does in the ground, but you still don't want to overcrowd. One nasturtium or borage per 8-inch pot, two to three calendula or marigolds per 10-inch pot, and three to four pansies or violas in a 10-inch window box are comfortable densities. Overcrowding creates competition for light and airflow, which invites disease.
Deadheading (removing spent blooms before they go to seed) is the single best thing you can do to keep edible flowers producing. For longer-lasting blooms, you may also want to look into how to grow everlasting flowers in your indoor setup. Once a plant sets seed, it slows flower production dramatically. Pinch or snip off faded flowers every few days and you'll extend your harvest window by weeks. For compact bushy growth, you can also pinch the growing tips of young marigolds and calendula when they're about 4 to 5 inches tall to encourage branching.
Do indoor edible flowers need hand pollination?
For most edible flowers, you're harvesting the bloom itself, not a fruit that results from pollination, so pollinators aren't strictly necessary. Nasturtiums, calendula, marigolds, pansies, and borage all produce harvestable flowers whether pollinated or not. If you wanted to collect seeds for next season's growing, you'd need pollination, but for eating the flowers you can simply enjoy the blooms without worrying about it.
Pests, problems, and what to do about them
Indoor edible flower growing is relatively pest-light compared to outdoor gardens, but a few problems crop up regularly. Knowing what to watch for makes them easy to catch early.
Damping-off
This is the most common seedling killer indoors. Damping-off is a fungal condition where seedlings suddenly collapse at the soil line, usually shortly after germination. It spreads through wet potting media, shared water, and non-sterile soil. The best prevention is to always use sterile seed-starting mix, never reuse old potting soil from previous trays without sterilizing it, avoid letting seedlings sit in pooled water, and keep airflow moving around your trays. If you see it happening, reduce watering immediately and increase airflow. Unfortunately, once seedlings collapse, they don't recover, but neighboring seedlings can often be saved.
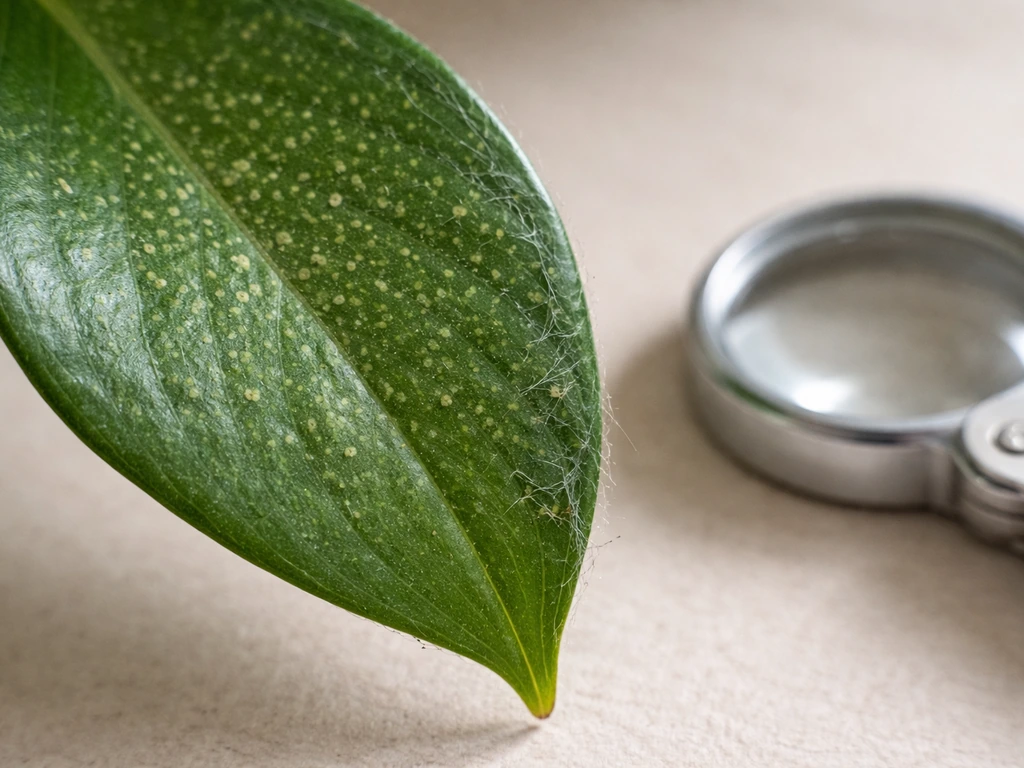
Spider mites
Spider mites thrive in hot, dry indoor conditions, which is exactly what can happen near heating vents in winter. The first sign is usually tiny pale stippling on leaves, then fine webbing under leaves if the infestation advances. A strong spray of water on the undersides of leaves knocks populations back significantly. For more persistent infestations, insecticidal soap or horticultural oil (diluted to about 1 to 1.
5%) are effective options. Because you're growing these plants to eat, test any spray product on one or two leaves first to check for phytotoxicity, and apply in the evening rather than in bright light. Insecticidal soap and horticultural oil are among the least-toxic options available and are generally considered safe for edible plants when used as directed.
Aphids
Aphids cluster on new growth and the undersides of leaves, sucking sap and causing curled, distorted foliage. They can arrive on new plants you bring home from a nursery, so always inspect new additions before placing them near your edible flower containers. A jet of water or insecticidal soap spray handles most aphid problems quickly. Check plants every few days when you first notice them, because aphid populations double fast.
Leggy, pale, or non-blooming plants
If your plants are stretching toward the light, producing lots of foliage but no flowers, or looking washed-out and pale, the diagnosis is almost always insufficient light. Move them closer to your light source, extend the photoperiod to 16 hours if you're using a grow light, or supplement a dim window with a supplemental light. This is the most fixable problem in indoor flower growing, and the improvement after increasing light is often visible within a week.
Harvesting your edible flowers safely
This is the payoff, and it's worth doing right. The most important safety rule: only eat flowers from plants you've grown yourself without pesticide treatment, or flowers specifically sold for consumption. Flowers from florists, garden centers, and ornamental landscapes are routinely treated with pesticides that are not approved for food crops. The fact that a flower is biologically edible doesn't make any individual specimen safe to eat if it's been sprayed. Growing your own in clean containers with food-safe or organic inputs is exactly the right approach.
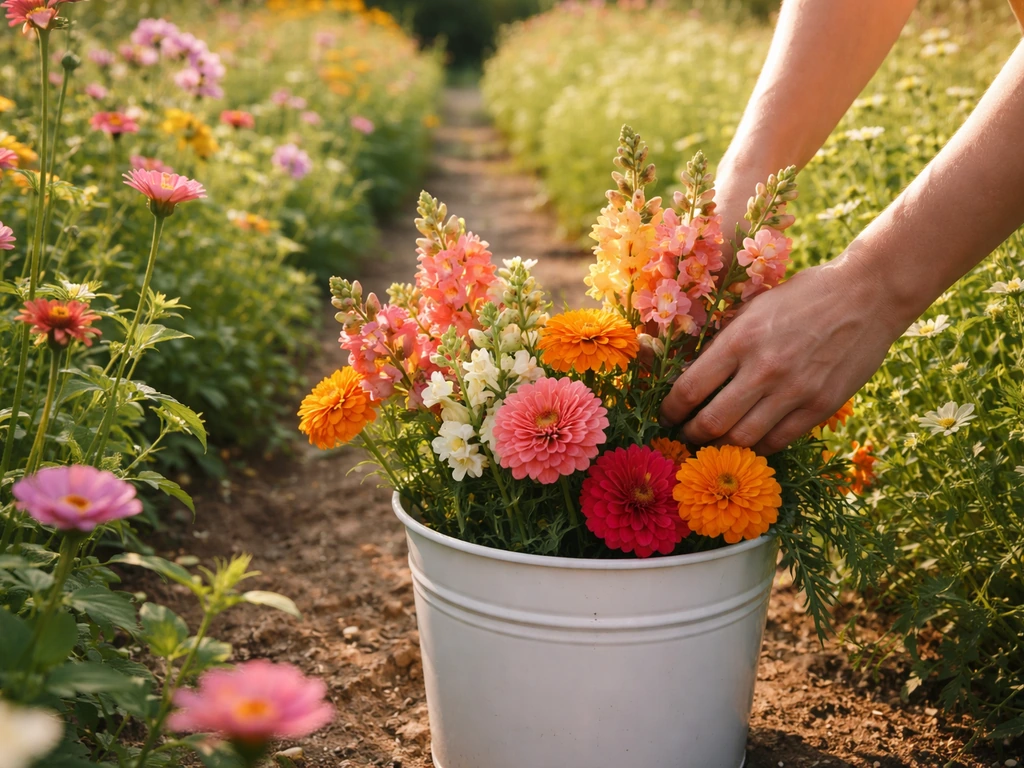
Harvest your flowers the morning you plan to use them, ideally after any dew has dried but before the midday heat. If you need to pick them the day before, that's the maximum window: blooms picked more than a day ahead lose flavor, texture, and visual appeal quickly. Pick flowers that are fully open and at peak freshness, avoiding any that look wilted, damaged, or past their prime.
To store freshly picked flowers for a few hours, layer them between damp paper towels in a sealed container in the refrigerator. Use them the same day for best results. Don't wash flowers until just before serving, as excess moisture accelerates wilting.
A quick flavor reminder when you're planning how to use them: nasturtium flowers and leaves taste peppery and bright, great in salads. Borage flowers have a mild cucumber flavor. Calendula petals are slightly bitter and are used more for their vivid orange and yellow color than for taste. Pansies and violas have a mild, slightly grassy flavor that works well in desserts and garnishes. French and gem marigold petals have a citrusy, herbal edge. Taste a small amount before committing to a whole recipe, and match the flavor profile to what you're cooking.
One last note: if you're interested in expanding beyond annual edible flowers, it's worth exploring edible perennials that come back year after year with less replanting effort. If you want to take that idea further and learn the full process, this guide on how to grow perennial wildflowers walks you through choosing sites, soil, and timing edible perennials.
But for a first season of indoor growing, the annuals covered here are the most reliable, fastest-blooming, and most beginner-friendly options you'll find. Once you have the basics down for indoor edible flowers, the same principles can guide how to grow edible perennials that keep coming back year after year. If you want to move from indoor edible flowers to a broader outdoor project, see how to grow wildflowers in florida for timing, sun, and site tips. If you want to take these ideas outdoors, use the guidance in how to grow wildflowers in florida for the best timing, sun exposure, and planting setup.
If you want to move from indoor edible flowers to a broader outdoor project, see how to grow wildflowers in florida for timing, sun, and site tips how to grow Texas wildflowers. If you specifically want everlasting flowers, focus on varieties known for long-lasting blooms and plan their care accordingly. If you specifically want everlastings or perennial-style returns, the same planning mindset applies when learning how to grow perennial wallflowers perennial wallflowers (how to grow).
FAQ
Can I grow any flower from seed as an edible flower indoors?
Yes, but only if the seed packets or the seller explicitly list them as edible flower varieties. Many “ornamental” cultivars are bred for looks and can be treated with pesticides, and some are not meant for consumption even if the plant is biologically related to an edible species.
When should I start picking edible flowers, and how often should I harvest?
In most cases, target the first harvest as soon as blooms are fully open and fresh, then keep removing faded flowers every few days. If you wait until petals look aged or the head starts forming seed, the plant will shift energy from flowering to seed production and slow down.
What should I do if I see mold on the potting mix or damping-off symptoms?
If mold, fungus-like film, or a musty smell appears on the soil surface, pause watering and improve airflow immediately. You can also gently scrape off the top inch of compromised mix in a mature pot (avoid disturbing delicate roots), then resume watering only when the mix is dry at about the one-inch depth.
Is there a best way to water indoor edible flower seedlings to prevent damping-off?
For seedlings, it helps to water from the bottom of the tray or use a gentle top watering around the stems without soaking the crown. Bottom-watering reduces splashing, which limits the spread of damping-off when seedlings are close together.
Can I grow edible flowers year-round on a windowsill, or will seasons change what works?
You can, but only if you keep the light and temperature in a suitable range. Cool-season types like pansies and violas are most sensitive to warmth, so a sunny windowsill that overheats in summer can cause stress, legginess, and fewer flowers.
Do indoor edible flowers come back each season, or do I need new seeds?
Not exactly. Many edible flowers are annuals, and even when the plant lives through indoors, its flowering may drop as day length and temperature change. If your goal is repeated blooming without replanting, choose varieties known for longer persistence, and plan on at least some re-seeding for a steady harvest.
Do I need bees or hand-pollination to get edible flowers, or only to save seeds?
Pollinators are not required for eating the blooms, but if you want seed, you must allow pollination and protect developing seed heads from cross-pollination. To keep seed true, isolate varieties or hand-pollinate and label accordingly.
What’s the safest transplant timing and method for edible flowers that dislike root disturbance?
Yes, especially with borage and nasturtiums that dislike root disturbance. Use biodegradable starters or transplant when there are two sets of true leaves, then avoid jostling the root ball, and water in gently after transplanting to reduce transplant shock.
My indoor plants are leggy and not blooming, what should I check first?
If plants look stretched, pale, or flowerless, increase light first, then reassess distance and timing of your grow light. A common mistake is keeping the light too far away, even when the timer runs long enough.
How do I avoid overwatering in winter when indoor evaporation slows down?
Watch soil moisture at the one-inch depth rather than by surface feel. In winter, containers can stay wet longer under lower light, so you may need to water less often even if the top looks dry, and make sure drainage holes are clear.
Can I fertilize right away, and how do I know I’m not overfeeding?
Start with half-strength fertilizer only after the first true leaves appear, then pause and reassess if you see lush foliage with few blooms. For nasturtiums specifically, more fertilizer usually means fewer flowers, so keep them lean.
Can I eat edible flowers from a grocery store or a bouquet if they look safe?
Yes, but only when labeled as untreated or food-safe, and only use flowers that you can identify with confidence. When in doubt, skip eating and treat it as ornamental, since some ornamental edible-looking flowers may be from treated sources.
Next Articles
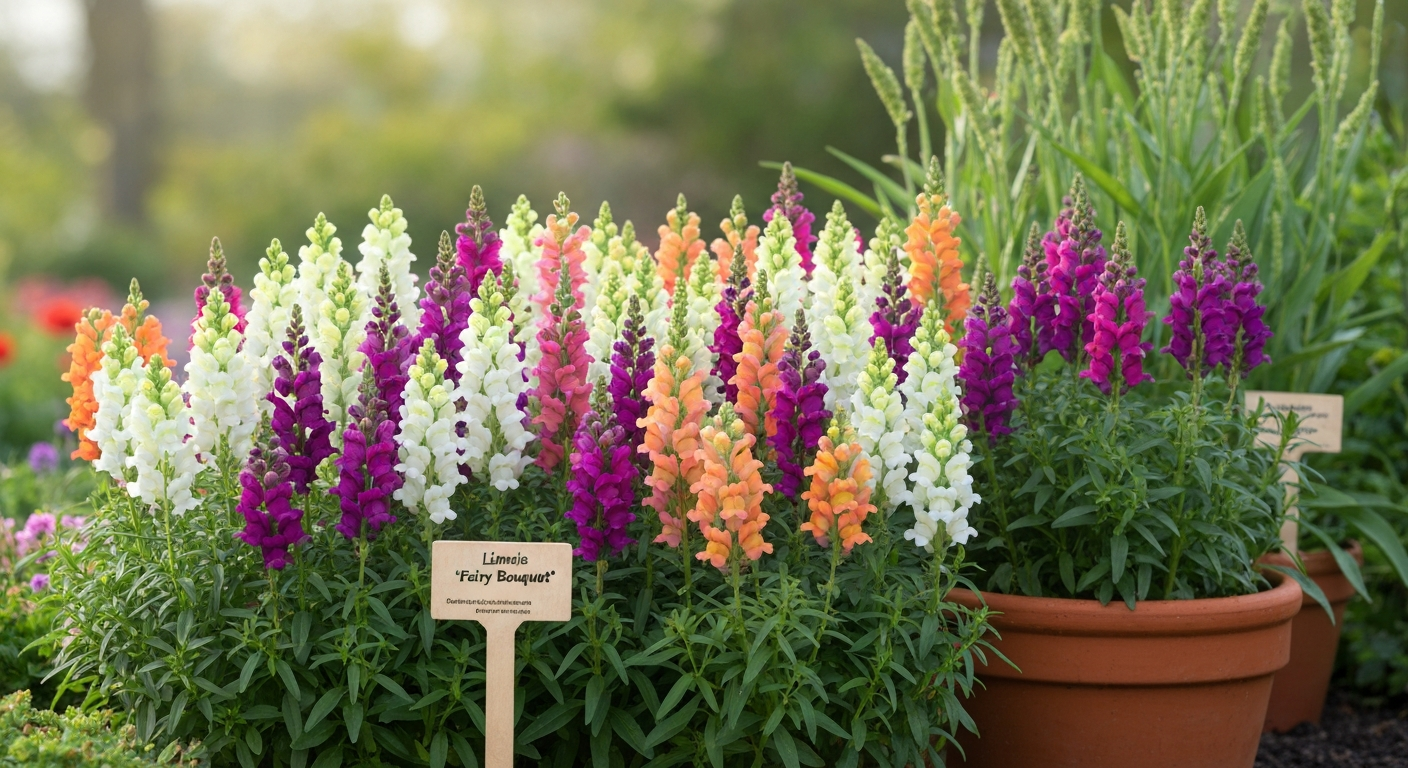
Linaria 'Fairy Bouquet' How to Grow: Seed to Cut Flowers
Grow Linaria 'Fairy Bouquet' from seed to vase: step‑by‑step sowing, care, cutting, seed saving & troubleshooting.
Floret How to Grow Ranunculus: Step-by-Step Guide
Step-by-step Floret-style ranunculus guide: corm prep, planting, watering, frost care, troubleshooting, and harvest for
How to Grow Your Own Wedding Flowers Step by Step
Step-by-step guide to grow bouquet-ready wedding flowers, from planning and sowing dates to harvesting, conditioning, an