A cut flower garden works best when you treat it like a production system rather than a decorative border: pick a full-sun spot you can reach easily, build up the soil before you plant anything, choose varieties bred for long stems and good vase life, and stagger your plantings every two to three weeks so you always have something coming into bloom. Do all of that consistently and you'll be cutting armfuls of flowers from late spring straight through the first frost.
How to Grow a Cut Flower Garden: Step-by-Step Guide
James Holloway
29 Apr 2026
Picking the right spot, size, and goals
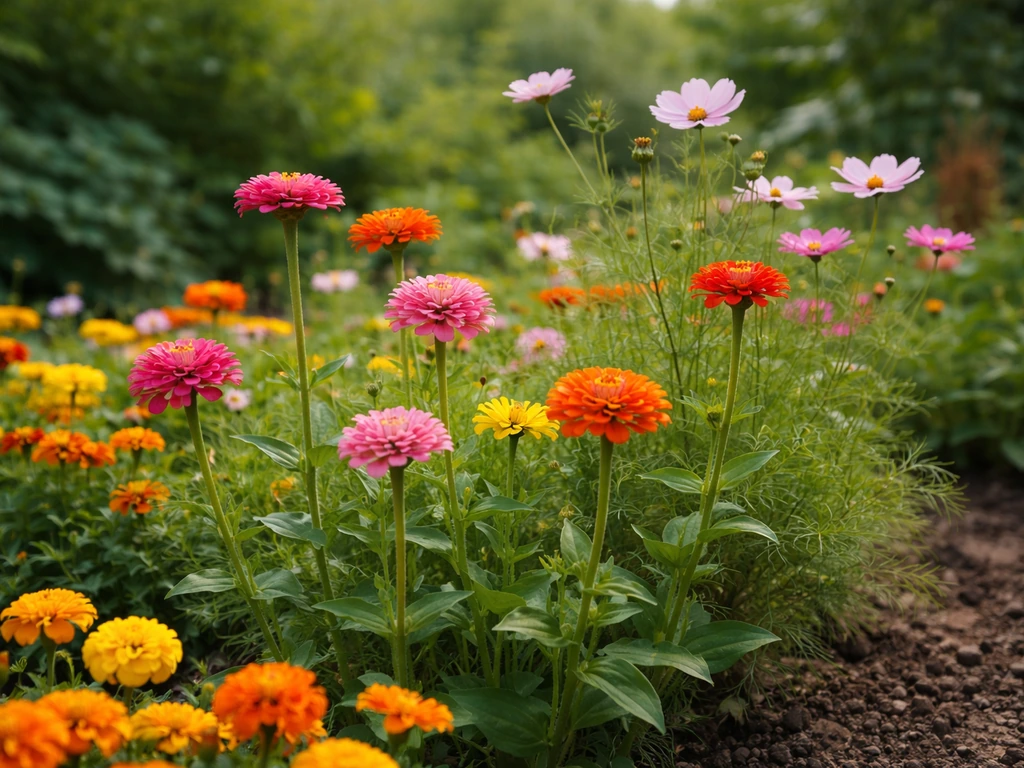
Full sun is non-negotiable. Most cutting-garden workhorses, including snapdragons, marigolds, zinnias, and poppies, need at least six to eight hours of direct sun to develop the strong, upright stems that actually look good in a vase. Anything shadier and you get floppy growth that's hard to use.
Wind protection matters almost as much as sun. Bent or kinked stems have very little value as cut flowers, so if your yard is exposed, site the garden next to a fence, hedge, or outbuilding that can act as a windbreak on the prevailing side. Don't box the bed in completely though: you want airflow, just not a wind tunnel.
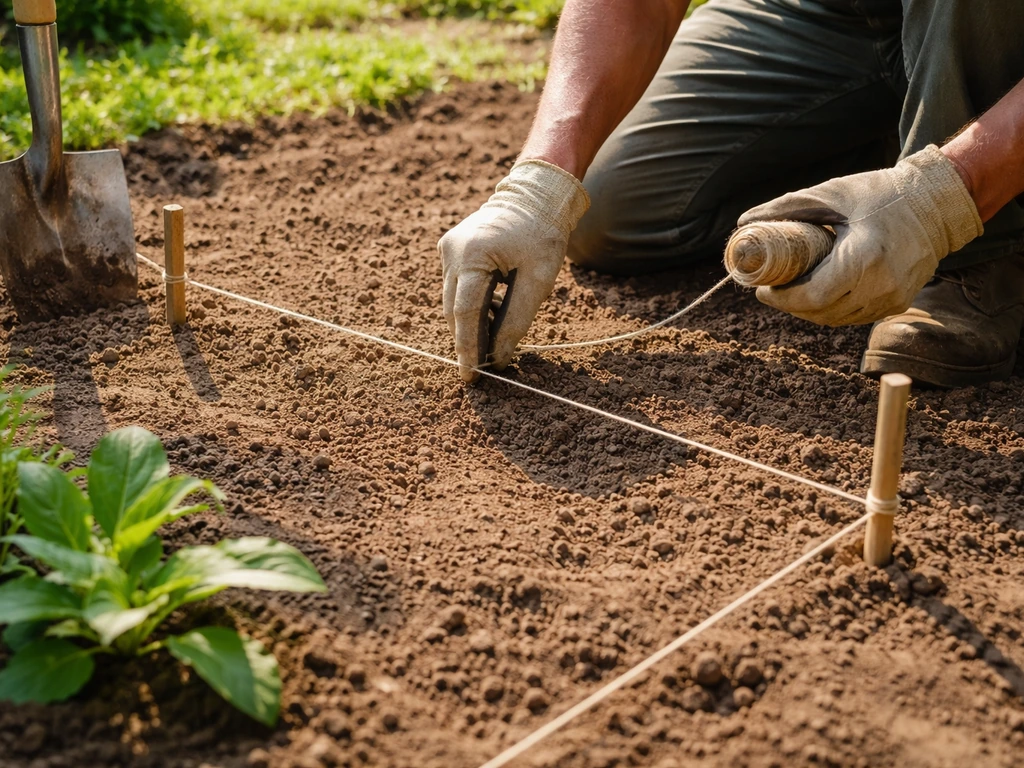
Keep the bed narrow enough to reach the center from both sides without stepping in. A four-foot width is the standard recommendation for good reason: you can plant, weed, and harvest without compacting the soil. Length is up to you, but a single ten-by-four-foot bed is a genuinely good starting size. It fits roughly 65 plants at nine-by-nine-inch spacing, which is plenty of flowers for a household plus extras to give away. Have water access close by, because cut flowers need consistent moisture and hauling hoses across the yard is the fastest way to get lazy about watering.
Set a realistic goal before you buy seeds. If you just want fresh flowers for the kitchen table from June through September, one or two four-by-ten beds will do it. If you want to sell at a farmers market or supply flowers for events, plan on significantly more space and a more deliberate succession-planting schedule. Starting small and doing it well beats a large garden that becomes overwhelming by July.
Getting the soil ready before anything goes in the ground
Cut flowers are hungry and thirsty, and they need excellent drainage. Virginia Tech extension guidance for annual flowers also emphasizes addressing drainage and aeration needs, using raised beds when necessary excellent drainage. Poor drainage is probably the most common reason a first cutting garden underperforms: saturated soil stunts roots, causes rot, and produces short, weak stems. If your soil drains poorly, build raised beds four to eight inches high. That alone solves most drainage problems. In really difficult spots, extension guides from Virginia Tech and Penn State suggest installing drain lines about twelve inches below the bed surface, but for most home gardens, a raised bed with good soil mix is enough.
Start with a soil test if you've never grown in that spot before. Sample from about six to eight inches deep, mixing material from ten or so spots across the bed area. For most cut flowers, you're aiming for a soil pH of 6.0 to 6.5. Phosphorus, which is critical for flower production, is most available in that range. If your pH is too low, add lime; if it's too high, sulfur will bring it down. Your local extension office can run a test inexpensively and tell you exactly how much to add.
Once your pH is sorted, work in a three-to-four-inch layer of compost across the entire bed and incorporate it into the top six inches of soil. This is the single most impactful thing you can do for long-term soil health. Good organic matter improves drainage in clay soils, improves moisture retention in sandy soils, and feeds the soil biology that makes nutrients available to your plants. If you're setting up a new bed in fall, sow a cover crop like winter rye instead of leaving soil bare: it suppresses weeds, prevents erosion, and adds organic matter when you turn it under in spring.
During the growing season, side-dress with a balanced fertilizer like 10-10-10 as plants begin to flower. The key caution here is nitrogen: too much and you'll get lush, leafy growth at the expense of flowers and sturdy stems. Follow label rates carefully and don't assume more is better. A lot of experienced growers actually prefer a low-nitrogen formula like 5-10-10 once plants are established and actively blooming.
Choosing varieties and laying out the bed
Not all flowers make good cut flowers, even if they look beautiful in the garden. You want varieties specifically selected for long stems, strong necks, and decent vase life. If you want dependable stems, focus on good cutting flowers to grow that are bred for long vase life. Here are some of the most reliable options for a beginner cutting garden, spanning the season from spring through fall. Eucalyptus is another cut flower option, but you will need to plan for its specific sun, spacing, and long growth timeline to get stems suited for vases.
| Flower | Season | Vase Life | Direct Seed or Transplant | Notes |
|---|---|---|---|---|
| Snapdragon | Spring / Fall | 7-10 days | Both | Needs cool temps; plant early or mid-summer for fall flush |
| Poppy | Spring | Short (3-5 days) | Direct seed | Harvest in bud; stunning but brief |
| Zinnia | Summer-Fall | 7-10 days | Direct seed or transplant | Heat lovers; deadhead constantly |
| Marigold | Summer-Fall | 7-10 days | Both | Pest-deterrent; prolific with regular cutting |
| Sunflower | Summer | 5-7 days | Direct seed or transplant | Single-stem varieties best for cutting |
| Lisianthus | Summer | 10-14 days | Transplant (slow from seed) | Worth the effort; excellent vase life |
| Wildflower mix | Spring-Summer | Varies | Direct seed | Great filler; low input |
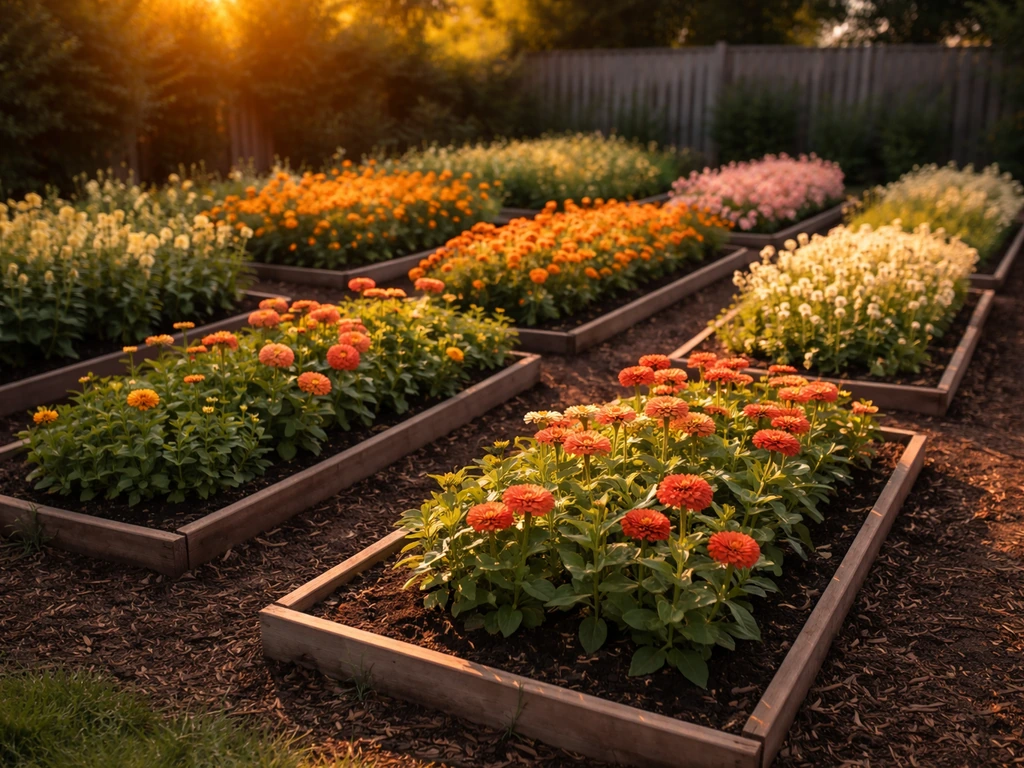
When laying out the bed, think in blocks rather than rows. Group each variety together in a section so you can harvest one area at a time. Put the tallest plants (sunflowers, tall snapdragons, larkspur) at the back or center depending on your viewing angle, and shorter or cascading varieties toward the edges. Within each block, a nine-by-nine-inch spacing works for most annual cut flowers and gives you the right balance between plant density and stem quality. Closer than that and you can get single-stem-only production, which works in a dense succession system but limits your harvest window.
Leave yourself access paths. A simple twelve-to-eighteen-inch path between beds makes a huge difference when you're harvesting with a bucket, kneeling to weed, or carrying a flat of transplants. It sounds obvious but it's easy to skip when you're eager to plant as much as possible.
When and how to start your plants
Starting from seed
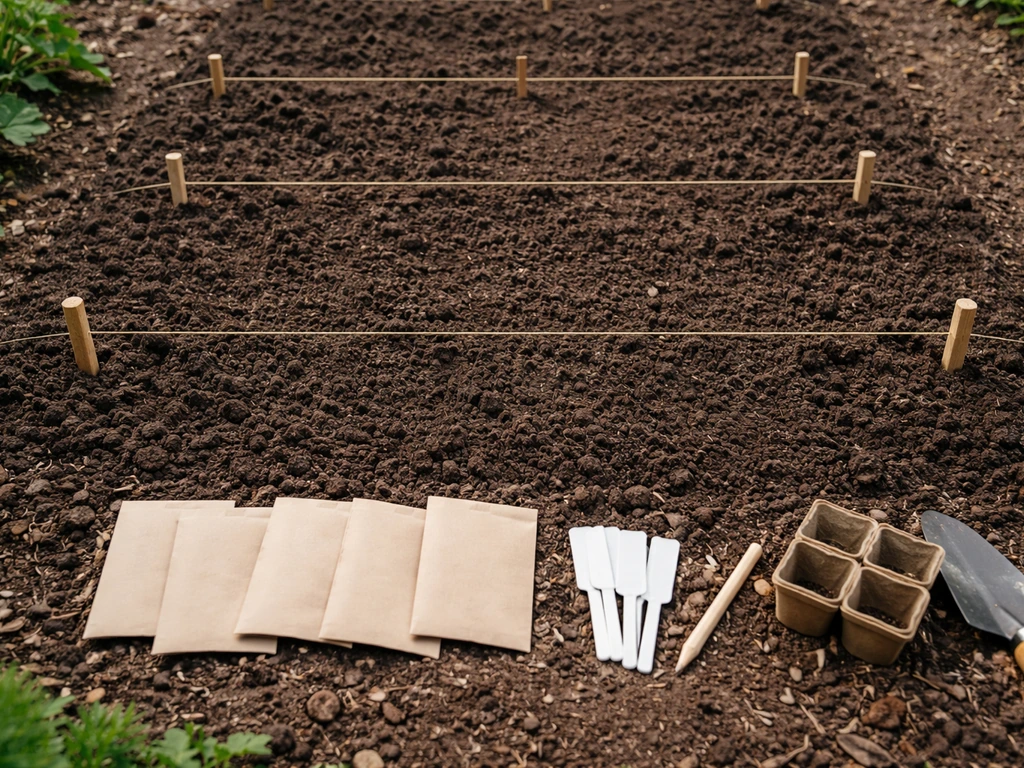
Growing cut flowers from seed is incredibly satisfying and dramatically cheaper than buying transplants, especially once you're filling multiple beds. Most of the popular cutting flowers are well within reach of beginners. The key is reading the seed packet for two numbers: days to germination and days to bloom. Work backward from your target bloom date to figure out when to start indoors.
Snapdragons, for example, need to be started indoors eight to ten weeks before your last frost date because they're slow from seed. Zinnias and sunflowers, on the other hand, don't like root disturbance and grow so fast that direct sowing after last frost is the better approach. Poppies actually prefer to be direct-seeded in fall or very early spring because they need cold stratification to germinate well. Getting the timing right by crop is one of the more nuanced parts of growing cut flowers from seed, and it's worth digging into specific guides for each variety you want to grow. If you want a simple start-to-finish routine, follow a dedicated guide on how to grow cutting flowers for the full season plan.
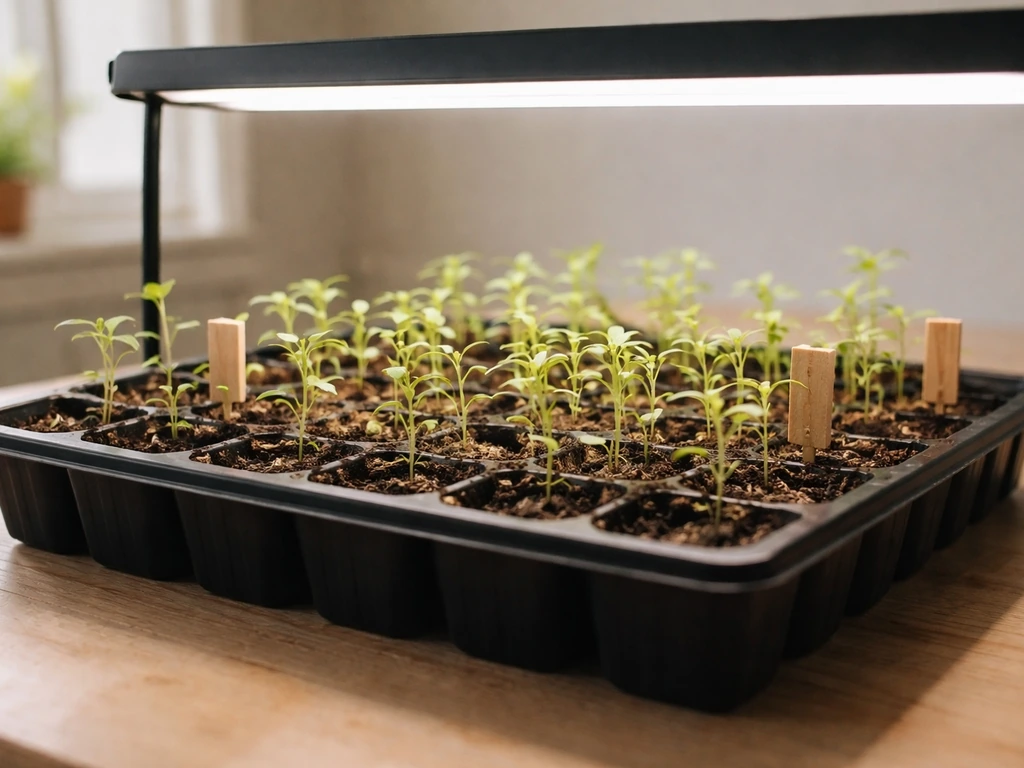
When starting seeds indoors, use a sterile seed-starting mix, keep temperatures appropriate for each crop (snapdragons prefer around 65-75°F during the day), and provide plenty of light. A grow light set two to three inches above the seedling tray will give you compact, sturdy transplants rather than the leggy, stretched ones that result from a dim windowsill.
Hardening off transplants
Don't skip hardening off. This is the process of gradually introducing your indoor-grown seedlings to outdoor conditions before planting them out. Start by putting trays in a sheltered, partly shaded spot for a few hours on the first day, then slowly increase exposure to sun and wind over about a week. Transplants that skip this step often show leaf scorch, wilting, or setback. It feels slow but it genuinely makes a difference, especially for cool-season crops like snapdragons that will face variable early spring weather.
Succession planting for continuous blooms
This is the single practice that separates a cutting garden that trickles flowers from one that produces continuously. Instead of planting everything at once and having a massive flush followed by nothing, stagger your sowings every two to three weeks. Each batch will hit peak bloom in sequence, keeping your vases full for months. For example, sow your first zinnia batch right after last frost, then sow another batch two weeks later, and another two weeks after that. Use the days-to-bloom figure on your seed packet to predict roughly when each batch will deliver flowers. It takes a little planning but once you try it, you won't go back.
Planting, watering, and spacing for non-stop flowers
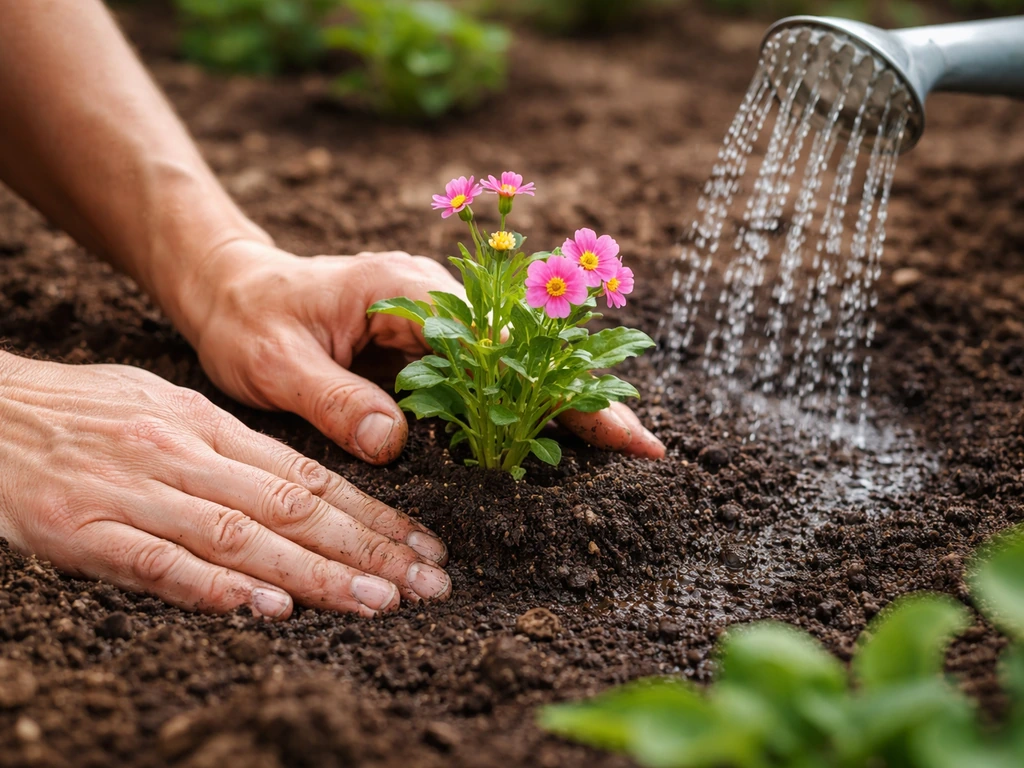
Plant transplants at the same depth they were growing in their cell or pot, and firm the soil gently around the roots. Water in well immediately after planting, even if rain is forecast. For direct-seeded crops, follow packet depth recommendations: fine seeds like snapdragon need to be barely covered or pressed into the surface, while larger seeds like sunflowers go in about an inch deep.
Drip irrigation is worth setting up if you have the time and budget. It delivers water directly to the root zone, keeps foliage and flowers dry, and significantly reduces foliar disease pressure. If you're hand-watering, try to water at the base of plants rather than overhead. Consistent, even moisture is what produces quality stems: drought stress followed by heavy watering causes all kinds of problems including petal quality issues and shortened vase life.
Mulch every bed after planting. A two-to-three-inch layer of straw or wood chip mulch suppresses weeds, keeps soil moisture consistent, and moderates soil temperature. Weeds competing with your cut flowers steal water and nutrients and can be a real problem by midsummer if you don't get ahead of them early. Mulching is one of the best time investments you can make in the first weeks of the season.
Keeping the garden going all season
Staking and support
Tall cut flowers like snapdragons, lisianthus, and larkspur need support to stay upright, especially in any kind of wind. The most practical system for a home cutting garden is horizontal netting stretched between stakes above the bed. As plants grow up through the grid, they support each other and stay straight. Install it early, before plants get tall, rather than trying to retrofit it after things start flopping. You can also use individual bamboo stakes and soft ties for smaller plantings. Straight stems are the goal: a bent stem is essentially unsellable or unusable, so don't skip this step for tall varieties.
Deadheading to keep plants producing
Deadheading is just removing spent or fading blooms before they set seed. University of Minnesota Extension notes that deadheading involves removing dead flowers after bloom to prevent seed production Deadheading is just removing spent or fading blooms before they set seed.. Once a plant achieves its biological goal of making seeds, it slows down flower production. Removing those fading blooms tells the plant to keep going. For most cut flowers, you're effectively harvesting and deadheading at the same time: regular cutting is the deadheading. But on days when you're not harvesting, walk the beds and pinch or snip off anything that's past its prime. For plants with multi-flower heads, remove individual faded flowers first, then cut the whole head back to just above a lower bud or leaf once most flowers have gone.
Managing pests and disease
Powdery mildew is probably the most common problem in a cutting garden, especially on zinnias and dahlias in late summer. It shows up as a grayish-white powdery coating on leaves and stems, and in bad cases it can prevent buds from opening properly. The practical advice: don't ignore the first signs. Once you see it on a few leaves, treat the entire plant. Good spacing and airflow help prevent it in the first place, which is another reason not to crowd your plants. Fungicide sprays (including organic options like neem oil or potassium bicarbonate) need to be applied at the first sign of trouble, not after the plant is covered.
Aphids, thrips, and spider mites are the other common culprits. A strong blast of water from a hose handles small aphid populations well. For anything more persistent, insecticidal soap is effective and low-impact on beneficial insects when applied in the evening. Walk your beds every few days so you catch problems early. An infestation that's been building for two weeks is much harder to deal with than one you catch on day three.
Harvesting and keeping your cut flowers fresh
When and how to cut
Harvest early in the morning, ideally before 8am. Plants have the highest water content at that point and stems last noticeably longer than flowers cut in the afternoon heat. Bring a clean bucket of cool water with you and put stems in immediately after cutting. The goal is to minimize the time between the stem being cut and it being in water.
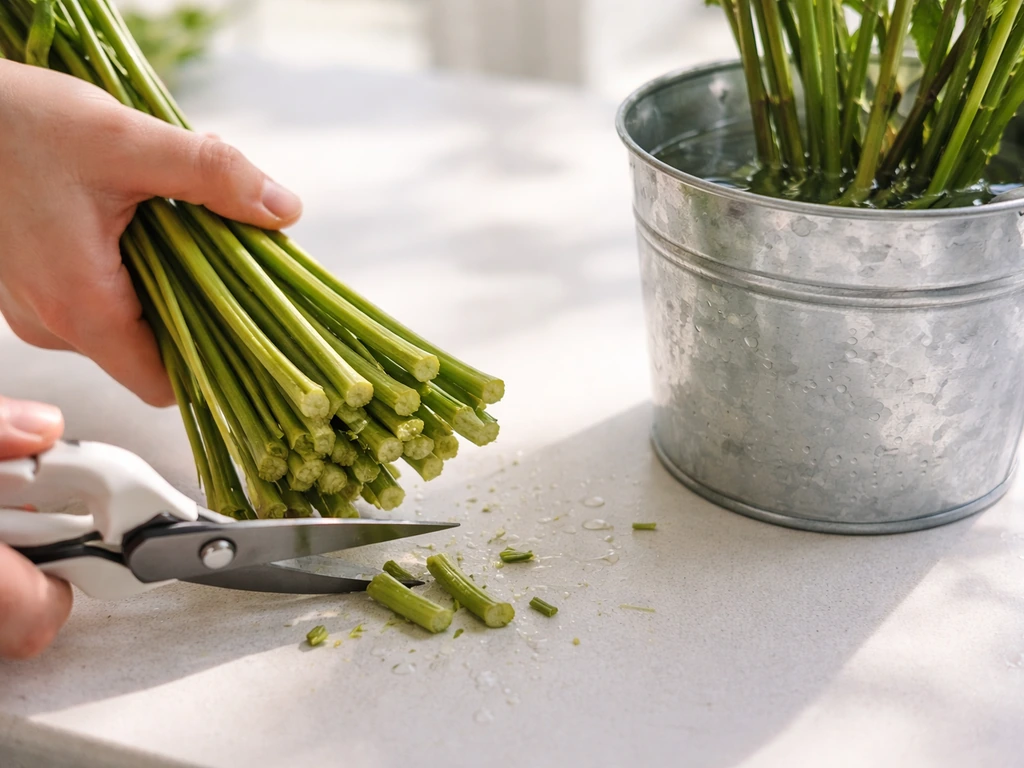
Cut at a sharp angle using clean, sharp scissors or floral snips. The angled cut increases the surface area available for water uptake and, importantly, keeps the stem from sitting flat against the bottom of the bucket where it could seal and block water movement. Air bubbles that enter the stem at cutting can also restrict water flow, so cutting quickly and getting stems into water fast reduces that risk.
Harvest flowers at the right stage for each crop. Most flowers are best cut when they're just beginning to open, not fully blown. For tips on getting new growth from the stems you cut, see how to cut flowers so they grow back. Zinnias should show color but not be fully open. Snapdragons are ready when about a third to half of the florets on the spike are open. Poppies should be cut in bud, just as color shows at the base of the bud. Harvesting at the correct stage extends vase life dramatically.
Conditioning for maximum vase life
After cutting, move stems to a cool, dim location for several hours (or overnight) before arranging them. This conditioning step allows stems to fully hydrate. Before putting them in a vase, recut each stem by about half an inch to remove any tissue that may have dried or sealed during transport. Remove any leaves that would sit below the waterline in the vase, since submerged foliage rots and clouds the water quickly.
Cool storage is the most powerful tool you have for extending vase life after harvest. Removing field heat rapidly after cutting makes a significant difference. If you have a spare refrigerator or a cool basement or garage, use it. Commercial growers store cut flowers at 33-35°F. Even a cool room at 50-55°F is far better than a warm kitchen counter. A floral preservative solution in the water helps too, supplying a small amount of sugar as energy and a biocide to keep bacterial populations down.
Your next steps right now
If you're reading this in spring and haven't planted yet, here's exactly what to do this week. First, identify your sunniest, most accessible garden space and rough out a four-by-ten-foot bed. Get a soil test ordered or pick up a basic home test kit. While you're waiting on results, start a batch of snapdragons indoors if you haven't already, or direct-sow a batch of zinnias or marigolds if you're past your last frost date. Order seeds for two or three succession plantings so you have them on hand. Set up a drip line or plan your watering approach before plants go in the ground. None of these steps take more than an afternoon, and doing them now puts you weeks ahead of a late start.
If you're still in the planning phase, use this as your framework: location first, soil second, variety selection third, timing fourth. The best cutting gardens are built intentionally. Get those four things right and the day-to-day maintenance (watering, harvesting, deadheading) becomes a pleasure rather than a rescue operation.
- Mark out your bed this week: four feet wide, as long as your space allows, full-sun location with wind protection
- Order or collect a soil test so you know your pH before you amend anything
- Choose three to five varieties that span spring, summer, and fall bloom times
- Make a succession planting calendar: note your last frost date and count back from desired bloom dates using the days-to-bloom on seed packets
- Set up water access and plan for drip irrigation or consistent base-of-plant watering
- Source transplant support netting before you need it, not after things start flopping
FAQ
How many cut flower plants should I start with if I’m planning to harvest for myself (not selling)?
A practical starting point is 30 to 50 plants for one household, using the same spacing you plan to use long term. If you want fuller bouquets, add a second staggered bed rather than doubling density in one bed, because crowded plants reduce stem quality and increase mildew risk.
What’s the best way to prevent stems from snapping or bending during harvest and transport?
Handle stems as little as possible after cutting, keep them upright in water right away, and avoid bunching too tightly before they’re conditioned. If your flower heads are heavy (like certain snapdragon or larkspur types), support the spike with soft ties so the neck stays straight while you harvest.
Can I grow cut flowers in containers if I don’t have room for a bed?
Yes, especially for shorter stem crops or for your first season trial. Use large containers with excellent drainage, keep soil consistently moist with a regular schedule, and choose compact cutting varieties. Container growing is typically more watering intensive and less forgiving during hot weeks, so plan drip or self-watering systems if you travel or have limited time.
How do I choose between raised beds and fixing poor drainage in-ground?
If water pools after rain or you consistently get soggy soil below the top layer, raised beds are the safest, fastest fix. If drainage is only slightly slow, you can amend and add compost, but you still may need a higher bed or partial elevation. In very wet areas, a drainage solution under the bed can help, but raised beds usually outperform “hope-based” in-ground fixes for cutting gardens.
What should I do if my soil test shows low phosphorus, but I already added compost?
Compost can support soil biology, but it won’t reliably correct nutrient availability for heavy bloom producers. Follow your soil report for a targeted phosphorus adjustment, then reassess your fertilizer approach once plants are established. Overapplying nitrogen is a common mistake that leads to leafy growth even when phosphorus is low.
How can I stagger plantings without confusing my schedule?
Pick one anchor crop for your calendar and build the rest around it, then label seed packets or trays by “batch date” rather than sowing date. Use the days-to-bloom number to work backward and create two to three batches at fixed intervals, then keep those intervals consistent year to year so you can troubleshoot faster.
Do I need to fertilize repeatedly once plants start flowering?
Usually, yes, but keep it light and timely. Side-dress after the first wave of buds begins forming, not before plants are actively producing, and avoid increasing nitrogen late in the season. If flowers get smaller or stems soften, reduce nitrogen and focus on consistent watering and airflow.
Why are my plants flowering but the stems are short or weak for cutting?
Common causes are insufficient direct sun, uneven watering (dry spells then heavy watering), and overcrowding that reduces airflow. Also check that you cut at the correct stage, because cutting too late can mean the plant has already shifted energy toward seed rather than producing new sturdy growth.
What’s the difference between harvesting flowers and deadheading for more blooms?
Harvesting is your main deadheading, because cutting removes spent blossoms before seed set. On non-harvest days, remove only faded material that’s past its prime, and for plants with multi-flower heads, clear individual blooms first, then cut the whole head back to a lower bud once most flowers are gone.
How do I deal with powdery mildew early without spraying constantly?
Start by improving airflow (don’t crowd), water at the base, and remove leaves that show early symptoms so the problem doesn’t spread through the canopy. If you spray, apply at the first visible signs and cover the whole affected plant, because mildew control works best before it becomes widespread on stems and buds.
Is it okay to water overhead sometimes, or is drip irrigation truly necessary?
Overhead water can be okay in moderation for many gardens, but it increases leaf wetness and can raise mildew pressure in dense plantings. Drip is best for cut flower production because it supports consistent root-zone moisture and keeps foliage drier, which improves both stem quality and plant health.
How do I know if I’m cutting at the right bloom stage for vase life?
Use a simple “just-beginning” rule based on the flower type you’re growing: cut when you have visible color but the flower is not fully open, then fine-tune by variety. If blooms open too fast in the vase, you likely cut too late; if they fail to open much, you may have cut too early.
What’s the best way to store cut flowers before arranging them, especially if I can’t get to them right away?
Condition stems in a cool, dim space in water for several hours, then recut the ends before arranging. If you need longer storage, keep flowers in the coolest location you can manage (like a cool garage or refrigerator if available) and avoid storing them next to ripening fruit, because ethylene can shorten vase life.
How do I protect tall cut flowers from wind if I can’t install netting early?
You can still use stakes and soft ties, but aim to add support as soon as plants reach the height where bending starts. Retrofitting after stems kink is much harder, because damaged stems often won’t be useable in a vase. If your area is consistently windy, prioritize horizontal netting or install it early in the season even before blooms start.
When should I stop deadheading and keep harvesting for new growth later in the season?
Keep harvesting and removing fading blooms as long as the plant continues producing new buds and the stems remain strong. If a plant shifts fully toward seed set or the overall flush slows dramatically, you can reduce intervention and focus on succession beds so your garden stays productive rather than trying to force tired plants.
Next Articles
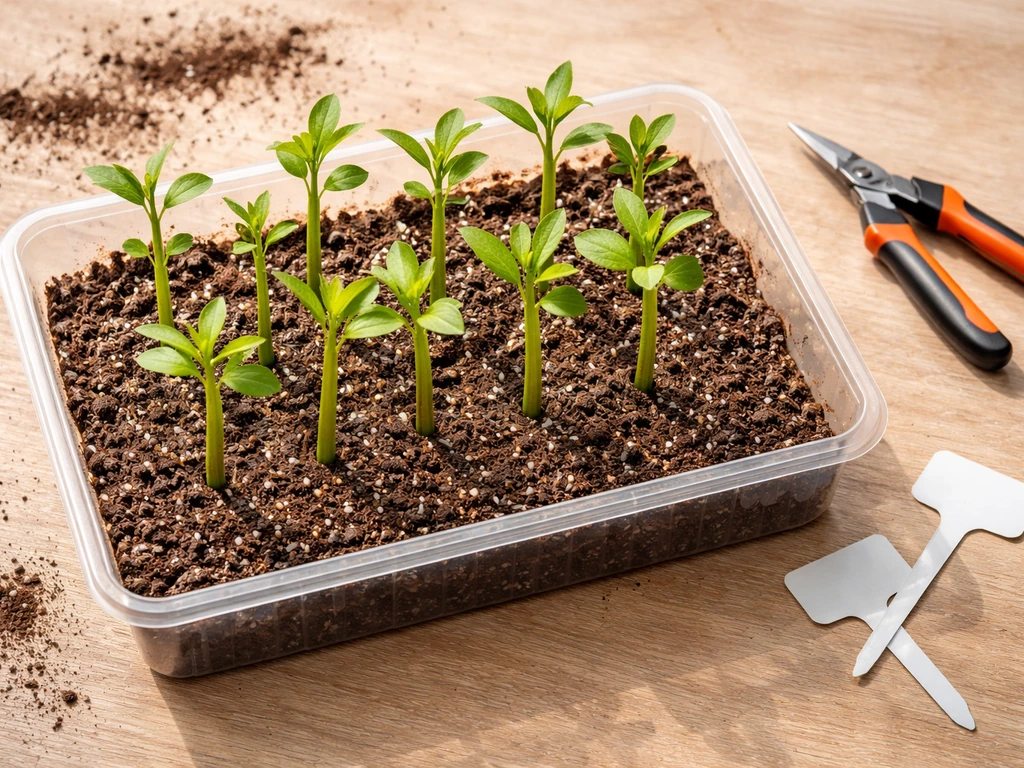
How to Grow Cutting Flowers From Cuttings Step by Step
Step by step guide to propagate cutting flowers from stem cuttings, root, pot, grow, and harvest for bouquets.
Best Cutting Flowers to Grow From Seed: Varieties and Guide
Best seed-grown cutting flowers, top varieties, sowing steps, and care tips for long stems, fast blooms, and vase-ready
Good Cutting Flowers to Grow: Best Picks for Bouquets
Top cut flowers to grow for bouquets and market: best varieties, planting timing, and how to harvest long-stem blooms.