
Yes, you can grow proteas from cut flowers, but the method matters enormously and success is far from guaranteed with florist-bought stems. For more on this question, see can you grow a plant from a flower. The realistic path splits into two options: rooting a vegetative stem cutting taken from a living plant, or extracting seeds from a spent or dried flower head. Both can work. Using a finished florist stem as a cutting, however, is a long shot because those stems have usually been chemically treated, refrigerated, and harvested at the wrong developmental stage. If you have access to a living protea plant, taking a purpose-made semi-hardwood cutting gives you genuinely good odds. If you only have a dried flower head, harvesting the seeds inside and germinating them is your best realistic route.
Can You Grow Proteas From Cut Flowers? Cuttings vs Seeds

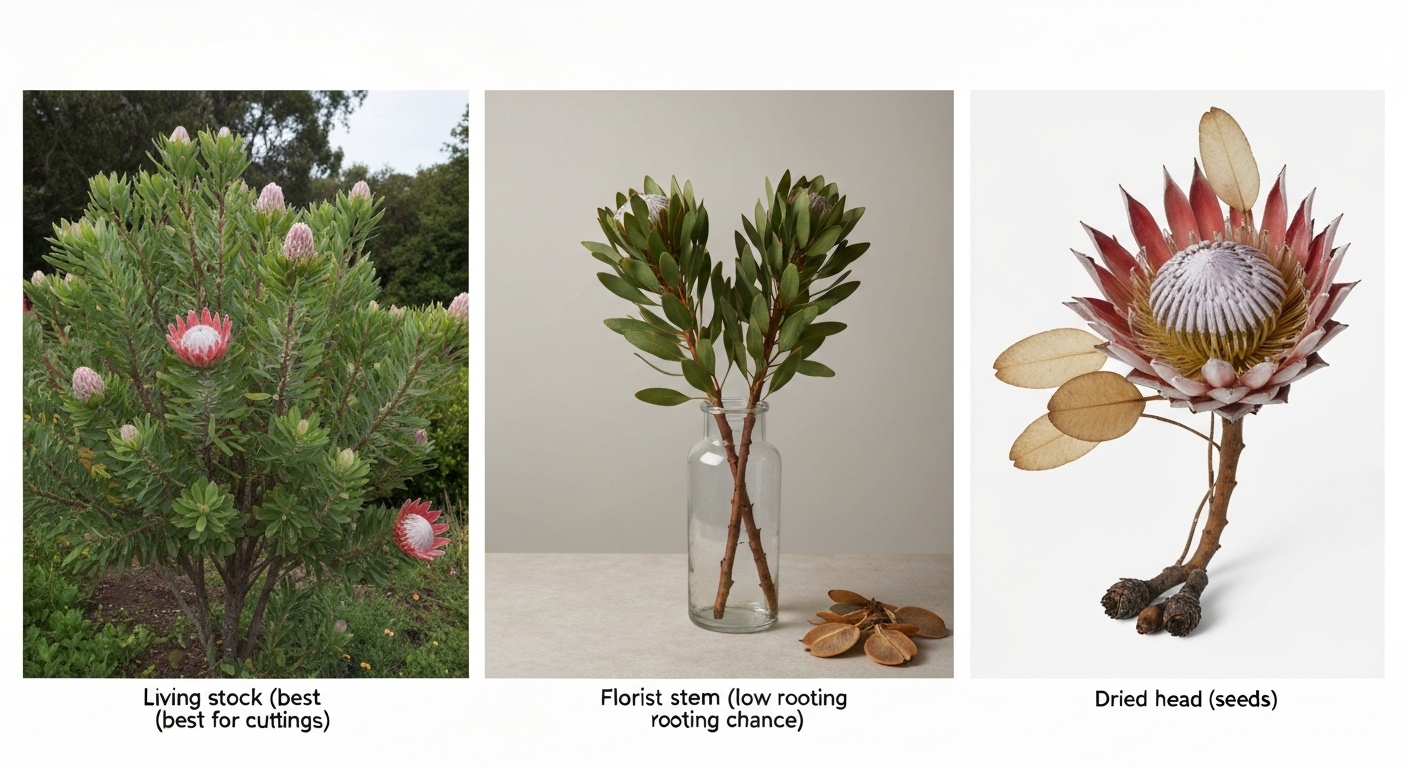
Why proteas behave differently from most garden flowers
Proteas belong to the family Proteaceae, a group that evolved on ancient, extremely low-nutrient soils in southern Africa and Australia. That origin shapes everything about how they grow and how they propagate. Their root systems include specialised cluster roots (sometimes called proteoid roots) that are highly efficient at scavenging phosphorus from impoverished soil, which also makes them surprisingly sensitive to fertilisers that are perfectly fine for other flowers. Metabolic adaptations of Proteaceae to low‑phosphorus soils, Lambers et al. (review) note that many Proteaceae are adapted to very low‑phosphorus soils and are phosphorus‑sensitive, so growers should use low‑P fertilisers and avoid routine high‑P slow‑release feeds Metabolic adaptations of Proteaceae to low‑phosphorus soils — Lambers et al. (review). High-phosphorus feeds that would help a marigold can actually kill a protea by triggering a kind of nutrient toxicity. That biological quirk runs through every stage of propagation, from the rooting medium you choose to the fertiliser you apply once a plant is established.
Proteas are also woody shrubs, not annual or herbaceous plants, so their propagation timeline is measured in months rather than weeks. A stem cutting needs 8 to 16 weeks under ideal conditions before it forms a root system strong enough to transplant. Seeds can take anywhere from 4 weeks to several months depending on species and pre-treatment. There are no shortcuts, but there is a clear process that consistently improves your odds. Understanding why proteas are different helps you avoid the mistakes that wipe out beginners: overwatering, using standard potting mix, or applying a standard slow-release fertiliser.
The two propagation paths: cuttings vs seeds from dried heads
Every practical propagation method for proteas falls into one of two categories: vegetative (growing a genetic clone from a stem cutting) or generative (growing a new plant from seed). Each produces a different kind of plant and suits different starting points.
Vegetative cuttings
A vegetative cutting taken from a healthy stock plant is the method commercial nurseries and SANBI (South African National Biodiversity Institute) production protocols rely on. The target is a semi-hardwood tip or lateral cutting of 15 to 25 cm taken from current-season growth, typically in summer (mid-summer in the Northern Hemisphere, which corresponds to the same growing window in the Southern Hemisphere). Propagation guidelines commonly recommend 15–25 cm semi‑hardwood cuttings taken from current‑season growth (summer in the Southern Hemisphere; mid‑summer in the Northern Hemisphere) and advise taking cuttings when plants are not actively flowering, see Proteas, Production guideline (South African Dept. of Agriculture, Land Reform & Rural Development) Proteas — Production guideline (South African Dept. of Agriculture, Land Reform & Rural Development). You treat the base with a high-concentration IBA rooting hormone, insert it into a low-retention medium like peat and perlite, and keep it under intermittent mist with bottom heat. A replicated nursery trial on Leucospermum cordifolium achieved a 98% rooting rate using a 10-second basal dip in a 4,000 ppm IBA solution under exactly those conditions. That is the ceiling of what is possible with ideal technique, and it requires deliberate cuttings from a living plant, not stems sourced from a florist.
Seeds from dried flower heads
The second path uses the seeds hidden inside a protea's dried flower head. Many Proteaceae species hold viable seed inside the spent cone-like structure for weeks or even months after the flower matures. Once you extract those seeds, germination often needs a trigger. Many protea species evolved in fire-prone landscapes, so their seeds respond to smoke or heat cues that signal it is safe to germinate after a fire has passed. Smoke-water priming (soaking seeds in a dilute smoke-water solution for about 24 hours) is the most practical way to replicate that stimulus at home and can substantially improve germination rates. This path is slower and produces plants that differ genetically from the parent (unless the plant was self-pollinated), but it is accessible even if you have no living protea nearby.
Are florist-supplied cut flowers actually usable for propagation?
Honestly, florist stems are poor starting material for cuttings, and I want to be upfront about why rather than give you false hope. Commercial cut proteas are harvested specifically for vase life, not propagation. They are cut at peak bloom, which is exactly the developmental stage least likely to root. They are then commonly pulsed in solutions containing sucrose (around 2%) and an antimicrobial biocide such as 8-hydroxyquinoline citrate to extend their shelf life, then cold-stored during transit. Some research suggests that gibberellic acid, which can appear in postharvest treatments, actively inhibits rooting in some species. By the time a protea stem sits in a shop cooler and then in a vase at your home, the cells at the base have been through a series of chemical exposures that commercial propagation protocols are specifically designed to avoid.
There are informal accounts on gardening forums of experienced propagators occasionally rooting a florist stem under mist-bench conditions. Those stories exist, but they are anecdotes, not repeatable protocols. The stem you are working with may have been cut weeks earlier, treated with multiple chemicals, and stored near freezing. I have tried it myself with mixed results that I would charitably describe as educational. For a reliable outcome, purpose-taken cuttings from a living plant are in a completely different league. That said, if a florist stem is all you have, there is one genuinely useful thing inside it: the flower head itself, which may contain harvestable seed if it is sufficiently mature.
To evaluate whether a florist stem has any propagation potential, check these things before you invest time in it:
- The stem should feel firm and green, not woody, shrivelled, or browning from the cut end upward
- The flower head should be past full bloom and showing signs of the cone structure developing, which may contain seed
- The base should not be slimy or discoloured from bacterial rot introduced during vase life
- The stem should have at least one or two sets of healthy leaves with no yellowing or dehydration curl
- Ideally the stem was purchased fresh and spent minimal time in a vase (under one week)
Even a stem that passes all those checks has a much lower rooting probability than a cutting taken fresh from a living plant. Treat it as a learning exercise rather than a reliable propagation strategy.
Choosing your method: which path fits your situation
The right method depends on what you have access to and how much patience and equipment you can bring to the project. Here is a practical comparison to help you decide:
| Factor | Stem Cuttings | Seeds from Dried Heads |
|---|---|---|
| Starting material needed | Healthy living protea plant (your own or a friend's) | Dried or spent flower head (florist, own plant, or purchased seed) |
| Genetic outcome | Identical clone of parent plant | New genetic individual (may vary from parent) |
| Skill level | Intermediate to advanced | Beginner-friendly |
| Equipment required | Rooting hormone, mist/humidity, bottom heat preferred | Smoke-water solution, seed tray, well-drained mix |
| Time to rooted cutting / germination | 8 to 16 weeks | 4 to 12 weeks for germination |
| Time to transplantable plant | 4 to 6 months | 6 to 12 months |
| Success rate (ideal conditions) | Very high (up to 98% with IBA dip and mist) | Moderate, highly species-dependent |
| Best for | Preserving a favourite cultivar; experienced gardeners | Beginners; anyone without access to a stock plant |
If you are a beginner and the main thing you have is a dried protea head from a florist arrangement or a bunch you dried yourself, go the seed route. It is more forgiving about equipment, and extracting and sowing seeds is a satisfying project that teaches you a lot about how proteas work. If you have a protea growing in your garden or know someone who does, the cutting method is worth the extra effort because it produces a genetically identical plant much faster than seed.
What you will need before you start
Both methods share some common supply requirements, with a few differences. Get everything together before you start because protea propagation does not tolerate improvisation mid-process.
For stem cuttings
- IBA rooting hormone powder or liquid concentrate at 3,000 to 4,000 ppm (gel formulations also work but liquid dip is preferred for proteas)
- Propagation medium: equal parts coarse perlite and peat, or milled pine bark and coarse sand, pH adjusted to 5.5 to 6.5
- Deep individual cells or 10 cm pots (deep containers encourage downward root extension)
- A sharp, clean blade or grafting knife and isopropyl alcohol for sterilising between cuts
- A propagation dome, humidity tent, or access to an intermittent-mist bench
- Bottom heat mat set to approximately 20 to 22 degrees Celsius (soil temperature, not air)
- A fungicide drench suitable for Phytophthora and Pythium (copper-based or a dedicated fungicide) for the medium before use
- Labels and a waterproof marker for tracking species and cutting date
For seeds from dried flower heads
- Dried or semi-dried protea flower heads (own plant, florist source, or purchased seed packet)
- Smoke-water concentrate (available from specialist seed suppliers) or a DIY smoked cloth method
- Shallow seed trays or individual cells
- Low-phosphorus, free-draining seed mix: coarse river sand plus fine bark or perlite (no standard potting compost)
- Fine-grade perlite or coarse sand for covering seeds
- Spray bottle for gentle, even watering
- A propagation dome or plastic film to retain humidity during germination
- Broad-spectrum fungicide (damping-off is a real risk with protea seedlings)
Step-by-step: rooting protea stem cuttings
This workflow assumes you have access to a healthy living protea plant. The ideal timing is mid to late summer when the current season's growth has firmed up from soft green to semi-hardwood but has not yet become fully woody. In the Northern Hemisphere that means roughly July through August. In the Southern Hemisphere, January through February. Do not take cuttings while the plant is actively flowering; wait until after flowering when the plant is putting energy back into vegetative growth.
- Sterilise your cutting blade with isopropyl alcohol and let it dry. Any bacteria or fungi introduced at the cut surface are a major cause of failure.
- Select tip or lateral shoots of 15 to 25 cm that are semi-hardwood: they should flex slightly without snapping but should not be soft and floppy. Avoid flowering stems entirely.
- Make a clean cut just below a leaf node at a slight angle. Remove the lower third of leaves cleanly, leaving two or three sets of leaves at the tip.
- If the remaining leaves are large (as on Protea cynaroides, for example), cut them in half horizontally to reduce water loss through transpiration.
- Prepare your rooting hormone solution: for a liquid dip, mix IBA to approximately 4,000 ppm. For powder, use a commercial 3,000 to 4,000 ppm formulation.
- Dip the basal 1 to 2 cm of the cutting in the IBA solution for 10 seconds (liquid) or tap into powder and shake off the excess. Do not leave cuttings soaking in liquid for extended periods.
- Pre-moisten your propagation medium (peat and perlite) and fill your deep cells or pots to within 1 cm of the top.
- Use a dibber or pencil to make a planting hole before inserting the cutting. Pushing the cutting directly in can scrape off the hormone.
- Insert the cutting to a depth of about 4 to 5 cm, firm gently, and water in with a dilute fungicide solution to reduce Phytophthora risk.
- Place under your humidity dome or mist system with bottom heat at 20 to 22 degrees Celsius. Aim for relative humidity of around 80 to 90% to prevent wilting without saturating the medium.
- Check weekly. The medium should feel damp but never waterlogged. Good drainage is non-negotiable: soggy conditions cause stem rot faster than almost any other factor.
- After 8 to 12 weeks, gently tug a cutting. Resistance indicates roots. Do not rush to transplant: wait until roots are clearly visible from drainage holes or when you can lift the cutting and see a developed root ball.
- Wean the rooted cutting off high humidity gradually over one to two weeks before moving it to normal conditions.
A note on troubleshooting: if cuttings are blackening at the base, that is almost always a drainage or fungal issue. Remove affected cuttings immediately to stop spread, and next time ensure your mix drains more freely and your fungicide drench is applied at the start. If cuttings look healthy but simply do not root after 16 weeks, the likely culprits are inadequate hormone concentration, cutting material that was too young or too old, or insufficient bottom heat.
Step-by-step: growing proteas from seeds in dried flower heads
This is the more beginner-accessible route, and it works whether your flower head came from your own plant or from a florist arrangement you dried at home. For step-by-step guidance on how to grow dried flowers and harvest viable seed heads, see the how to grow dried flowers guide. For step-by-step guidance on extracting seeds and growing a flower from another flower, see how to grow a flower from a flower. The key is knowing what a viable protea seed actually looks like inside the head, and giving it the pre-germination treatment it needs.
Harvesting and extracting seed
- Allow the flower head to dry fully on the plant if possible, or dry a cut head in a warm, well-ventilated spot for two to four weeks after purchase. The head needs to be papery and completely dry, not just wilted.
- Hold the dried head over a tray or sheet of paper and peel back the bracts (the leafy structures surrounding the flower). Inside you will find individual florets, and within those, the seeds. Protea seeds are typically flat, winged, and light brown to tan in colour. Each floret may contain one viable seed.
- Check seed viability: healthy seeds feel firm and have some weight. Flat, papery, hollow seeds are not viable. You can do a float test in water but be aware that protea seeds with wings may float even when viable, so this test is less reliable than for other species. Rely primarily on feel and visual firmness.
- Separate seeds from chaff and set aside any that look shrunken or obviously damaged.
Pre-treatment to break dormancy
- Prepare a smoke-water solution according to the product instructions, typically a dilution of around 1:1,000 smoke-water concentrate in clean water.
- Soak the seeds in the smoke-water solution for 24 hours at room temperature. This mimics the post-fire germination cue that many Proteaceae respond to and can substantially improve germination rates.
- If smoke-water is unavailable, an alternative is to place seeds on a metal tray, hold a smouldering piece of untreated wood or straw underneath, and expose seeds to the smoke briefly before sowing. It is less precise but better than nothing.
- After soaking, drain the seeds and sow immediately. Do not allow treated seeds to dry out before sowing.
Sowing and early care
- Fill your seed tray with a low-phosphorus, free-draining mix: a 50/50 blend of coarse river sand and fine composted bark works well. Never use standard potting compost or any mix containing significant fertiliser.
- Water the medium thoroughly and allow it to drain before sowing. Apply a dilute broad-spectrum fungicide at this stage to reduce damping-off risk.
- Sow seeds on the surface of the medium, spaced about 3 to 4 cm apart. Press each seed gently into the surface but do not bury it deeply; protea seeds germinate better with minimal cover.
- Cover seeds with a thin layer (3 to 5 mm) of coarse perlite or clean washed sand. This keeps moisture around the seed without creating the heavy, wet layer that encourages fungal rot.
- Cover the tray with a propagation dome or plastic film to maintain humidity, and place in a warm spot with bright indirect light. Avoid direct harsh sun at this stage. Aim for an air temperature of 15 to 20 degrees Celsius.
- Check daily. The medium should stay moist but not wet. If condensation is dripping inside the dome, lift it briefly for ventilation.
- Germination can begin as early as four weeks for some species but may take up to three months for others. Do not discard the tray prematurely. I have had protea seeds germinate at the 10-week mark after showing nothing for two months.
- Once seedlings have two or three true leaves (not just the first seed leaves), transplant carefully into individual deep pots using the same low-phosphorus, free-draining mix. Handle by the leaves, not the fragile stem.
- Feed very sparingly with a low-phosphorus liquid fertiliser only once the seedling is established in its individual pot. Many experienced growers avoid feeding altogether for the first year, relying on the nutrients already in the mix.
Patience is genuinely the most important ingredient in this process. Protea seedlings grow slowly and do not respond well to being rushed with extra water or fertiliser. A seedling that is slightly underwatered will bounce back. One that has been overwatered or fed a high-phosphorus fertiliser often will not.
A few things worth knowing before you begin
Species choice makes a real difference to your success rate. Leucospermum (pincushion proteas) and many Protea cynaroides cultivars root from cuttings more readily and germinate more reliably from seed than some of the rarer or more specialist species. If you are new to proteas, starting with a common nursery variety rather than a rare or wild-type species is a wise move. Some species, like Protea curvata, have historically resisted cutting propagation in nursery trials entirely.
On the question of wild-collected material: proteas are protected plants in many parts of southern Africa and Australia, and collecting seeds, cuttings, or plant material from wild populations is illegal in most of those regions. Always source seeds or cuttings from reputable nurseries, specialist seed suppliers, or your own cultivated plants. This is not a bureaucratic concern; wild protea populations are under genuine pressure and home gardeners play a real role in either protecting or harming them depending on their sourcing choices.
Climate is also worth a mention. Proteas are broadly suited to Mediterranean-type climates: mild, wet winters and warm, dry summers. In hardiness terms, most species prefer USDA zones 9 to 11. They do not tolerate hard frost, heavy clay soils, or the humid summer conditions common in much of the eastern United States. If you are in a colder or wetter climate, growing in containers that can be moved under cover in winter, or focusing on the hardier species like Protea cynaroides or Leucospermum cultivars, will give you much better results than trying to garden around the limitations of a difficult site.
If the idea of growing plants from interesting starting material appeals to you, proteas are just one example of a broader skill set. The principles of vegetative propagation and seed dormancy-breaking show up across many cutting-garden flowers, and the patience and attention to drainage you develop working with proteas will serve you well elsewhere in the garden.
FAQ
Can you grow proteas from cut flowers?
Short answer: No for florist-supplied vase flowers; Yes if you take proper semi‑hardwood cuttings from a living plant. Florist stems are usually harvested, treated (pulsed with sugar, biocides, fungicides, cold‑stored) and often lack the physiology needed to root. Reliable vegetative propagation requires fresh semi‑hardwood or lateral cuttings taken from healthy stock plants, not finished florists’ stems. You can also grow many proteas from seed collected from spent/dried flower heads.
What’s the difference between rooting a cutting and growing from seed?
Cuttings (vegetative propagation) produce a clone of the parent and are done from fresh semi‑hardwood/lateral shoots using rooting hormone, a free‑draining medium, mist/bottom heat and fungicide control; they can take weeks–months and success is species‑dependent. Seed propagation produces genetically new plants, often requires smoke or heat treatments to break dormancy, can have variable germination timing but is the standard commercial route for many species and is often easier for beginners with access to seed.
Step‑by‑step: How to propagate proteas from cuttings (complete workflow)
1) Timing: take semi‑hardwood tip or lateral cuttings in the active growing season for your climate (mid‑summer in N. Hemisphere; after flushes of growth). 2) Take cuttings 10–25 cm long with 2–4 nodes; cut just below a node. 3) Remove lower leaves and any flower parts; keep 1–2 leaf pairs. 4) Trim basal end, optionally wound slightly, and quick‑dip in a fungicide then in rooting hormone (commercial IBA 3,000–4,000 ppm or powder equivalent). 5) Insert into very free‑draining medium (peat:perlite 1:1, or coarse sand/peat/milled bark) at a depth covering at least one node. 6) Place under intermittent mist or very humid cover, provide bottom heat if possible (~20–24°C), and avoid direct hot sun. 7) Use good air circulation and a fungicide drench or protective spray as recommended. 8) Check for root development in 4–12+ weeks depending on species; pot up when roots are well formed. 9) Acclimatize gradually to drier conditions and plant into low‑phosphorus, sharply draining soil (acidic pH ~5.5–6.5).
Step‑by‑step: How to grow proteas from seeds collected from dried flower heads (complete workflow)
1) Collect mature, dry seed heads from labelled plants or reputable sources; allow to dry fully and extract seeds. 2) Clean seeds of chaff; store dry if not sowing immediately. 3) Pretreat if required: many proteaceae respond to smoke‑water soak (commercial smoke solution or homemade smoke water soak 12–24 hours) or brief heat shock according to species guidance. Mechanical scarification or removing a hard seedcoat can help some genera. 4) Sow onto a sterile, free‑draining seed mix (coarse sand or fine grit + peat or propagation mix) without burying seeds deeply—just cover lightly. 5) Keep substrate moist but not waterlogged, provide warmth (20–25°C) and good light (bright, indirect). 6) Watch for fungus and use a light fungicide seed treatment or sterile technique. 7) Germination timing varies (days to months); transplant seedlings to individual pots when true leaves appear and roots are established. 8) Grow on in low‑P, well‑drained media and harden off slowly before planting out.
Can florist proteas be rooted successfully at home?
Sometimes but unlikely and unreliable. Florist stems are typically harvested at or after flowering, treated with sugars, biocides and fungicides, often cold‑stored and cut back—conditions that reduce rooting potential. Experienced propagators have occasional success, but for predictable results take fresh semi‑hardwood cuttings from healthy garden or nursery stock or use seed.
What materials and tools do I need for cutting propagation?
Sharp clean pruners, rooting hormone (IBA powder or concentrated dip 2,000–4,000 ppm), a free‑draining propagation medium (peat:perlite or coarse sand + peat/milled bark), propagation trays/pots, humidity control (mist bench, propagation dome, or plastic cover), optional bottom heater (20–24°C), fungicide or protective fungicidal dip, labels, and clean water. Avoid high‑phosphorus feeds.
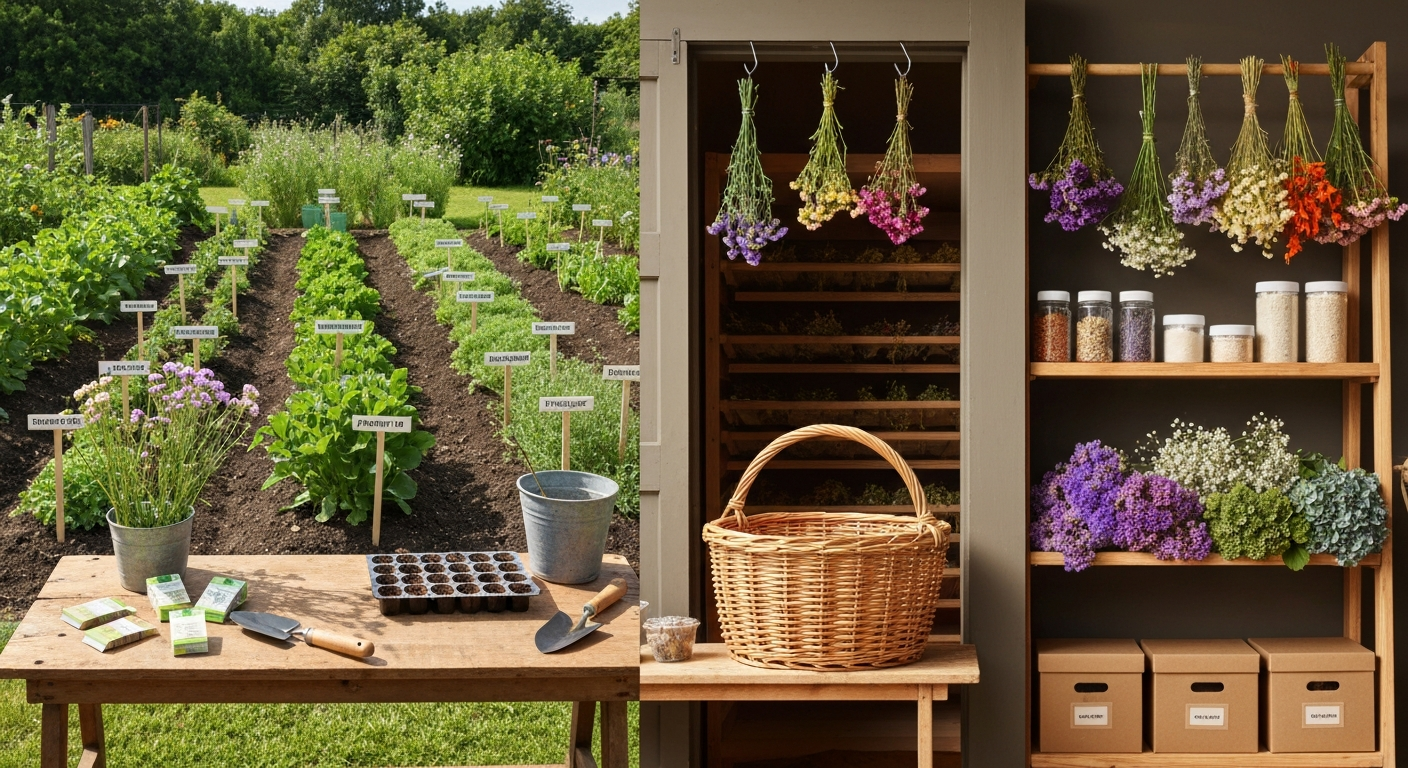
Grow, harvest and dry flowers step-by-step: varieties, planting schedules, cutting timing, drying methods, seed-saving.
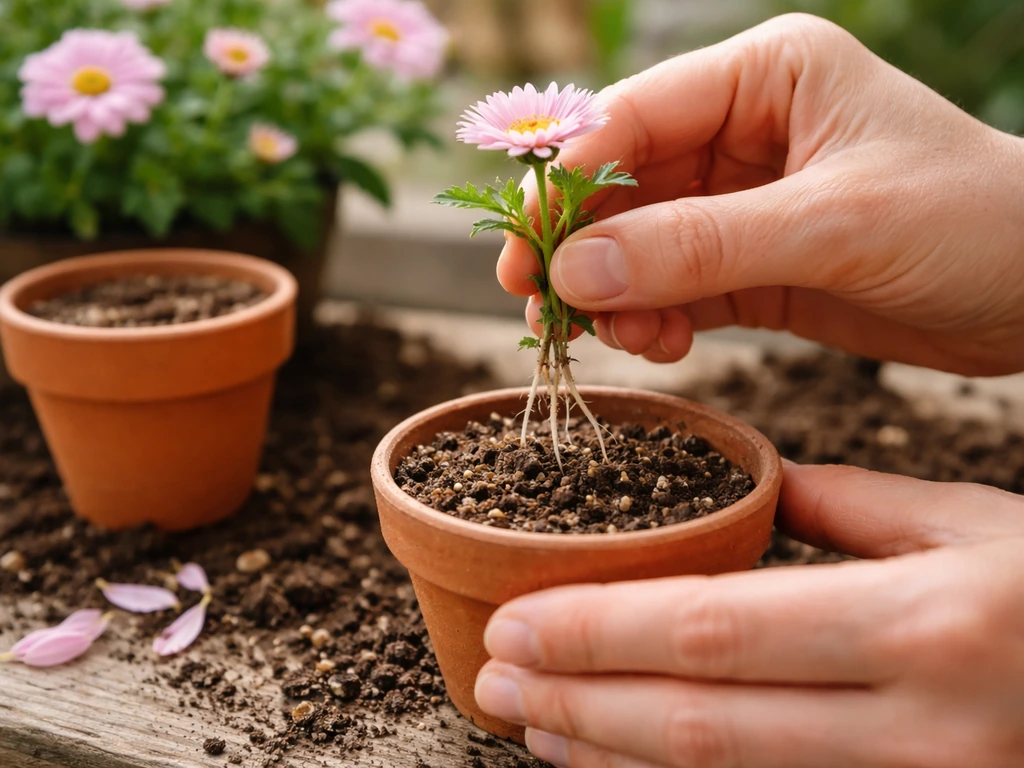
Step-by-step guide to grow new flowers from existing blooms: seed, cuttings, division or layering, with timing, care and
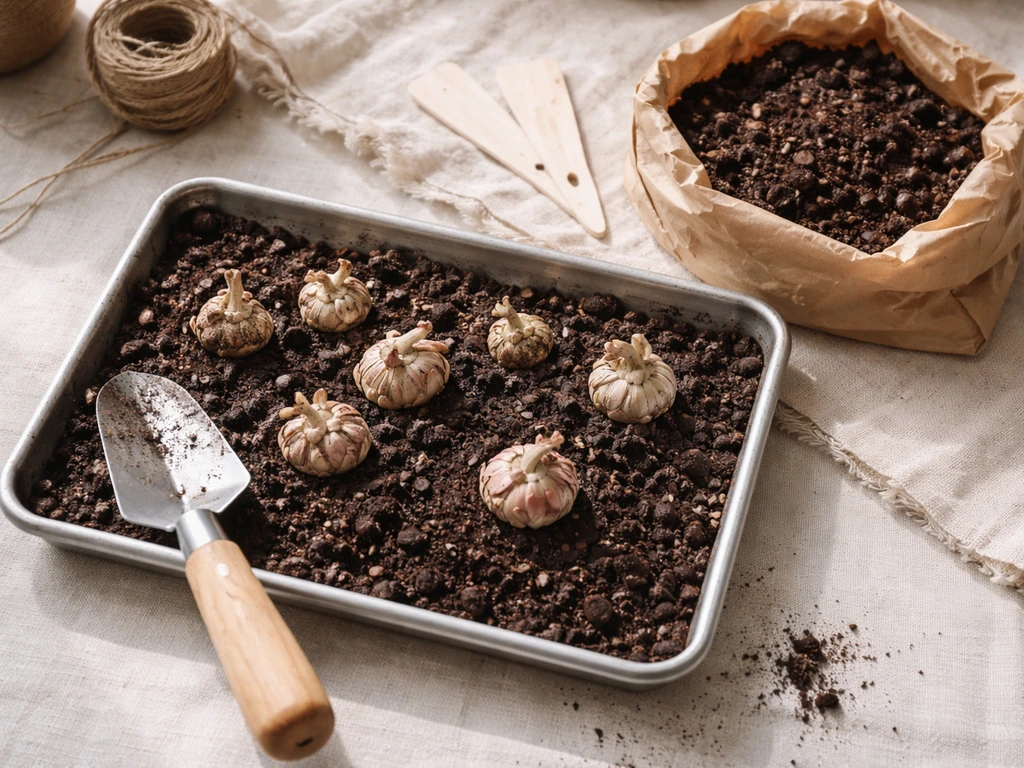
Step-by-step Floret-style ranunculus guide: corm prep, planting, watering, frost care, troubleshooting, and harvest for