Yes, you can grow a new plant from a flower, and there are two reliable routes to do it: collecting the seeds the flower produces, or using vegetative propagation (cuttings, divisions, or bulbs). Most gardeners start with seeds because the process is straightforward, cheap, and works brilliantly for common ornamentals like marigolds, poppies, snapdragons, and wildflowers. Vegetative methods come into play when you want an exact clone of a parent plant or when a variety doesn't breed true from seed. Either way, the answer is a genuine yes, with a few important exceptions around sterile hybrids and chemically treated florist stems.
Can You Grow a Plant From a Flower? Seed & Cutting Guide
James Holloway
21 Jul 2026
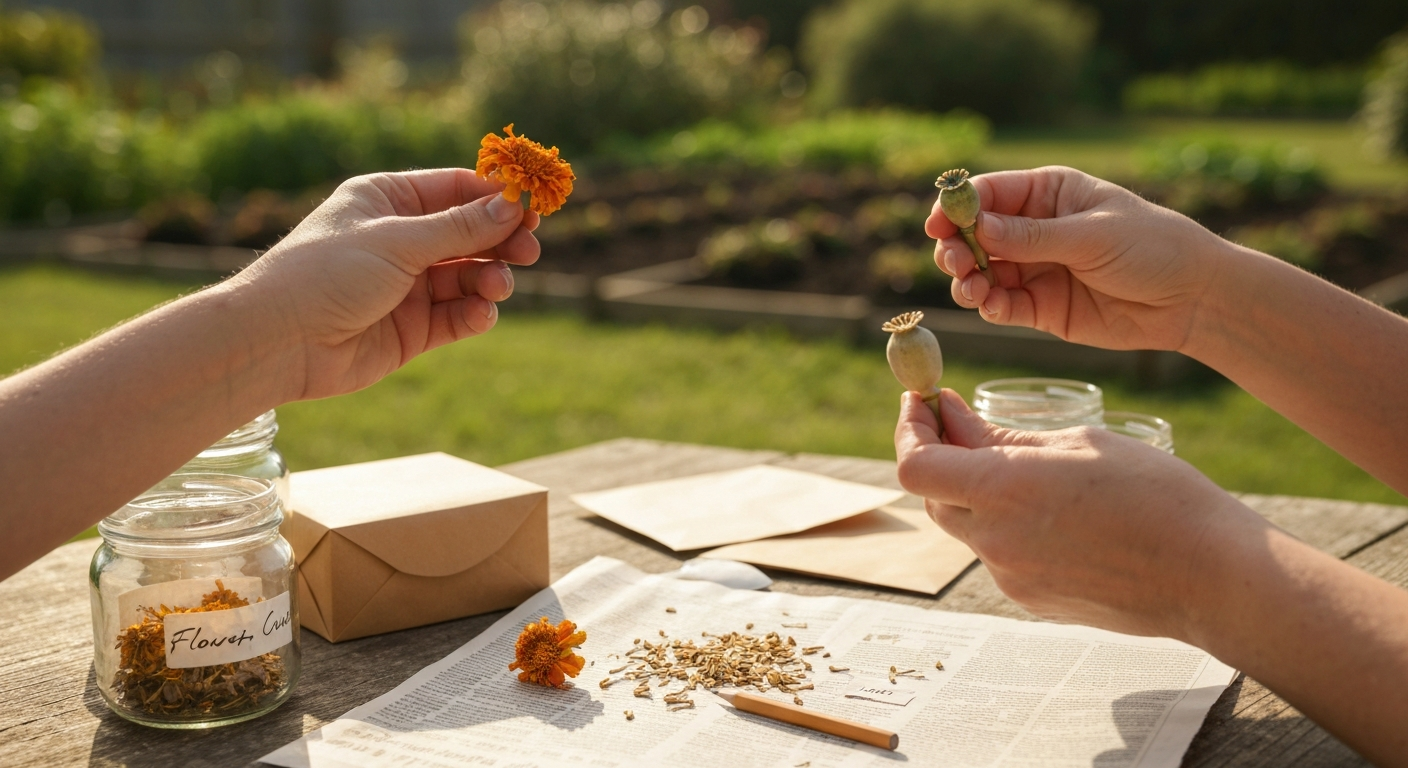
Two ways a flower can give you a new plant
Every flower is, at its core, a reproduction machine. Once pollination happens, a flower's job shifts from attracting pollinators to producing seed. That seed pathway is the most common route home gardeners use. The second route skips the flower entirely and uses stems, roots, or underground storage organs to create a genetic copy of the parent. Both approaches are worth knowing because each suits different plants and different goals.
Route 1: Seed production
After a pollinator (or the wind, or your fingertip) transfers pollen to a receptive stigma, a pollen tube grows down into the ovary and fertilizes the ovules. Each fertilized ovule develops into a seed, and the surrounding ovary tissues become the fruit or seed case you eventually harvest. This is why a poppy's flower head turns into that iconic pepper-shaker capsule, and why a marigold's spent bloom becomes a cluster of long black seeds. Harvest those seeds at the right moment, store them properly, and you have everything you need to start dozens of new plants.
Route 2: Vegetative propagation
Vegetative propagation bypasses seed entirely. You take a piece of the plant, a stem cutting, a division from a clump, a bulb offset, or a layer, and encourage it to form roots and grow as an independent plant. Because no sexual reproduction is involved, the new plant is genetically identical to the parent. This is the go-to method for perennials you want to multiply quickly, plants whose seeds are very slow to germinate, and named varieties that don't come true from seed. Softwood stem cuttings taken in late spring or early summer are the most common form for ornamental flowers.
When it won't work: sterile hybrids, treated stems, and other real limits
I've learned a few of these the hard way, so I want to be upfront about them before you invest time in the wrong starting material.
- F1 hybrid flowers: Many modern bedding varieties are F1 hybrids, bred by crossing two specific inbred parent lines. Seeds they produce are genetically scrambled — you'll get offspring that look nothing like the parent plant, or plants that are much weaker. If a packet says 'F1,' save seed only as a curiosity experiment.
- Truly sterile cultivars: Some ornamental varieties have been selected for fully doubled flowers (extra petals replacing the reproductive parts), making them functionally sterile. Fully double zinnias and some begonias fall into this category — no viable pollen or ovules means no seed.
- Florist-cut stems: Flower stems from a florist shop have almost certainly been treated with preservatives, refrigerated at commercial temperatures, and often treated with ethylene inhibitors. Even if pollination occurred before cutting, the altered biochemistry of those stems makes successful rooting from cuttings very unlikely. I'd consider florist stems a dead end for propagation in most cases.
- Detached cut flowers and seed development: A cut flower can continue some seed maturation if pollination and fertilization already happened before cutting, but success is highly species-dependent. Don't count on it as a reliable method.
- Recalcitrant seeds: A small number of species produce seeds that cannot be dried and stored — they die if they lose moisture. These are mostly tropical or woodland species and aren't common in the typical cutting garden.
- Timing missed on dried heads: Everlasting flowers picked before seeds fully matured won't yield viable seed no matter how perfect your storage is. The embryo simply wasn't complete at harvest.
What you'll need: materials checklist
General supplies (all methods)
- Paper bags or breathable envelopes for collecting seed heads
- Fine-mesh sieves in two or three sizes for cleaning seed
- Airtight glass jars or zip-seal bags for storage
- Silica gel desiccant packets
- Permanent marker and labels — do not skip this, you will forget what is what
- A cool, dark storage spot (a refrigerator at 1–4°C is ideal for most garden flower seeds)
For seed harvesting from fresh flowers
- Scissors or snips for cutting seed heads
- A tray or sheet of newspaper to catch falling seeds indoors
- A small fan or just a gentle breath for winnowing chaff from lightweight seeds
For vegetative propagation (cuttings)
- Clean, sharp knife or scalpel (not scissors — they crush tissue)
- Rooting hormone powder or gel (IBA-based; around 500–1,000 ppm for softwood cuttings of most ornamentals)
- Sterile, well-draining rooting medium: perlite, vermiculite, or a 50/50 perlite and coir mix
- Small pots or plug trays
- A clear plastic bag, humidity dome, or propagation tent to maintain moisture around cuttings
- A heat mat set to around 21°C (70°F) bottom heat to speed rooting — optional but very helpful
How a flower actually makes a seed (the version that matters to gardeners)
You don't need a botany degree for this, but understanding the basics will save you from harvesting at the wrong time. When a flower opens, its anthers release pollen. That pollen needs to land on a sticky stigma, either on the same flower, on another flower of the same species, or (for cross-pollinated plants) on a related cultivar. Once pollen lands on a receptive stigma, a tiny tube grows from the pollen grain down through the style into the ovary, where it fertilizes the ovules waiting inside. Each fertilized ovule becomes a seed. The ovary wall thickens and hardens (or dries out, depending on the species) to become the seed case. This whole process typically takes several weeks after the petals fall. The petals dropping is not the end, it's actually the starting gun for seed development.
What this means practically: you need to leave some of your best flowers on the plant after the petals drop and let the seed head mature fully. For marigolds, that means waiting until the base of the head is completely brown and dry. For poppies, it means waiting until the capsule turns papery and the tiny 'windows' near the top begin to open. For snapdragons, the three-lobed seed pods should be dry and beginning to split before you pick them. Patience in this phase is the single most important factor in getting viable seed.
Step-by-step: harvesting seed from fresh flowers
- Choose your best plants. Select healthy, vigorous specimens that show the flower color, size, or form you want to replicate. Avoid plants that showed signs of disease during the season.
- Stop deadheading at least one stem per plant in mid to late season. Leave the spent flowers alone and let the seed head develop on the plant for two to four weeks after the petals fall.
- Watch for the maturity cues. The seed head should look dry, brown, or papery. Shake it gently — a rattle means seeds are loose inside. For marigolds, the petals will have withered and the base will be fully brown. For poppies, the capsule turns beige and the crown openings widen. For snapdragons, the pods split slightly at the tips.
- Harvest on a dry day, ideally mid-morning after any dew has evaporated. Cut the whole stem or just the seed head into a paper bag. Do not use plastic — moisture gets trapped and mold follows quickly.
- Bring the bags indoors and spread the seed heads on newspaper in a dry, well-ventilated room for one to two weeks. This finishing-dry step is critical. Even heads that feel dry outside often still contain moisture inside.
- Thresh the seed heads by rubbing them between your palms, crumbling them over a sieve, or simply shaking them hard inside the paper bag. For marigolds, pull the seeds from the base of the dried head — they come out in satisfying little bundles.
- Sieve and winnow to remove chaff. Pass seeds through a fine mesh sieve to remove large debris, then gently blow or use a small fan to lift the lighter chaff away from heavier seeds. Work over a tray so you don't lose seed to the floor.
- Test a small sample for viability if you're unsure (see the testing guidance below).
- Store in an airtight container with a silica gel desiccant packet. Label with the species, variety name, and harvest date. Store in the fridge (1–4°C) for most garden flower seeds. Properly dried and stored seeds of marigolds, poppies, and snapdragons remain reliably viable for two to three years.
Species-specific harvest cues at a glance
| Flower | When to harvest | What to look for | Sowing note |
|---|---|---|---|
| Marigold (Tagetes) | Late summer to autumn | Base of head fully brown and dry; seeds black and elongated | Sow 1/4 inch deep or just covered; germinates in 5–10 days at 21–24°C |
| Poppy (Papaver) | Late summer | Capsule papery and beige; crown 'windows' beginning to open | Surface sow — light aids germination; do not cover seeds |
| Snapdragon (Antirrhinum) | Late summer | Three-lobed pods dry, browning, starting to split at tips | Surface sow on fine media; light required; 5–10 days at 18°C |
| Wildflowers (mixed species) | Varies by species, mostly summer to early autumn | Individual seed heads dry, brown, or papery | Follow species-specific surface or light covering needs |
| Statice / Limonium | Late summer to autumn | Papery calyx enclosing a small hard seed inside | Sow shallowly; benefits from moist pre-soak |
| Globe amaranth (Gomphrena) | Late summer to autumn | Clover-like head fully dried; individual florets easily separate | Sow at soil surface; 7–14 days at 21–24°C |
| Strawflower (Bracteantha) | Late summer to autumn | Bracts fully dry, center 'button' firm; seeds visible at base of bracts | Surface sow; light required; thin seedlings to prevent damping off |
Step-by-step: harvesting seed from dried or everlasting flower heads
If you grow everlastings like statice, strawflower, globe amaranth, Helichrysum, yarrow, Nigella, or honesty (Lunaria), you may already have a stash of dried bunches hanging in a shed or sitting in a vase. For a detailed guide on growing, harvesting, and crafting with dried everlastings, see the everlastings how to grow harvest and create with dried flowers resource. The good news is that dried flower heads can absolutely contain viable seed, the dried form these plants take is essentially what happens naturally when their seed heads mature on the plant. See blank" rel="noopener noreferrer">Harvesting and Drying Everlasting Flowers (Iowa State Univ. Extension), many everlastings (statice, strawflower, globe amaranth, Helichrysum) will produce viable seed if harvested at seed maturity; check species‑specific cues such as a ‘pebbly’/firm or papery seed head. The key question is whether they were harvested at or near seed maturity, not just petal maturity. Best practice is to harvest seedheads when fully mature and as dry as possible on the plant, collect them into breathable containers or paper bags, finish drying if needed, then clean or winnow, test viability, and package the seeds thoroughly dry for storage (see blank" rel="noopener noreferrer">Growing and Saving Flower Seeds (Seed Savers Exchange guide)).
- Retrieve your dried bunches and work over a sheet of newspaper or a clean tray. The stems will be brittle, so handle them gently.
- Inspect each head. You're looking for small, firm seeds or seed-like structures inside or beneath the dried bracts or calyx. Rub a head gently between your fingers — for globe amaranth, individual florets will separate easily and you'll see small cream-colored seeds at the base of each one. For statice, the papery calyx encloses a single tiny seed. For strawflower, look for narrow flat seeds tucked at the base of the bracts.
- Thresh or rub the heads over the tray to release seeds. Nigella (love-in-a-mist) has an obvious inflated seed capsule that you can simply split open to reveal black angular seeds. Honesty (Lunaria) produces flat silver 'coins' — open the papery disc to find the seeds inside.
- Sieve to remove the bulk of the dried bract material. Use progressively finer sieves to get reasonably clean seed.
- Winnow gently. Dried everlasting flower material is light, so even a gentle breath or a low-speed fan will clear a lot of chaff. Keep the seed — it's denser and will fall first.
- Check seed condition. Seeds should feel firm and not hollow when pressed. Discard obviously shriveled or moldy material.
- If you're unsure of viability, run a quick damp paper towel test (see below) before committing to a full sowing.
- Store any seed you're not immediately sowing in a labeled airtight container with desiccant in the fridge. Note on the label that it came from dried/bunched material rather than fresh harvest, so you can track which storage batches perform best.
When dried flowers still have viable seed, and when they don't
This is honestly the question I get asked most often about everlastings, and the answer hinges on one thing: when they were cut. If the plant was allowed to fully mature its seed heads before harvest, you have a good chance of viable seed. If the flowers were cut at peak ornamental stage (full color, bracts fully open but not yet dry), the seeds inside may not yet have completed development, and no amount of good storage will fix an embryo that simply wasn't finished.
Practical rules for dried flower seed viability
- Likely viable: heads harvested late in the season when bracts or calyxes were already drying on the plant; heads that rattle or produce firm seeds when rubbed; Nigella, Lunaria, and yarrow harvested in late summer when seed cases were fully formed.
- Unlikely viable: heads cut at peak bloom for decoration (classic florist timing); heads that show no seed or produce only hollow, papery shells when rubbed; material that came from a florist shop rather than your own garden.
- Worth testing: any dried head that produces firm-feeling seeds or seed-like structures, even if you're not certain of the harvest timing.
How to check seed viability by inspection and simple testing
Visual inspection is your first pass. Seeds should look plump and firm, not shriveled or translucent. Gently press a seed between your thumbnail and finger, a viable seed resists crushing; an empty or dead seed collapses easily. For a more reliable answer, use the damp paper towel test: fold 10 seeds into a moist (not soaking) paper towel, seal it in a plastic bag, and keep it at room temperature. Check after the expected germination window for the species (anywhere from 5 days for marigolds to 14 days for some wildflowers). Count how many have sprouted. If 7 or more out of 10 germinate, you have good seed. If only 3 to 5 germinate, sow more densely than usual to compensate. Fewer than 3 out of 10 is a signal to start fresh with new seed rather than waste a whole growing season on poor germination rates.
Vegetative propagation: growing new plants from cuttings, divisions, and bulbs
Seeds aren't always the right tool. If you have a perennial that you want to multiply quickly, a cultivar that doesn't come true from seed, or a plant that simply propagates faster and more reliably from cuttings, vegetative methods are the answer. I use cuttings for perennial snapdragons, stem cuttings for tender perennials overwintered indoors, and division for any clump-forming flower that has started to die out in the center.
Stem cuttings: the basics
- Take cuttings from healthy, non-flowering shoots. Flowering shoots are putting their energy into bloom, not roots. Choose the firm green growth just below the flower-bearing tips.
- Cut cleanly just below a node (the point where a leaf attaches to the stem) using a sharp, clean knife. A cutting of three to four nodes with the bottom one or two stripped of leaves is ideal.
- Dip the basal cut end in rooting hormone powder or gel. For softwood cuttings of most ornamentals, a formulation around 500–1,000 ppm IBA is appropriate. Tap off any excess powder — more is not better and can actually inhibit rooting.
- Insert cuttings into moist, sterile rooting medium (perlite, vermiculite, or a 50/50 perlite-coir mix). Space them so leaves don't overlap and trap humidity.
- Cover with a clear plastic bag or humidity dome to maintain moisture around the cutting. Mist the inside of the bag if it dries out, but don't let water pool at the base of cuttings.
- Provide bottom heat if possible. A heat mat set to around 21°C (70°F) significantly speeds rooting for most ornamentals.
- Check for rooting after two to four weeks by gently tugging — resistance means roots have formed. Once rooted, gradually remove the humidity cover over several days to harden the new plant before potting on.
Divisions and bulbs
Clump-forming perennials, including many cutting-garden staples, can simply be dug up in early spring or after flowering, pulled or cut into sections that each have roots and shoots, and replanted. This is faster than seed and produces flowering plants in the same season. Bulbs and tubers (dahlias, ranunculus) produce offsets you can separate and replant; each one carries the genetic identity of the parent plant. Bulb offsets typically need one to two seasons before they reach flowering size, so patience applies here too.
Seed vs. cuttings: which method should you choose?
| Factor | Seed | Cuttings / Vegetative |
|---|---|---|
| Cost | Very low — often free from your own plants | Low — needs rooting hormone and trays |
| Genetic outcome | Variable (true-to-type for open-pollinated; mixed for F1 hybrids) | Identical to parent plant |
| Speed to first bloom | Slower — typically one full growing season | Faster — often same season for cuttings |
| Quantity of new plants | High — one plant can yield hundreds of seeds | Moderate — limited by available cutting material |
| Skill level required | Low for most common annuals | Low to moderate; sterile conditions help a lot |
| Best for | Annuals, open-pollinated varieties, wildflowers | Perennials, named cultivars, tender plants you want to overwinter |
| Limitations | Sterile hybrids, slow germinators | Woody species can be harder; disease spread risk if parent is infected |
Realistic timelines from flower to new blooming plant
One of the most common frustrations I see with beginner seed savers is not accounting for how long the full cycle actually takes. Here's an honest breakdown by the main ornamentals this site focuses on.
| Flower | Seed harvest timing | Sow indoors | First bloom (from sown seed) |
|---|---|---|---|
| Marigold | Late summer to early autumn | 4–6 weeks before last frost | About 8–10 weeks after sowing |
| Poppy (annual) | Late summer | Direct sow in autumn or early spring (cool conditions) | Late spring to early summer |
| Snapdragon | Late summer | 8–10 weeks before last frost | Approximately 12–16 weeks from sowing |
| Annual wildflower mix | Varies | Direct sow spring or autumn depending on species | Varies; many bloom within 8–12 weeks of sowing |
| Statice / everlastings | Late summer to autumn | 8–10 weeks before last frost | Mid to late summer |
Common failures and how to fix them
I've made most of these mistakes myself, and they're all fixable once you know what went wrong.
- Seeds harvested too early: The embryo was incomplete. There's no fix — start again next season and wait for the full maturity cues.
- Seeds stored in plastic at room temperature: Moisture builds up and seeds go moldy or lose viability fast. Move to airtight glass containers with silica gel desiccant in the fridge.
- Covering seeds that need light to germinate: Snapdragons and poppies need light to trigger germination. Press seeds onto the surface of the mix and do not cover. A common beginner mistake that leads to 'nothing happened.'
- Cuttings wilting and dying before rooting: Humidity is too low. Make sure the bag or dome keeps moisture around leaves, not just at the soil level.
- Cuttings rotting at the base: Rooting medium is staying too wet, or you've used ordinary potting compost which holds too much moisture. Switch to a gritty, well-draining mix and ensure pots have drainage.
- Getting F1 offspring that look wrong: You saved seed from a hybrid variety. Note the parent on your label next time and only save from open-pollinated plants.
- Dried heads producing no seeds: The material was harvested too early for ornamental use, before seeds matured. In future seasons, leave some stems to fully mature on the plant before you harvest for drying.
Where to start if you're new to this
If you've never saved seed or propagated a plant before, marigolds are genuinely the perfect first trial. They produce obvious, easy-to-handle seeds in large quantities, they dry reliably, germination is fast, and the results are immensely satisfying. Once you're comfortable with the process, move on to poppies (which require more patience with surface sowing but reward you with clouds of self-seeding flowers), then try snapdragons, which involve a little more precision around sowing conditions but are deeply rewarding to grow from your own saved stock.
If everlasting and dried flower growing appeals to you, statice, globe amaranth, and strawflower are all solid starting points because their seed heads are easy to identify and the plants are forgiving. If you grow proteas or other specialty woody flowers, the propagation picture is quite different and worth exploring as its own topic. If you grow proteas or other specialty woody flowers, the propagation picture is quite different and worth exploring as its own topic, see can you grow proteas from cut flowers for a focused guide. Similarly, if you're interested in going deeper on growing and harvesting dried flower crops specifically for seed or for decorative use, that subject has its own practical depth that goes well beyond what a single overview can cover. For a detailed guide on how to grow dried flowers, see how to grow dried flowers.
The real lesson I've taken from years of growing flowers from seed is this: every plant you grew from something you harvested yourself carries a small story. You watched it pollinate, you waited out the seed development, you cleaned and stored and sowed. That connection to the full lifecycle is what makes flower growing genuinely satisfying, not just the blooms themselves. Start with one method, one species, one season, and build from there.
FAQ
Can you grow a plant from a flower?
Yes — but only by two routes: (1) produce seed from the flower (if it was pollinated and the ovary/ovule matures) and sow that seed, or (2) use vegetative propagation started from the plant’s stems, bulbs, tubers, or divisions (not usually from a single detached petal). Some flowers will produce viable seed if pollination already occurred before cutting; others (sterile hybrids, florist‑treated stems) will not.
How do I know whether a flower can produce viable seed?
Indicators: the flower has been pollinated (visit by pollinators, presence of pollen), the ovary/seed head is swelling or changing color, and seed structures form inside the dried seed head or capsule. Species that reliably set seed include marigolds, poppies, snapdragons, many wildflowers and ‘everlastings’ (strawflower, statice, gomphrena). Sterile hybrids and some cultivar groups may produce few or no viable seeds.
Step‑by‑step: how to harvest seed from fresh or dried flower heads (home gardener method)
1) Wait until seed heads are mature (dry, papery, brown or ‘pebbly’ depending on species). 2) Cut heads into a paper bag or container. 3) Finish air‑drying in a ventilated place for several days if needed. 4) Thresh or rub to free seeds, then use screens/sieves to separate chaff. 5) Winnow with a gentle airflow to remove light debris. 6) Test a few seeds for germination (paper towel) if unsure. 7) Store fully dry seed in airtight containers with desiccant in a cool place (refrigerator 1–4°C for many garden seeds).
How can I recover seed from dried/everlasting flowers?
Harvest when seed maturity cues appear (seed firm or capsules papery). Cut heads into a paper bag to catch seed, allow to finish drying, then rub, shake, or crush the heads over a tray to release seed. Use sieves and hand winnowing to clean. Everlastings often hide seed in bracts; inspect closely and remove chaff before storage.
Can a commercial cut bouquet produce plants if I save the flowers?
Sometimes, but often no. Cut stems that were pollinated and had fertilized ovaries when cut can finish maturing seed if removed carefully and kept hydrated, but many florist stems are harvested before seed set, treated with growth inhibitors or fungicides, or are sterile hybrids. If you want seed, leave flowers to mature on the parent plant whenever possible.
When should I choose seed vs. cuttings (vegetative propagation)?
Choose seed when: you want genetic diversity, large numbers, or the species is annual/easy from seed (marigolds, poppies, many wildflowers). Choose cuttings when: you need a clone of the parent (to preserve flower color/traits), plants are slow from seed or require years to bloom, or the species roots reliably from cuttings (pelargoniums, fuchsia, many shrubs). Consider timelines: seed may take longer to first bloom but is cheap; cuttings can produce flowering plants faster and identically to the parent.
Next Articles
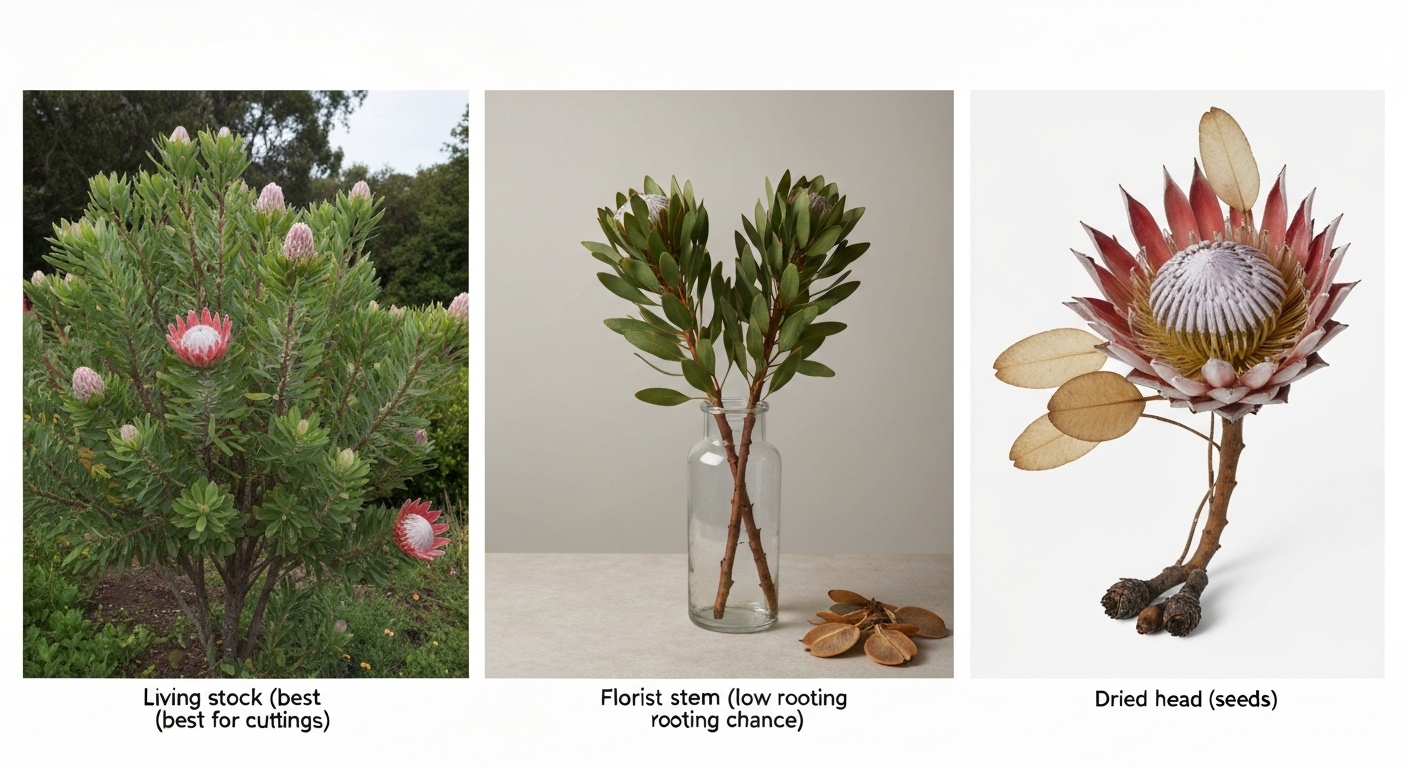
Can You Grow Proteas From Cut Flowers? Cuttings vs Seeds
Yes, learn when and how to grow proteas from florist stems or dried heads: step-by-step cutting and seed methods.
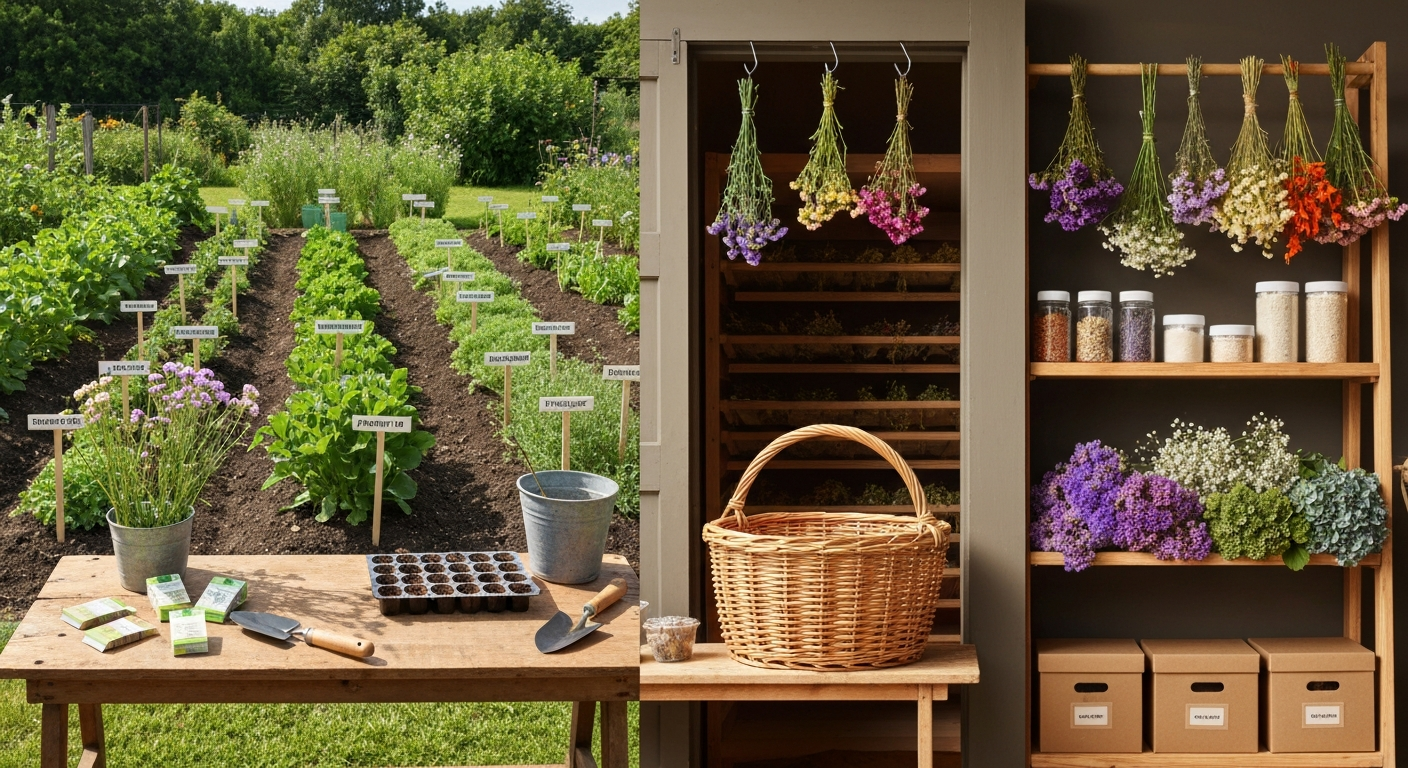
How to Grow Dried Flowers: Complete Seed-to-Shelf Guide for Beginners
Grow, harvest and dry flowers step-by-step: varieties, planting schedules, cutting timing, drying methods, seed-saving.
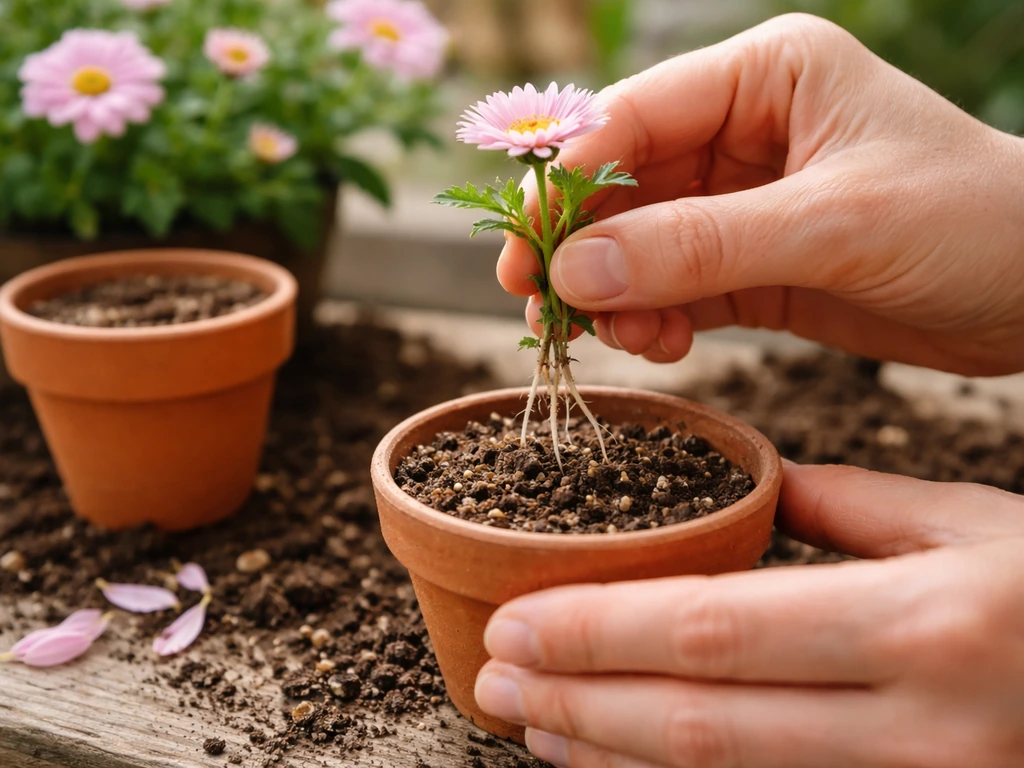
How to Grow a Flower From a Flower: Step-by-Step
Step-by-step guide to grow new flowers from existing blooms: seed, cuttings, division or layering, with timing, care and