Moonflowers are genuinely one of the most rewarding vines you can grow from seed. The whole experience feels a little magical: you plant a big, hard seed in spring, train a vine up a trellis all summer, and then on a warm evening in late July you walk outside and watch a 6-inch white flower unfurl right in front of you. The fragrance is incredible. But there's a catch: moonflowers are fussy about seed prep and timing, and if you skip a step or rush the process, you can end up with zero germination or a vine that just refuses to bloom. This guide walks you through every step, from choosing the right plant to troubleshooting the most common problems, so you actually make it to those first evening blooms.
Moonflower How to Grow: From Seed to First Blooms

James Holloway
21 Apr 2026
Moonflower basics and the best variety to choose
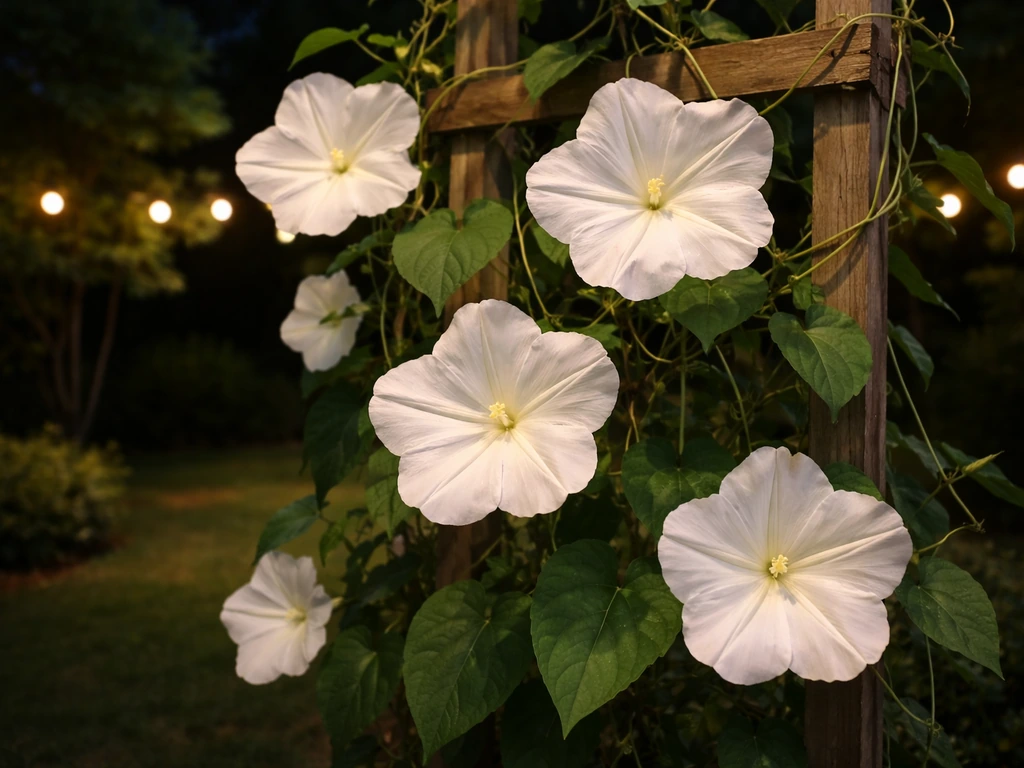
When most gardeners search for moonflowers, they're thinking of Ipomoea alba, the tropical white moonflower vine. This is the one worth growing. It's a rampant climbing perennial that produces large, pure white flowers, each about 6 inches (15 cm) across, that open at sunset and close again by morning. The fragrance is sweet and strong enough to notice from across the yard. It's closely related to morning glories (same genus, same growth habit) but it performs in the other direction, which is why it pairs so well with morning glories on the same trellis: you get blooms from sunrise to sunrise.
Ipomoea alba is perennial in USDA zones 9 through 11, where it can grow as a true perennial and become quite vigorous, almost aggressively so. In zones 3 through 8, it's grown as a tender annual and pulled at first frost. Either way, it blooms reliably in a single season from seed as long as you give it the right start. Most seed packets you'll find at garden centers or online are simply labeled 'moonflower' or 'moonflower vine,' and they're almost always Ipomoea alba. That's the one to grab. If you enjoy growing other night-blooming plants, the queen of the night flower and four o'clock flowers are worth exploring as companions in a moon garden, since they share that evening-bloom appeal but with very different growing habits.
When to plant moonflowers (timing by zone)
Timing is one of the biggest factors in moonflower success. These are warm-season plants that hate cold soil and cold nights, so planting too early is just as bad as planting too late. Here's how to think about it by zone:
| Zone | Start Seeds Indoors | Transplant or Direct Sow Outdoors |
|---|---|---|
| Zones 3–5 | 4–6 weeks before last frost | 1–2 weeks after last frost, once soil is above 65°F |
| Zones 6–8 | 2–4 weeks before last frost | 1–2 weeks after last frost, once soil is above 65°F |
| Zones 9–11 | Start indoors in late winter OR direct sow after soil warms | Direct sow is practical; soil warms early enough for a head start |
The UF/IFAS recommendation of starting 6–8 weeks before last frost is a good general guideline, but in colder zones (3–5) that can lead to very large transplants that are harder to harden off. I find 4–6 weeks works well for most gardeners in those regions. In zones 6–8, 2–4 weeks is plenty because the season is long enough that you don't need a big head start. For direct sowing outdoors, wait until the soil consistently reads above 65°F. Below that temperature, germination is slow and patchy even with good seed prep.
If you're in zone 9 or warmer and today is April 21, you can direct sow right now. If you're in zones 6–8, you're likely right at or just past your last frost window, which means you can start seeds indoors this week and transplant in the next few weeks, or direct sow if your soil is warm enough. In zones 3–5, you're probably still a few weeks from your last frost date, so starting indoors now is the right move.
Starting from seed: nicking, soaking, and getting germination right
Moonflower seeds have an extremely hard seed coat, and this is where most people go wrong. If you are growing balloon flowers too, you can use the same approach of preparing the seed and matching planting time to your local conditions. Learning how to grow moon flower from seed starts with giving the seeds the right prep and timing for your conditions Moonflower seeds. If you like moonflowers, you may also enjoy learning how to grow fireblossom for another dramatic, flowering vine experience. If you just drop a dry seed into soil, you might wait three weeks and get nothing. To learn the specific steps for foam flower, including timing and seed starting tips, check out our guide on how to grow foam flower. The fix is simple: nick the seed and soak it before planting. These two steps consistently improve germination.
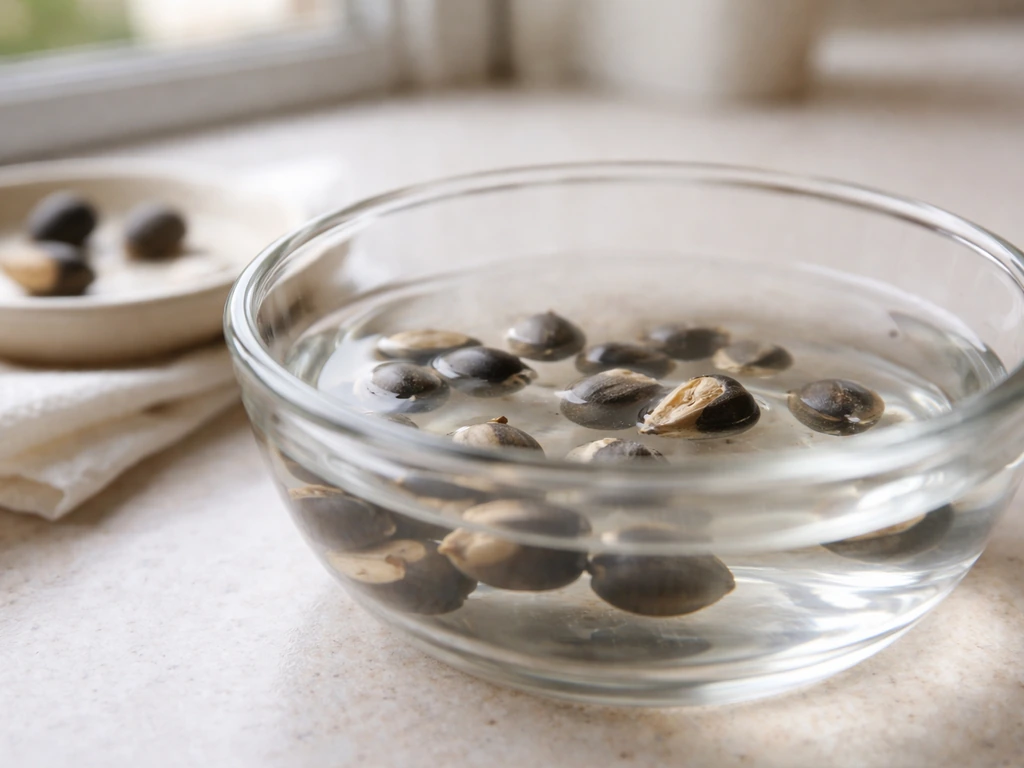
How to nick and soak moonflower seeds
- Nick each seed with a nail file, small knife, or clippers. You're just scratching or nicking through the hard outer coat, not cutting the seed in half. One nick is enough.
- Place the nicked seeds in a cup of warm water and soak for 24 hours. Some sources say 12 hours is fine, but a full 24-hour soak in warm water gives the best results with the hardest-coated seeds.
- After soaking, the seeds should look slightly swollen. Plant them immediately; don't let soaked seeds dry out.
With proper nicking and soaking, you can expect germination in 5–10 days under warm conditions. Without it, germination may take three weeks or may fail entirely. It's one of those steps that feels fussy but makes a real difference.
Soil mix and containers for starting indoors
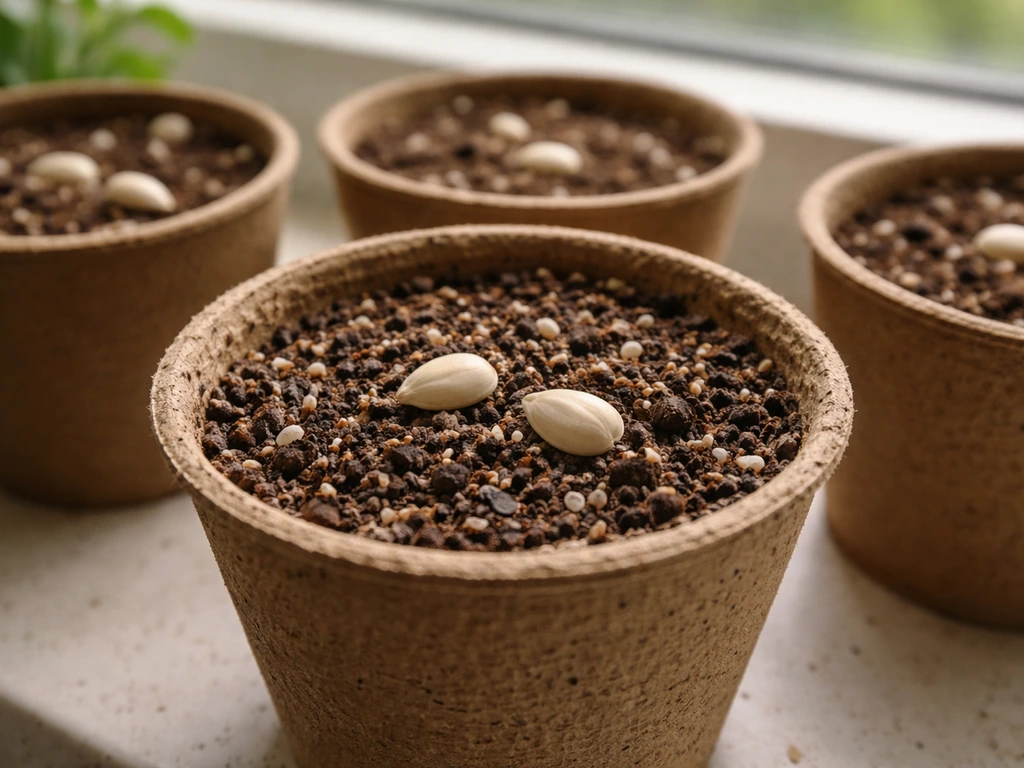
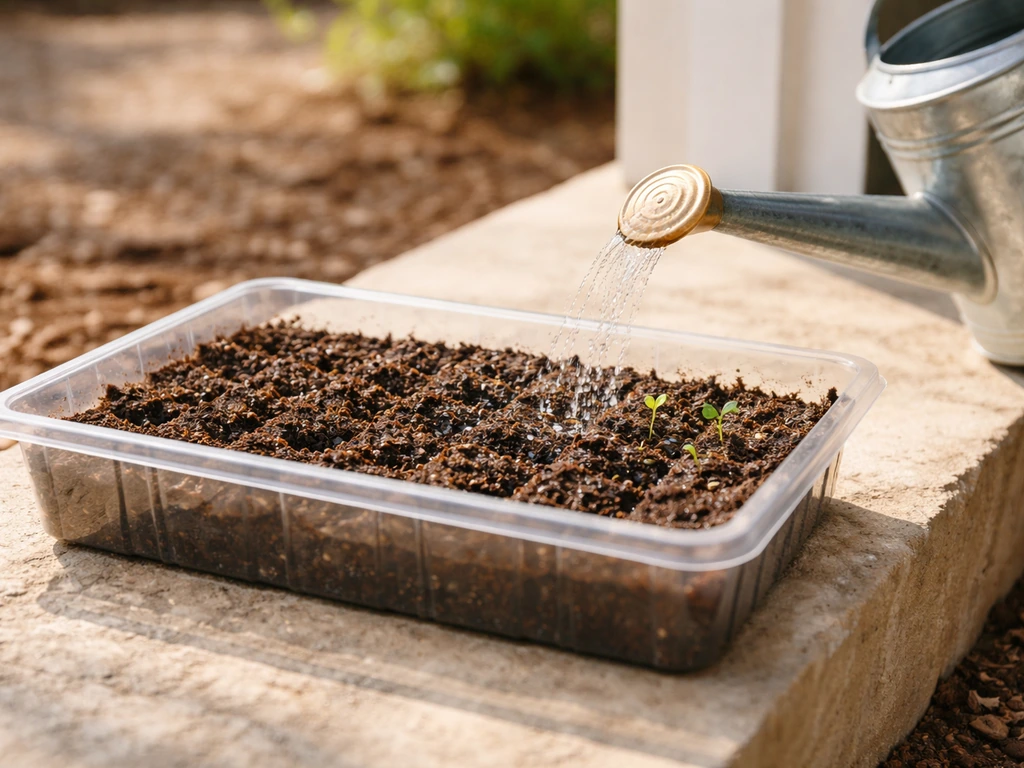
Moonflowers don't love being transplanted, so start them in individual pots rather than cell trays you'd plan to separate later. A 3- or 4-inch biodegradable pot works great because you can plant the whole thing into the ground without disturbing the roots. Use a standard seed-starting mix, not regular potting soil, as seed-starting mix drains better and has a finer texture for young roots. Plant the soaked seed about half an inch to one inch deep, one seed per pot.
Keep the pots somewhere warm, ideally between 65°F and 75°F. Bottom heat (from a seedling heat mat) speeds things up noticeably. Keep the soil consistently moist but not soggy. Once the seedling emerges and has its first set of true leaves, you can move it to a bright, sunny windowsill or under grow lights.
Hardening off and transplanting
About two weeks before you plan to transplant, start hardening off your seedlings. Begin by setting them outside in a shaded, sheltered spot for just an hour or two on a day when temperatures are at least 50°F. Over the following week to ten days, gradually increase their outdoor time and start exposing them to more sun. This process toughens up the leaves and stems so the plants don't collapse when you finally move them to their permanent spot. Skipping hardening off is one of the most reliable ways to lose a plant you've spent weeks growing indoors.
Transplant on a cloudy day or in the evening to reduce stress. Plant at the same depth the seedling was growing in its pot, water it in well, and leave it alone for a few days while it settles. If you used a biodegradable pot, plant the whole thing; just make sure the top rim of the pot is buried below the soil line or it can wick moisture away from the roots.
Sun, soil, spacing, and getting your trellis ready
Moonflowers need full sun to perform well. That means at least 6 hours of direct sunlight daily, though 6 to 8 hours is the sweet spot. They'll tolerate partial shade, but expect fewer blooms and slower growth in shadier spots. Choose the sunniest place in your garden, especially if you're in a shorter-season zone where you need the vine to push hard all summer.
For soil, moonflowers are not demanding. They do well in average, well-drained soil. What they really need is good drainage: sitting in waterlogged soil leads to root rot, which kills plants fast. You don't need to heavily amend the bed unless your soil is very poor or compacted. Work in a bit of compost to loosen things up and improve drainage, but don't go overboard with rich soil or you'll push a lot of foliage at the expense of flowers.
Space plants about 6 to 12 inches apart. Give each plant room to establish its own root zone without competition, but they can share a trellis and intertwine as they climb.
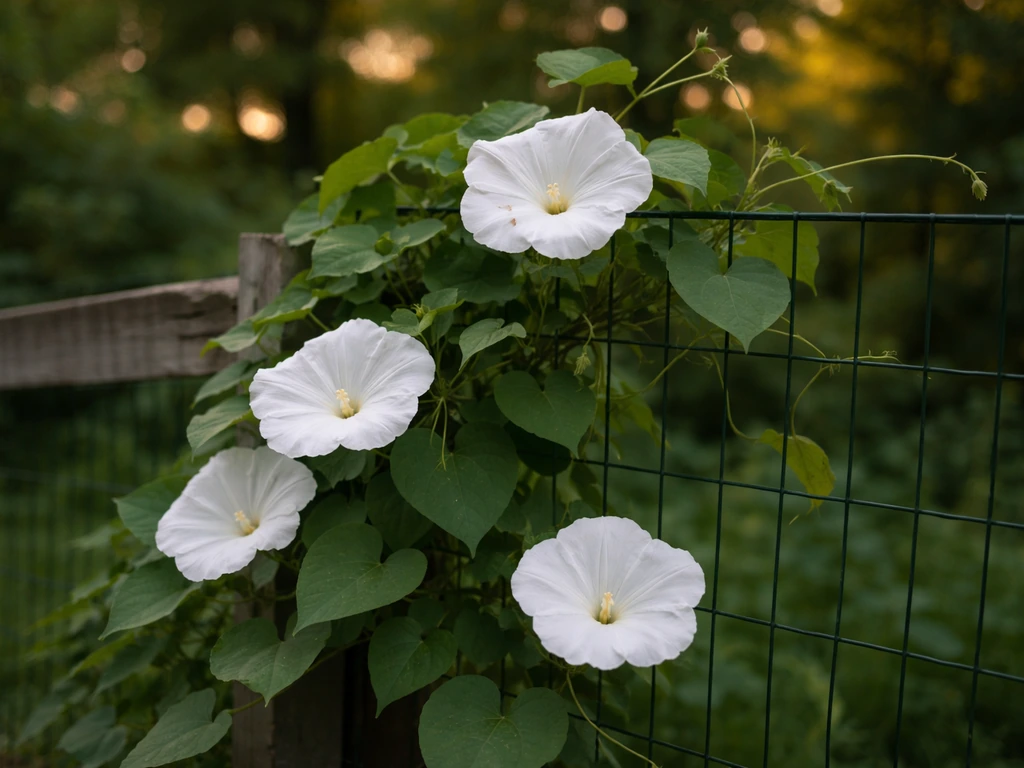
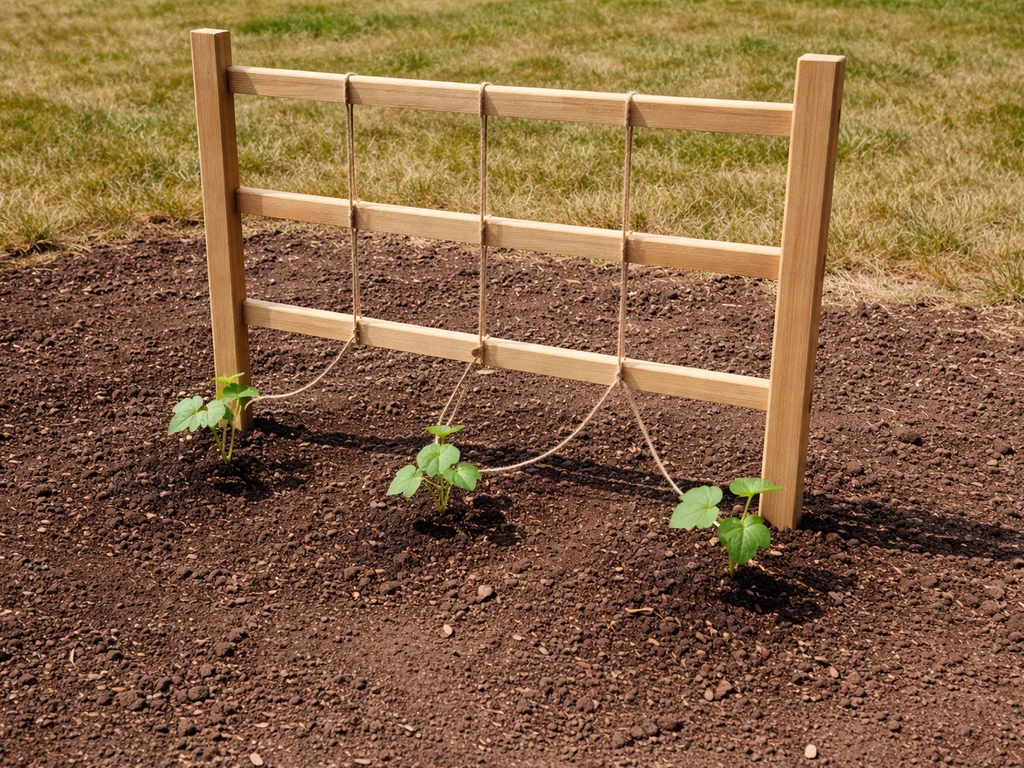
A trellis is non-negotiable. Ipomoea alba is a rampant climber that can easily reach 10 to 15 feet in a season and will grab onto anything within reach, including nearby plants, fences, and itself. Set up your trellis, fence panel, obelisk, or arbor before you plant so you're not wrestling with stems later. String, wire mesh, or a wooden lattice all work well. Position the support so it runs north to south if possible, to keep the vine from shading itself out. Start guiding the first tendrils toward the structure as soon as the plant is a few inches tall.
Ongoing care to actually get blooms
Watering
Once established, moonflowers want consistently moist but well-drained soil. Water deeply when the top inch of soil dries out rather than giving shallow frequent sips. In hot weather, that might mean watering every two to three days. Signs of underwatering include wilting in the afternoon that doesn't recover by morning. Signs of overwatering look similar (wilting, yellowing), but you'll also notice the soil staying wet for days and possibly a musty smell from the root zone, which signals root rot setting in.
Fertilizing without sabotaging your blooms
This is where a lot of gardeners accidentally delay their blooms. Moonflowers are relatively light feeders and grow fine in average soil without much supplemental fertilizer during the season. If you feel the need to fertilize, avoid anything high in nitrogen. High nitrogen pushes lush, dark green leafy growth at the expense of flower production. If you fertilize at all, use a balanced or low-nitrogen formula (look for something where the middle phosphorus number is equal to or higher than the first nitrogen number, like a 5-10-10 or similar). Better yet, add compost at planting time and let the vine do its thing.
Training and pruning the vine
Moonflowers don't require heavy pruning. Your main job is training: redirecting stems toward the trellis, weaving them through supports, and occasionally pinching back any runaway side shoots that are heading the wrong direction. If the vine is getting very dense and leafy, you can thin out some of the interior stems to improve airflow, which also reduces disease pressure. Pinching the growing tip of the main stem early in the season (when the plant is 12 to 18 inches tall) encourages branching and ultimately more flowering stems.
Pests to watch for
Moonflowers are generally tough, but whiteflies are the most common pest problem. You'll know you have them when you brush the foliage and a small cloud of white insects flutters up. They feed on the undersides of leaves and can weaken plants over time. Treat whiteflies early with insecticidal soap or horticultural oil, following label directions. Colorado State University Extension notes that insecticidal soap is effective against small soft-bodied arthropods, including whiteflies and mites Treat whiteflies early with insecticidal soap. Spider mites can also show up during hot, dry stretches. Keeping plants well-watered and monitoring weekly goes a long way toward catching problems before they escalate.
Troubleshooting: when things go wrong and how to fix them
Here are the most common moonflower problems and what to actually do about them:
| Problem | Likely Cause | Fix |
|---|---|---|
| Seeds didn't germinate | Skipped nicking/soaking, or soil too cold | Nick seeds, soak 24 hours in warm water, and ensure soil is above 65°F before planting |
| Seedlings are leggy and weak | Not enough light indoors | Move to brightest windowsill or add grow lights; 14–16 hours of artificial light daily |
| Transplant wilted or died after planting | Transplant shock from skipping hardening off | Harden off for 1–2 weeks next time; water well at planting; shade new transplants for a few days |
| Vine is huge and leafy but no flowers | Too much nitrogen fertilizer, or not enough sun | Stop fertilizing; move or choose a sunnier spot next season; ensure 6+ hours of direct sun |
| Wilting despite regular watering | Root rot from overwatering or poor drainage | Let soil dry slightly between waterings; improve drainage with compost; check for waterlogged roots |
| Powdery white coating on leaves | Powdery mildew, usually in humid or low-airflow conditions | Thin dense stems for airflow; treat with diluted neem oil or a fungicide labeled for powdery mildew |
| Blooms haven't appeared by midsummer | Plant started too late or conditions were too cool | Be patient: late July is a normal first-bloom time; ensure full sun and warm temps |
The most common reason experienced gardeners see faster blooms is simply getting the seed prep right and starting at the correct time for their zone. In Florida and warm climates, late July blooms are typical even with a good start. In cooler zones, starting indoors at the right window (4–6 weeks before last frost in zones 3–5) gives the vine enough time to hit that flowering stage before the season ends.
If your vine has been green and growing for weeks but still hasn't flowered by late summer, light and nitrogen are the two places to look first. A vine in partial shade that got a couple of feedings with a high-nitrogen lawn fertilizer will stay leafy all season. Dial back the fertilizer, make sure it's in full sun, and give it more time. Moonflowers are worth waiting for.
One thing I find helpful is pairing moonflowers with something that blooms during the day at the same trellis, like morning glories. The two vines intertwine nicely, and you get color and fragrance from dawn to dusk. If you enjoy the idea of a dedicated evening garden, exploring other night-blooming plants like the queen of the night flower or four o'clock flowers can turn one successful moonflower vine into a whole theme that gives you something to look forward to every evening all season long.
FAQ
What should I do if my moonflower seeds swell but never sprout?
That usually means the seed coat was nicked but not effectively, or soaking was too brief. Re-nick the stubborn edge with a file or knife tip, soak again for 12 to 24 hours, then plant in fresh warm seed-starting mix. Keep soil between about 65°F and 75°F, and don’t let the mix dry out during the second attempt.
Can I save seeds from my moonflowers to plant next year?
You can, but moonflowers are night bloomers and pollination timing matters, so saved seed may not stay identical to what you grew. Let pods fully mature and dry on the vine, harvest when they are crisp, store cool and dry, and expect that not every seed will germinate without nicking and soaking again.
How deep is too deep when I plant moonflower seeds?
More than about 1 inch is risky, especially in cooler conditions, because slow germination plus limited oxygen increases failure. If you already planted deep, you can lightly top-dress later only if the sprouts are not emerging, otherwise dig-up and replant usually does more harm than good.
Should I soak longer than 24 hours to boost germination?
Longer soaking often backfires, especially if seeds sit in warm water, because the seed can start to decay. A practical approach is soaking for about 12 to 24 hours, then planting right away into warm, evenly moist mix.
My seedlings look healthy but flop when moved outside. Is it a watering issue?
Often it is hardening off being skipped or rushed, or a sudden burst of sun/wind. Give a longer hardening period (increase outdoor time gradually over 10 to 14 days), transplant in the evening or on a cloudy day, and keep the soil evenly moist for the first few days while roots re-establish.
Do moonflowers need fertilizer once they start climbing?
Usually no, since heavy feeding often increases leafy growth and reduces flowers. If you do fertilize, use a low-nitrogen or balanced option, and stop once flowering begins. Compost at planting is typically enough for most gardens.
Why are my moonflowers blooming poorly even though they get sun?
Check the two most common hidden causes: excess nitrogen and overly rich, fast-draining fertility. If you used high-nitrogen lawn fertilizer or amended the bed heavily with rich compost, cut back and give the vine time. Also make sure the trellis is set so the vine is not shading itself.
How do I tell overwatering from underwatering with moonflowers?
Underwatering typically shows wilting that improves by morning. Overwatering often keeps the plant looking stressed for days, the soil stays wet longer than expected, and you may notice a musty smell around the root zone. If overwatering seems likely, improve drainage immediately and pause watering until the top inch dries.
What’s the best way to manage a fast-growing moonflower on a small trellis?
Train only a few main stems early and remove or pinch extra side shoots that aren’t going where you want. If multiple stems are allowed to tangle everywhere, the plant turns dense and airflow drops, which increases disease pressure and reduces overall flowering.
How often should I check for pests like whiteflies and spider mites?
At least once a week during warm weather. Whiteflies hide on leaf undersides and spider mites flare in hot, dry stretches. Early treatment with insecticidal soap or horticultural oil works best when populations are still small.
Is it normal for moonflowers to close by morning even when they are healthy?
Yes. Closing after sunrise is part of the normal cycle for Ipomoea alba blooms. What you want to optimize is opening at sunset, which depends on adequate warmth, full sun, and not overfeeding nitrogen.
Can I grow moonflowers in a container?
Yes, but you must plan for a large root volume and strong support. Use well-drained soil, water based on top-inch dryness (containers dry faster), and avoid rich fertilizer. For fewer transplant issues, keep the plant in its final container once it has started climbing.
Next Articles

How to Grow Moon Flower From Seed to Night Blooms
Step-by-step guide to grow moon flower vines from seed to reliable night blooms, with timing, care, and troubleshooting.
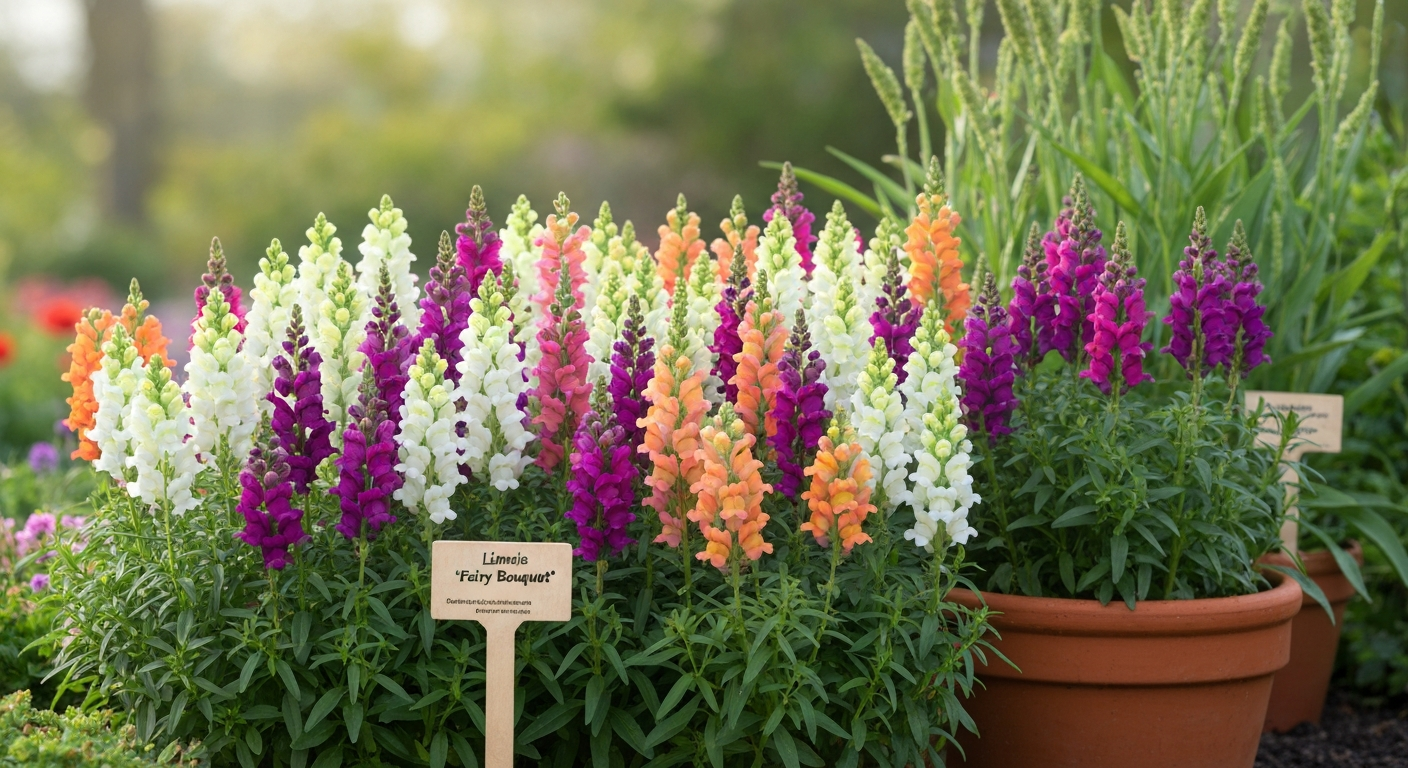
Linaria 'Fairy Bouquet' How to Grow: Seed to Cut Flowers
Grow Linaria 'Fairy Bouquet' from seed to vase: step‑by‑step sowing, care, cutting, seed saving & troubleshooting.
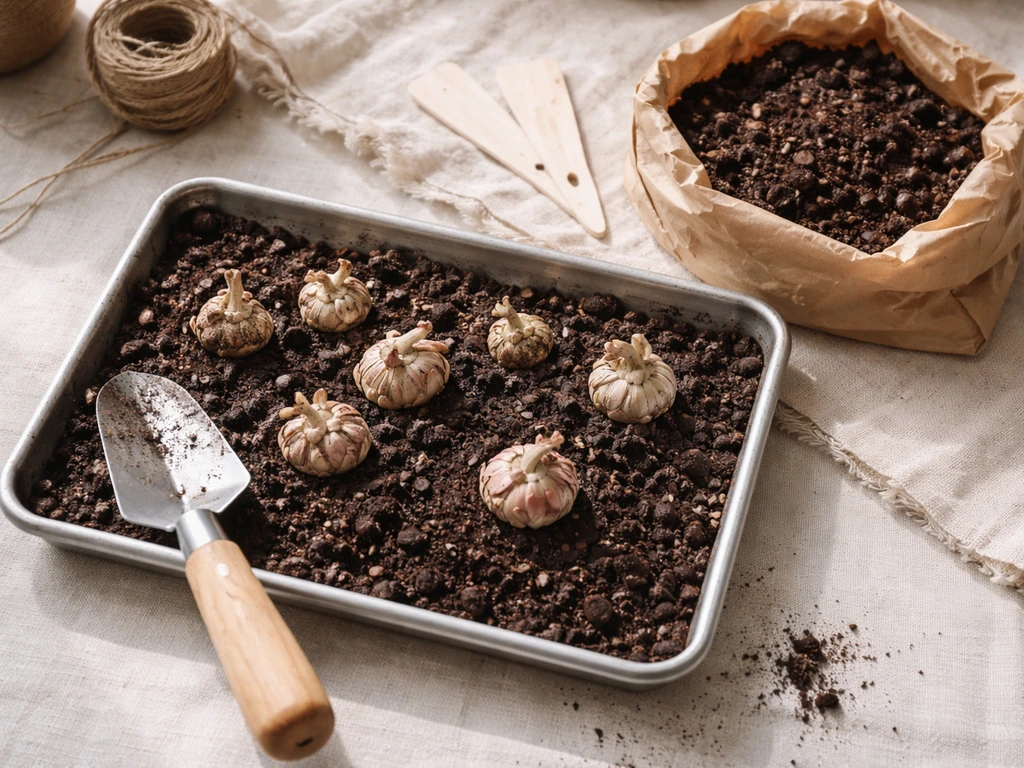
Floret How to Grow Ranunculus: Step-by-Step Guide
Step-by-step Floret-style ranunculus guide: corm prep, planting, watering, frost care, troubleshooting, and harvest for