Balloon flowers (Platycodon grandiflorus) are one of those perennials that reward a little patience with years of reliable, eye-catching blooms. Plant them in a sunny to partly shaded spot with well-drained soil, keep them consistently moist while they establish, and you'll have those signature puffy buds popping open every summer from late June through August. University of Illinois Extension recommends Platycodon for “well drained moist soil” in a location with “full sun to very light shade.” blank" rel="noopener noreferrer">well-drained moist soil. They're hardy in zones 3–8, they come back bigger each year, and once they're settled in, they're genuinely low-maintenance. The main thing to know upfront: they're slow to emerge in spring and slow from seed, but they're absolutely worth it.
How to Grow Balloon Flowers: Care Guide for Beginners

What balloon flowers actually are (and why they're worth growing)
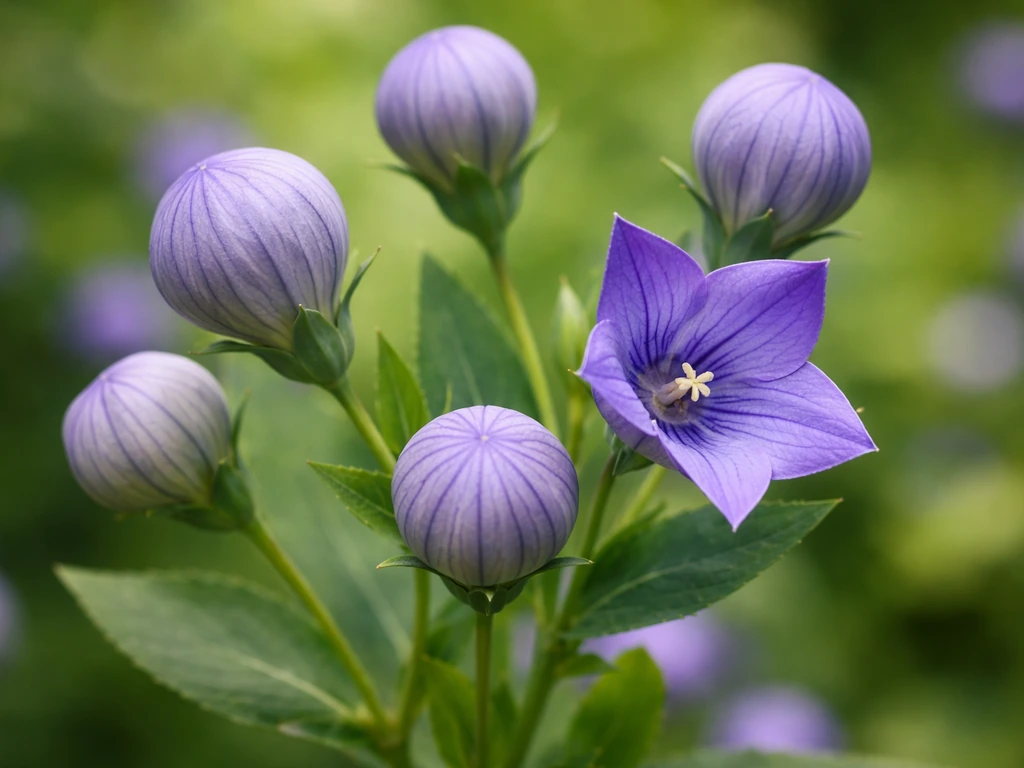
Platycodon grandiflorus is a clump-forming perennial native to East Asia. The name says it all: the buds inflate like little balloons before splitting open into star-shaped, bell-like flowers with five pointed lobes, typically around 5 cm (2 inches) wide. The foliage is blue-green with lance-shaped leaves, and the plants typically reach about 60 cm (around 2 feet) tall, though some compact varieties stay much shorter.
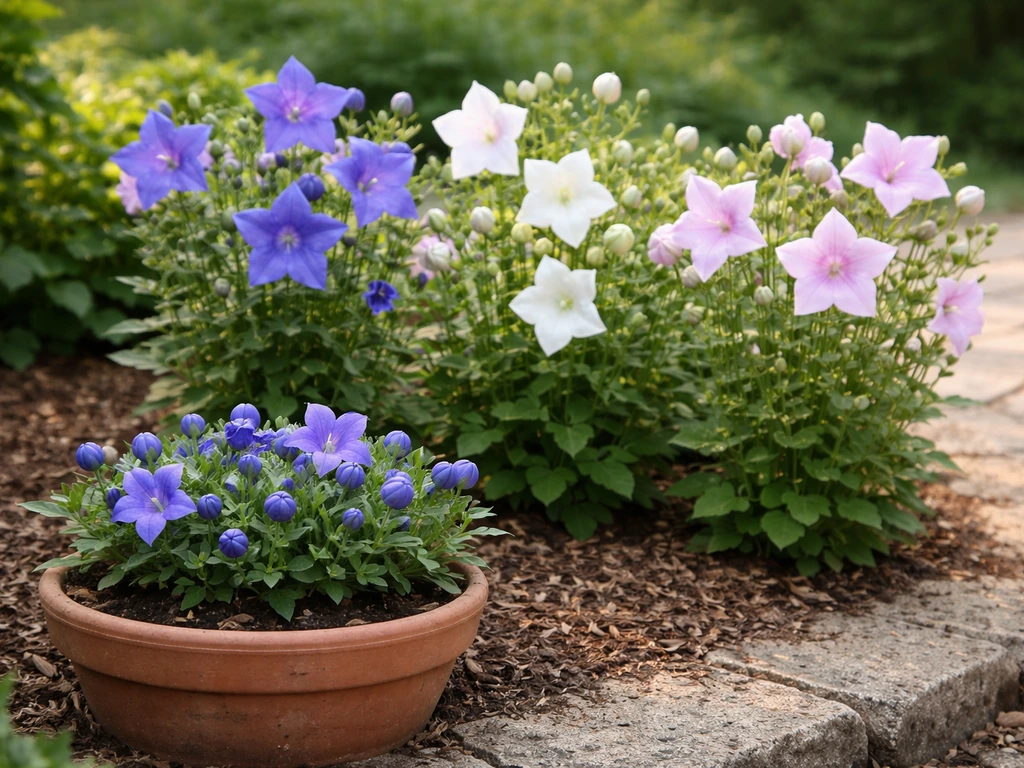
Classic balloon flowers bloom in violet-blue, but cultivars also come in white, pink, and deep purple. They thrive across a wide range of North American climates, reliably returning year after year in USDA zones 3–8 with almost no fuss once established. If you're already growing other cottage-garden perennials, balloon flowers fit right in alongside coneflowers, salvia, and ornamental grasses.
Varieties worth knowing
- Sentimental Blue: A very compact variety, only 6–8 inches tall, perfect for containers or front-of-border spots.
- Fuji Blue/White/Pink: Taller, classic varieties reaching 18–24 inches; great for cutting gardens.
- Astra Series: Dwarf, early-blooming, and prolific — a good pick if you're new to balloon flowers.
- Hakone Double Blue: Double-petaled flowers for a more unusual, lush look.
Picking the right spot: sun, soil, spacing, and climate
Balloon flowers want full sun to light shade. In hotter climates (zones 7–8), afternoon shade actually helps them last longer into summer without fading. In zones 3–6, full sun is ideal and gives you the most blooms. The soil is where a lot of gardeners go wrong: balloon flowers absolutely hate standing water. They need well-drained, loamy to sandy soil with a slightly acidic to neutral pH (around 5.5–7.0). If your soil is heavy clay, mix in compost and coarse grit before planting, or consider raised beds. They won't tell you they're waterlogged until it's too late, the roots just rot quietly.
Spacing is straightforward: give each plant about 12–18 inches (30–45 cm) in every direction. They spread to roughly that same width at maturity, so crowding them causes weak, leggy stems and poor air circulation. If you're planting a border, group them in threes or fives for visual impact, single plants can look a little sparse against bushy neighbors. One more site consideration: balloon flowers develop a deep taproot over time, which is what makes them drought-tolerant and long-lived, but it also means they do not like to be moved once established. Choose your spot thoughtfully.
Seeds vs. transplants: timing, steps, and honest expectations
This is the decision that trips people up most. Growing balloon flowers from seed is completely doable, but it requires patience: seed-grown plants typically don't bloom until their second year. If you want blooms this season, buy a potted transplant from a nursery. If you're happy to play the long game, seeds are inexpensive and satisfying.
Starting from seed indoors
- Start seeds 8–10 weeks before your last frost date. For most of zones 5–6, that means starting in late January to early February.
- Balloon flower seeds need light to germinate — press them onto the surface of moist seed-starting mix and do not cover them with soil.
- Keep trays at 65–70°F (18–21°C). Germination is slow and uneven: expect 14–21 days, sometimes longer. Don't give up on a tray before day 25.
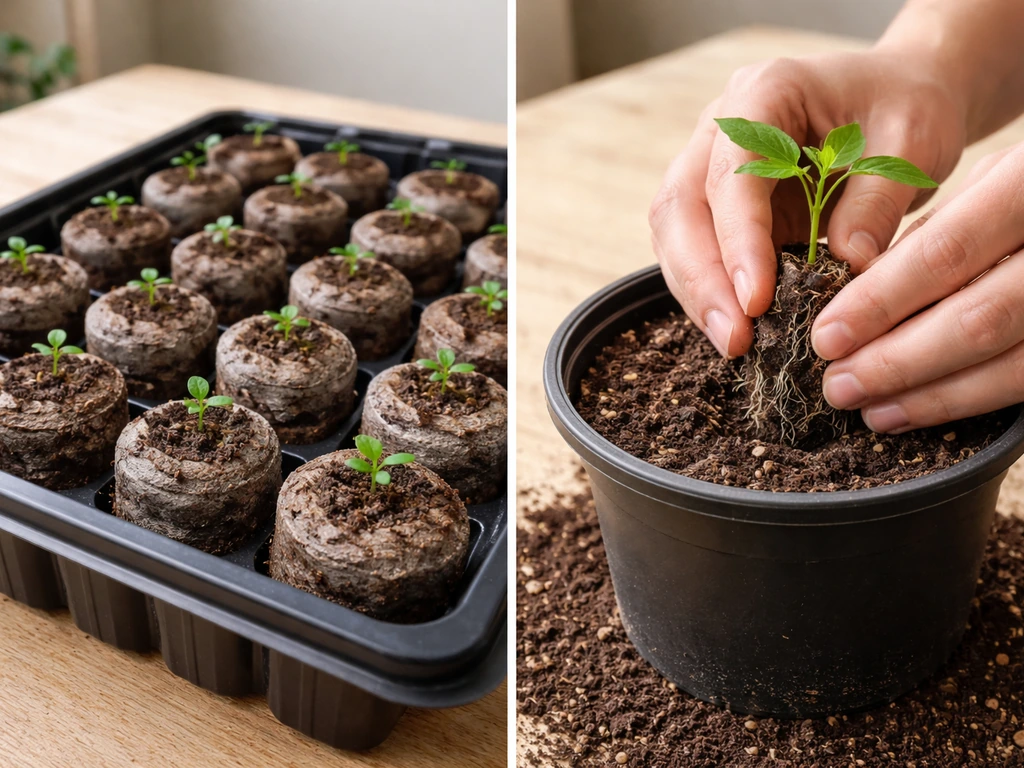
- Once seedlings have two true leaves, transplant into individual 3-inch pots.
- Harden off for 7–10 days before moving outside, and transplant after your last frost date when soil has warmed.
Direct sowing outdoors
You can direct sow after the last frost when soil temperature is consistently above 55°F. Surface sow (again, no covering), keep the area moist, and expect patchy germination. Thin seedlings to your 12–18 inch spacing once they're a few inches tall. Direct-sown plants establish their taproot quickly with less transplant stress, which is a real advantage, but you're looking at a full year before any blooms.
Buying and transplanting nursery plants
This is the easiest route to blooms this season. Buy potted balloon flowers in spring (or early fall in mild climates), dig a hole just slightly larger than the root ball, and set the crown at the same depth it was in the pot. Don't bury it deeper, crown rot is a real risk. Water in well. Because of that taproot, handle the root ball gently and disturb it as little as possible. Walter’s Gardens notes that balloon flowers develop a blank" rel="noopener noreferrer">taproot, so plan to disturb it as little as possible when planting or transplanting. Expect a week or two of sulking while the plant adjusts, especially if it's warm. New growth signals it's settled.
Watering, feeding, and care while your plants get established
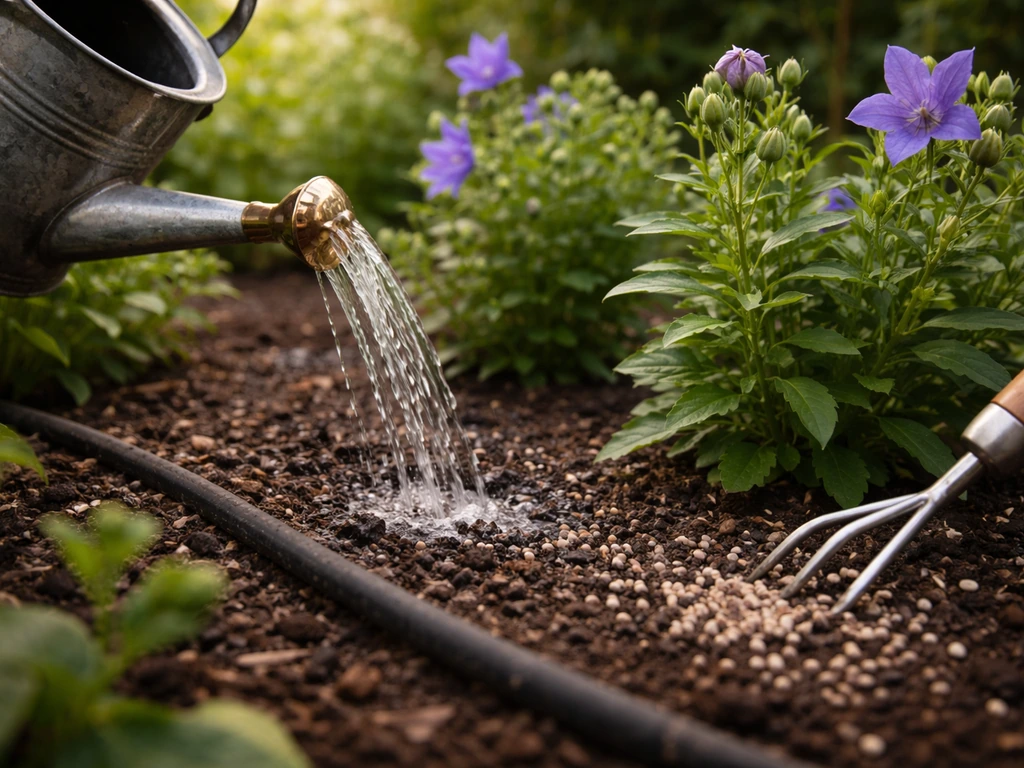
For the first growing season, consistent moisture is key. Water deeply once or twice a week, letting the top inch of soil dry out between waterings. Deep watering encourages the taproot to grow downward, which is exactly what you want for long-term drought tolerance. Avoid shallow, frequent watering, it keeps roots near the surface and leaves plants vulnerable in dry spells.
Once established (typically by year two), balloon flowers are surprisingly drought-tolerant and only need supplemental watering during extended dry stretches of two weeks or more. Mulching around the base with 2–3 inches of organic mulch helps retain moisture, moderates soil temperature, and suppresses weeds, just keep the mulch a couple of inches away from the crown itself.
Feeding is minimal. In early spring, top-dress with a balanced slow-release granular fertilizer (something like 10-10-10) or a shovelful of compost around each plant. That's usually enough for the whole season. Avoid high-nitrogen fertilizers, too much nitrogen pushes leafy growth at the expense of flowers and makes stems floppy. If your soil is already rich, you may not need to fertilize at all beyond year one.
Keeping plants tidy: deadheading, pruning, and fixing leggy growth
Balloon flowers benefit from deadheading spent blooms to extend the flowering season. Snip or pinch off faded flowers at the base of the individual flower stem. New buds will continue opening well into late summer if you keep up with this. One thing to watch: the buds are often still inflated (not yet open) just below faded blooms on the same stem, so look carefully before cutting to avoid removing buds by mistake.
Taller varieties like the Fuji series can get floppy, especially in part shade or rich soil. If your plants are leaning or flopping by midsummer, you have a couple of options. First, you can cut the whole plant back by about one-third in late spring (around late May or early June) before buds form, this is called the Chelsea chop and it encourages more compact, sturdy growth and slightly delayed but more abundant blooming. Second, you can stake plants individually or support them with a wire hoop early in the season before they flop. Once they're sprawling, it's hard to make them look neat again.
At the end of the season, leave the stems standing until after the first hard frost. The foliage will yellow and die back, and the dried seed heads are actually attractive and provide winter interest. You can cut stems to about 2 inches above ground in late fall or leave that task until early spring, either works fine.
Troubleshooting common problems
Seeds aren't germinating
The most common reason is covering the seeds with soil. Balloon flower seeds need light to germinate, surface sow and press them into contact with the mix without burying them. The second reason is temperature: if your seed tray is below 65°F, germination stalls. Use a heat mat. If you've done both correctly and nothing has happened after 25 days, the seeds may be old or of poor quality. Fresh seed from a reputable source dramatically improves germination rates.
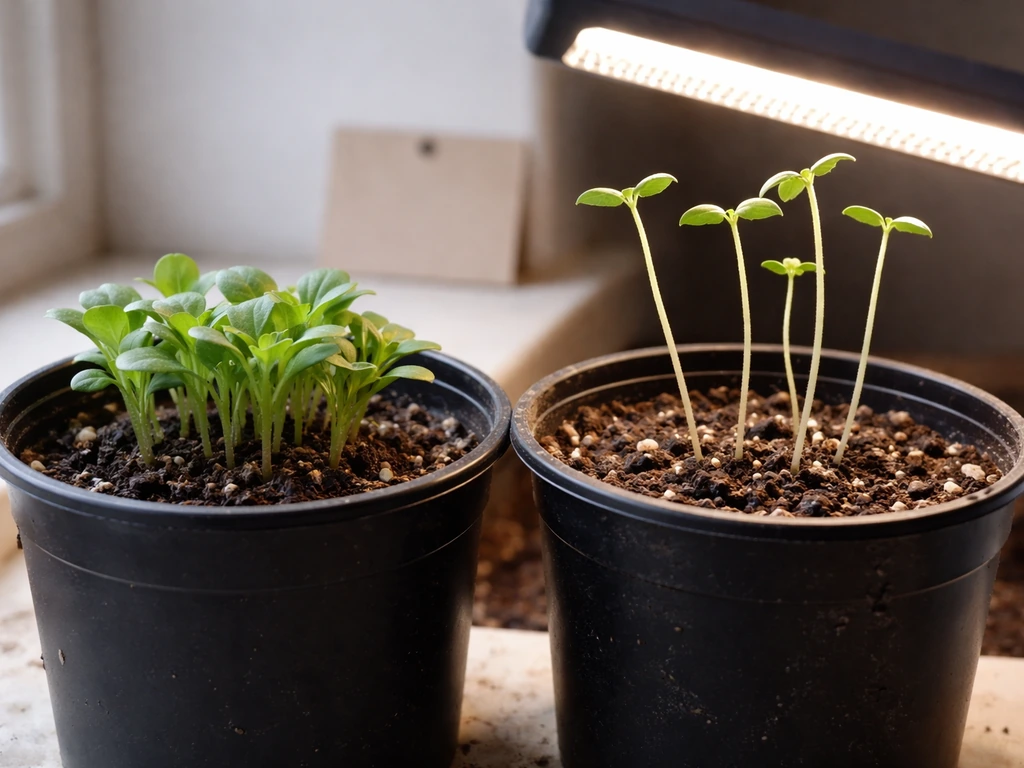
Seedlings are leggy and weak
Leggy seedlings almost always mean insufficient light. Balloon flower seedlings need bright light from the moment they germinate, at least 14–16 hours under grow lights kept just 2–3 inches above the seedlings, or a very bright south-facing window. If they're stretching toward the light, move the light source closer. You can pinch the growing tip once seedlings have 4–6 leaves to encourage bushier growth.
Plant emerged, then disappeared
This is one of the most alarming (and totally normal) things about balloon flowers. They are extremely late to emerge in spring, sometimes not until late May or even early June in zones 5–6. If you've marked your planting spot and nothing appears for weeks after other perennials wake up, don't assume it's dead. Don't dig. Don't replant over it. Wait. Mark your plants in fall so you don't accidentally disturb them the following spring while doing garden cleanup.
Overwatering and root rot
If a balloon flower suddenly wilts and doesn't recover after watering, root rot from soggy soil is the likely culprit. Check drainage immediately. If the crown and roots are mushy and dark, the plant is usually beyond saving. Prevention is the only real cure: never plant in poorly drained spots, and always let the soil surface dry slightly between waterings. In containers, make sure drainage holes are unobstructed.
Pests and disease
Balloon flowers are relatively pest-resistant, which is one of their best qualities. Slugs and snails can damage young seedlings in wet springs, use iron phosphate pellets or diatomaceous earth around plants if you see slime trails or ragged leaf edges overnight. Aphids occasionally cluster on new growth; knock them off with a strong blast of water or use insecticidal soap. Powdery mildew can appear in humid, crowded conditions, the fix is better air circulation through proper spacing and removing affected foliage. Root rot (addressed above) is the only disease that consistently kills plants outright.
Season-by-season care and overwintering
| Season | What to do |
|---|---|
| Early spring (March–April) | Watch for very late emergence; don't disturb the soil. Apply a light top-dressing of compost or slow-release fertilizer once you see shoots. |
| Late spring (May–June) | Pinch or Chelsea-chop taller varieties for compact growth. Install supports if needed. Water regularly as growth accelerates. |
| Summer (July–August) | Main bloom season. Deadhead regularly to extend flowering. Water during dry spells. Enjoy the show. |
| Early fall (September) | Blooming slows. Stop fertilizing. Reduce watering gradually. Collect seed from dried pods if you want to save seed. |
| Late fall (October–November) | After hard frost, cut stems to 2 inches or leave standing for winter interest. Apply a light mulch in zones 3–4 for extra root protection. |
| Winter (December–February) | Plants are fully dormant. No care needed. Plan for next season and start seeds indoors in late January if you want new plants. |
Dividing and propagating
Because of that deep taproot, balloon flowers don't divide easily and don't appreciate being split the way daylilies or hostas do. If you need more plants, grow from seed or take basal stem cuttings in early spring when shoots are just 2–3 inches tall. Cuttings root reasonably well in moist perlite with bottom heat. Division is possible but expect a slow recovery and accept that you may lose a division or two in the process.
Your quick-start checklist
If you're ready to get balloon flowers growing, here's exactly where to start. If you want to take it a step further and apply the same idea of growth and maturation to your faith practice, you can also explore how to grow flower of the holy spirit. If you're also interested in other dramatic bloomers, learn how to grow fireblossom next. Tick these off and you'll be in great shape for this season and the next. If you meant the queen of the night flower, keep reading for specific tips on how to grow it successfully.
- Choose your approach: seeds indoors (8–10 weeks before last frost), direct sow after last frost, or buy a nursery transplant for blooms this year.
- Pick a spot with full sun to light afternoon shade and well-drained soil. Amend heavy clay with compost before planting.
- Space plants 12–18 inches apart and resist the urge to crowd them.
- Plant transplants at crown level — not deeper. Water in well.
- Mark your plants clearly so you don't disturb the slow-to-emerge crowns next spring.
- Water deeply once or twice a week during the first season; mulch around (not over) the crown.
- Feed once in early spring with a balanced slow-release fertilizer or compost top-dressing.
- Deadhead spent blooms through summer to keep new buds coming.
- If taller varieties flop, stake early or plan a Chelsea chop next late spring.
- Cut back or leave standing after hard frost; mulch lightly in zones 3–4.
Balloon flowers are genuinely one of those plants that get better every year. The first season can feel slow, especially from seed, but by year two or three you'll have a full, bushy clump that blooms for six weeks or more without much help from you. If you enjoy other long-blooming cottage perennials like four o'clocks or foam flowers, balloon flowers fit naturally into the same planting style and reward the same kind of patient, attentive gardening.
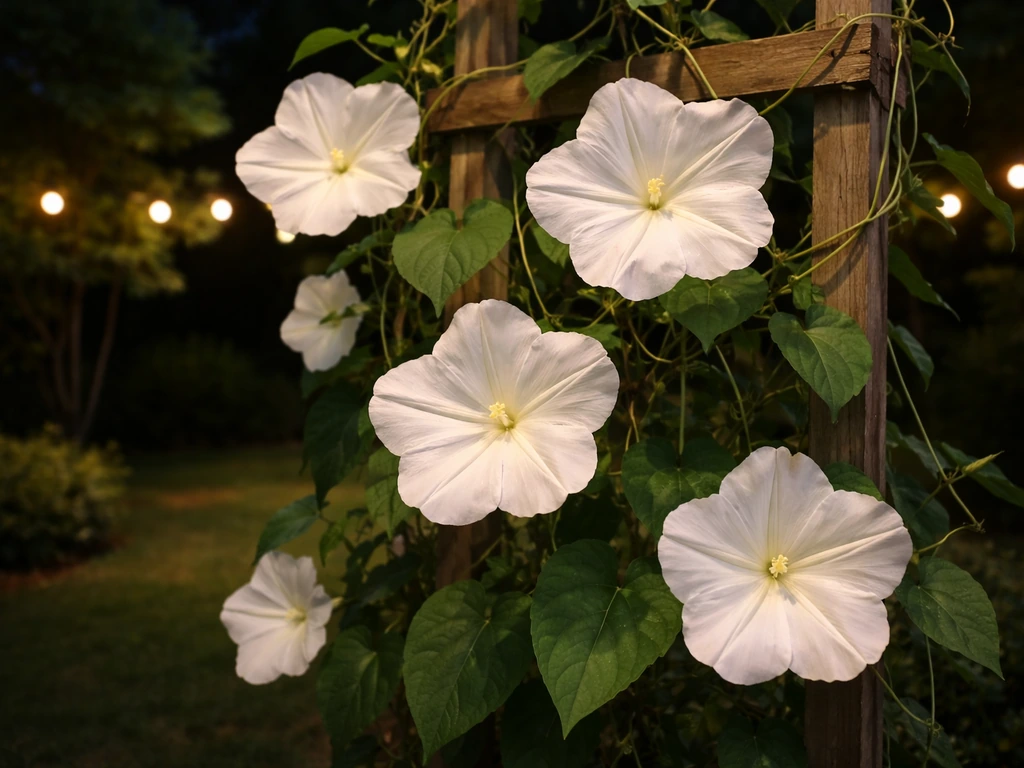
If you want to expand your garden with a similar plant, here’s how to grow foam flower too foam flowers. If you also want blooms from four o'clock flowers, focus on planting in the right sun and keeping soil evenly moist as they establish four o'clocks. For moon flowers (Ipomoea alba), the key steps for success are different than balloon flowers, so it helps to follow moon flower-specific guidance.
FAQ
My balloon flower planting spot looks empty, when should I worry?
If your balloon flowers are slow to pop up, don’t dig them back up, and don’t replant in the same spot. In zones 5 to 6, late emergence can push into late May or even early June, and disturbance can permanently damage the taproot.
How often should I water balloon flowers, especially in the first year?
Water on a deeper schedule during the first year, then back off. A simple rule is, water deeply once or twice a week only until the top inch of soil dries between waterings, then shift to occasional watering only during long dry stretches (about two weeks or more).
Can I grow balloon flowers in containers?
Yes, but keep it careful because balloon flowers still form a taproot and hate long-term moisture problems. Use a large pot with real drainage, a loose mix (cactus-like sandier blend works), and avoid frequent small waterings. Expect more frequent watering than in the ground, but never let the pot sit in runoff.
What spacing mistake causes most flopping or mildew issues?
Give them 12 to 18 inches, then resist crowding. Tight spacing reduces airflow and can increase powdery mildew risk, and it also leads to weaker, leggier stems that flop more easily.
Should I fertilize balloon flowers, and what type of fertilizer is safest?
For best results, feed lightly in early spring only. Top-dress with compost or a balanced slow-release fertilizer, skip high-nitrogen products, and stop fertilizing if plants are already lush but not flowering well.
Will deadheading boost blooms, and how do I avoid removing unopened buds?
Deadheading works, but cut at the right spot. Remove the faded flower stem while leaving the buds lower on the same stem intact, since many buds are still inflated but not open yet.
My buds inflate but don’t open, what’s the most likely cause?
Yes, but first learn why they are failing to open. If buds look puffy then drop, the usual causes are inconsistent moisture, root stress from waterlogged soil, or planting too deep. Also confirm crown depth, burying the crown raises crown-rot risk.
Why shouldn’t I divide balloon flowers to make more plants?
Don’t try to divide like you would daylilies or hostas. Balloon flowers have a deep taproot, so division often causes slow recovery or loss of the plant. If you need more plants, start with seed or take basal cuttings from new spring shoots.
When is the best time to cut balloon flowers back?
Yes, and it’s helpful, but timing matters. Cut back to about 2 inches after the first hard frost, or leave stems standing until early spring if you prefer winter interest. Cutting too early can remove resources before the plant has fully finished dieback.
How can I prevent accidentally digging up balloon flowers in spring?
You can mark plants in fall to prevent accidental digging during cleanup. If you wait until spring, other perennials often emerge earlier and can tempt you to disturb the area, which can delay establishment even further.
My balloon flower seeds did not sprout, what are the most common reasons?
If seeds fail to germinate, check three common issues: seeds must be surface-sown (no covering), soil temperature should stay above about 65°F for consistent germination, and seed age matters. Old or poor-quality seed often looks like “nothing is happening” after the usual waiting period.
Step-by-step moonflower growing guide: choose variety, start seeds or sow outside, transplant, train, water, troubleshoo

Step-by-step guide to grow moon flower vines from seed to reliable night blooms, with timing, care, and troubleshooting.
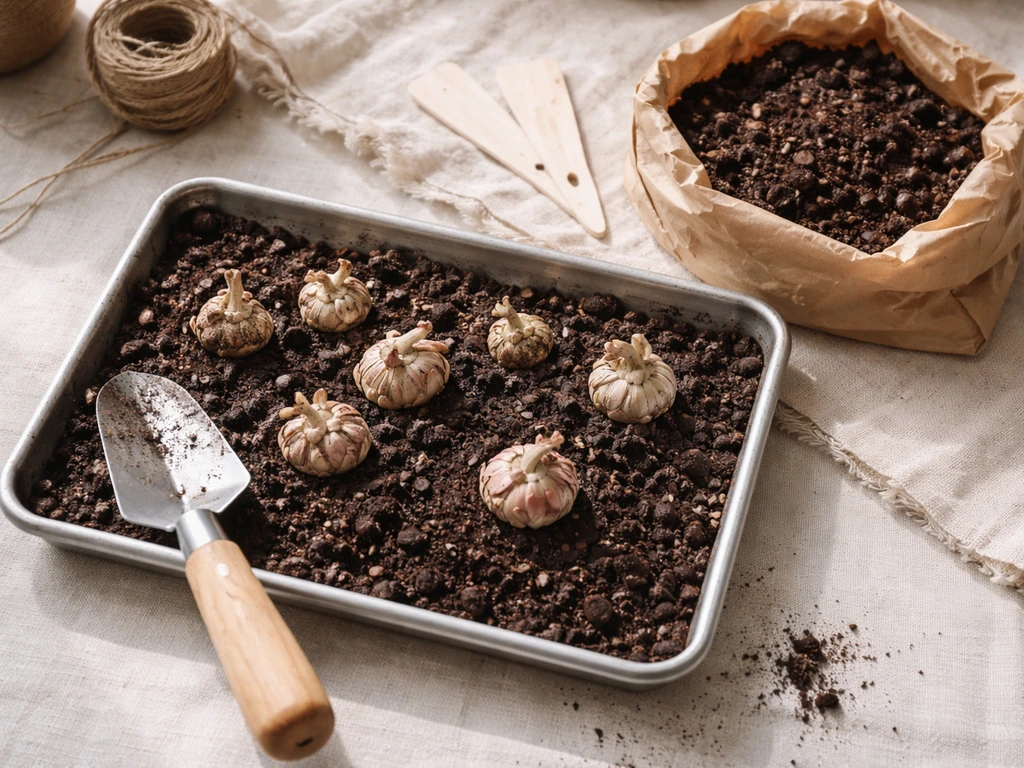
Step-by-step Floret-style ranunculus guide: corm prep, planting, watering, frost care, troubleshooting, and harvest for