You can run a productive small flower farm on as little as 500 to 1,000 square feet if you plan it well. Start by picking two to four reliable cut-flower varieties suited to your climate, prepare deeply amended beds, set up a simple drip or soaker system, and sow in waves so blooms keep coming all season. If you want to include a shoe flower plant in your cut-flower mix, start by matching its growing needs to your climate and planning a spot with the right sun and soil so it blooms reliably. That basic loop, repeated with better timing each year, is genuinely all it takes to go from bare ground to consistent buckets of flowers.
How to Grow a Flower Farm: A Step-by-Step Guide

James Holloway
26 Jun 2026
Define your goals and realistic scale first
Before you buy a single seed packet, spend ten minutes being honest about what you actually want. A cutting garden for your own kitchen table and occasional gifts is a very different project from a micro-farm supplying a farmers market or florist. The first can run beautifully in 100 to 300 square feet. The second needs at least 1,000 to 2,000 square feet, a harvest and storage workflow, and enough variety diversity to guarantee something is always in bloom. The single most common mistake beginners make is starting too big, getting overwhelmed, and learning nothing useful. Starting small and scaling up deliberately is almost always the smarter path.
Ask yourself three questions: How many bouquets a week do I realistically want to produce? Do I want to sell, gift, or just enjoy them? And how many hours per week can I honestly commit? If you want four to five bouquets per week, plan on roughly 200 to 400 stems, which typically requires somewhere between 60 and 120 plants depending on variety. Tools like cut-flower stem-yield calculators can help you reverse-engineer how many bed feet and succession waves you need based on a target number of bouquets and your first expected bloom date. That kind of planning upfront saves a lot of guesswork later.
Pick the right site and build great soil
Site selection
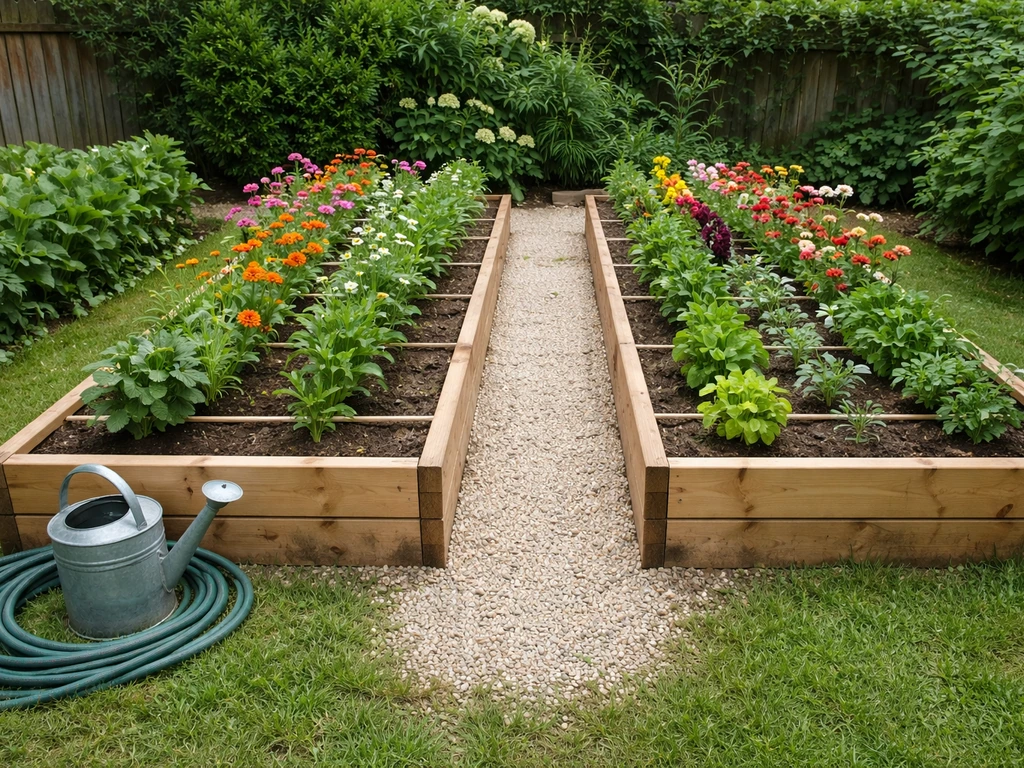
Cut flowers need at least six hours of direct sun per day, and most high-yielding varieties (marigolds, snapdragons, zinnias, sunflowers) really want eight. Walk your property at noon on a clear day and mark the sunny spots honestly. You also want a site that drains well after rain. Sitting water kills roots fast and invites fungal disease. If your best sunny spot has clay-heavy or compacted soil, raised beds are the practical fix, not a luxury.
Soil preparation
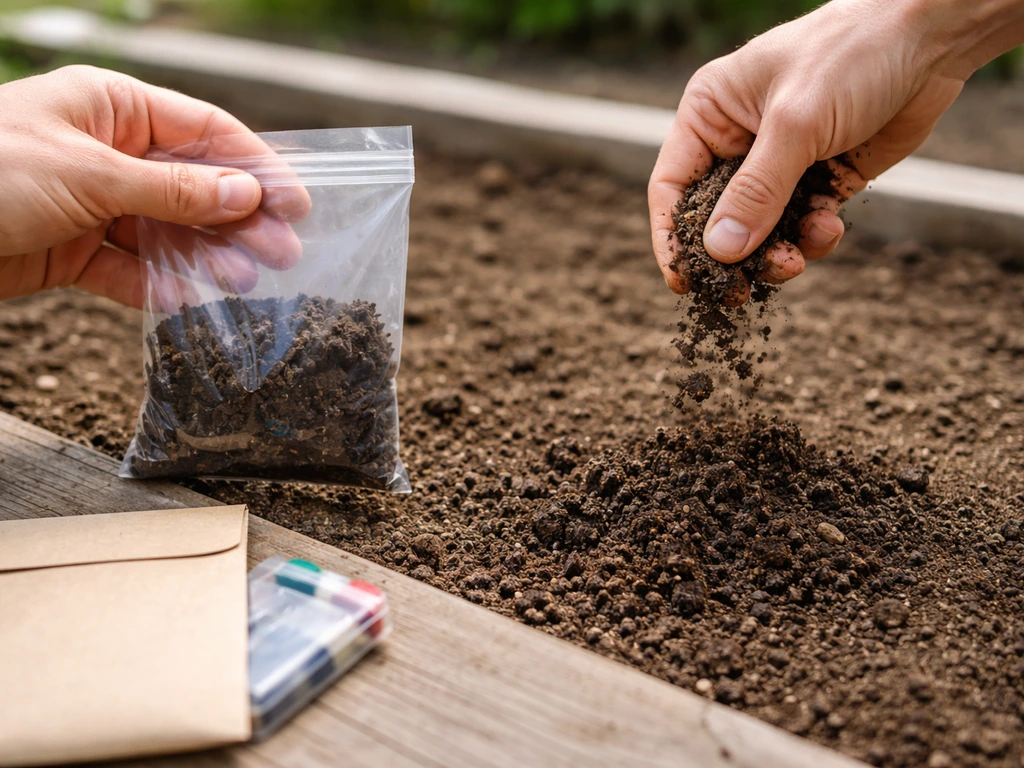
Get a soil test before you amend anything. Your local cooperative extension service offers tests for under $20, and the results tell you pH, nutrient levels, and what to add. Trying to build fertility without a test is guesswork, and it is easy to over-apply phosphorus or potassium while starving your plants of something else. Once you have your results, a practical starting blend for raised flower beds is roughly half to two-thirds topsoil and one-third to one-half quality plant-based compost by volume. Compost should generally represent around 10 to 20 percent of your total bed volume. Till or fork the blend to at least 12 inches deep, because cut-flower roots need room and good drainage from the start.
Bed layout and watering setup
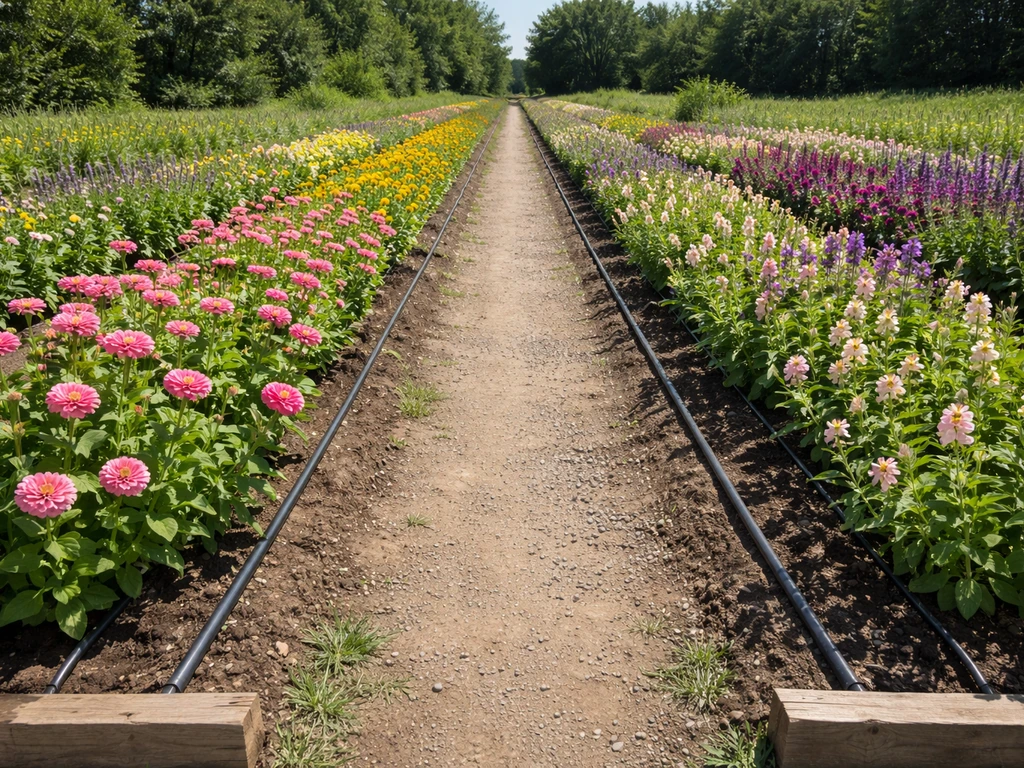
Bed design matters more than most beginners expect. Keep beds no wider than four feet (two feet if you can only access from one side) so every plant is within easy reach for cutting, staking, and weeding without stepping on the soil. Long, narrow beds also make succession planting easier because you can mentally divide them into sections and rotate what you sow in each. A common layout is several four-foot-wide, 25- to 50-foot-long beds with 18- to 24-inch pathways between them. Paths wide enough for a wheelbarrow save a lot of frustration.
For watering, drip irrigation tape is the best investment you can make early on. Running drip lines under a weed-suppressing ground cover keeps water off leaves and flowers, which directly reduces foliar diseases like botrytis and powdery mildew. It also conserves water and lets you water on a timer even when you are away. A basic drip kit for two or three 50-foot beds costs $50 to $100 and takes an afternoon to set up. If drip is not in the budget yet, a soaker hose works nearly as well. Overhead sprinklers are the last resort for a cut-flower operation because wet foliage is a direct invitation to disease.
Choose your varieties and map out your planting calendar
The best cut-flower varieties for your farm are the ones that fit your local climate and season length, not just the ones that look beautiful in a catalog. A variety that needs 120 frost-free days to bloom is useless in a Zone 4 climate with 110 days between frosts. Matching varieties to your actual conditions is the single most important decision you make for consistent production.
For beginners, a reliable starting lineup includes zinnias, marigolds, sunflowers, snapdragons, and cosmos. These are forgiving, high-yielding, and cover a wide range of conditions. Poppies are worth adding if you love them, but they need direct sowing and specific timing. Wildflower mixes can fill gaps beautifully and attract pollinators. As you grow more confident, you can layer in lisianthus, dahlias, ranunculus, and other specialty crops. If you are eventually hoping to sell to florists, studying what professional growers produce for the trade is a useful next step, since florist-grade stems have specific length and conditioning requirements.
| Flower | Start Method | Weeks Before Last Frost | Days to Bloom | Notes |
|---|---|---|---|---|
| Snapdragon | Transplant (start indoors) | 10-12 weeks | 70-90 | Needs light to germinate; 16 hrs light/day ideal for seedlings |
| Marigold | Transplant (72-cell flat) | 4-6 weeks | 50-60 | Lightly cover seed; high heat can stall bloom temporarily |
| Zinnia | Direct sow or transplant | Direct sow after last frost | 55-75 | Hates root disturbance; direct sow is often cleaner |
| Poppy | Direct sow | 2-4 weeks before last frost | 60-90 | Needs light and cold stratification (~2 weeks); keep moist until emergence (7-28 days) |
| Sunflower | Direct sow | On/just after last frost | 55-75 | Simple and reliable; sow in waves 2 weeks apart |
| Cosmos | Direct sow or transplant | After last frost | 50-60 | Very low maintenance; prolific once established |
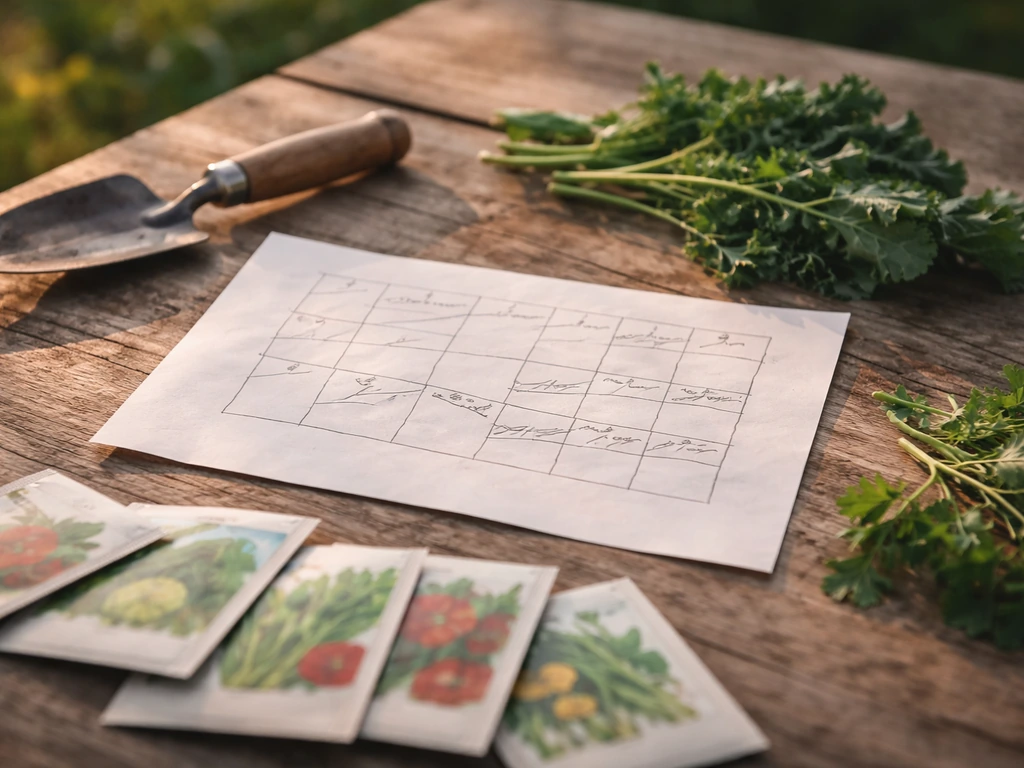
Map out your whole season on paper or a simple spreadsheet before you sow anything. Mark your average last frost date and first fall frost date, then work backward for indoor starts and forward for direct-sown crops. Plan succession waves every two to three weeks for high-demand crops like zinnias and sunflowers so you never have a gap between flushes. Scented stocks are another lovely addition worth considering for early-season fragrance, and they thrive in cool weather, which fills the gap before summer heat crops kick in.
Starting from seed and knowing when to transplant
Most cut flowers start easily from seed, which is a huge cost advantage over buying transplants. The main thing that kills seedlings indoors is damping-off, a fungal collapse caused by organisms like Rhizoctonia, Fusarium, and Pythium. It wipes out whole trays fast. Prevent it by using sterile seed-starting mix (never garden soil), providing good airflow with a small fan, avoiding overwatering, and not crowding trays. Bottom heat from a heat mat speeds germination and reduces the damp, cool conditions damping-off thrives in.
Some seeds need specific conditions. Snapdragon seeds need light to germinate, so press them onto the surface of your mix rather than burying them, and a thin layer of fine vermiculite can help hold moisture without blocking light. Poppy seeds also need light and benefit from about two weeks of cold stratification before sowing, which you can do by putting moistened seeds in the fridge in a small plastic bag. Marigolds are straightforward: sow into 72-cell trays, lightly cover the seed, and you will have transplant-ready starts in four to six weeks.
Hardening off is non-negotiable before transplanting. Start at least two weeks before your intended planting date by setting trays outside in a sheltered, partly shaded spot for an hour or two, then gradually increase their outdoor time and sun exposure each day. Skipping this step and going straight from a warm indoor environment to a windy, bright garden often results in sunscald and transplant shock that sets plants back weeks. When you transplant, water in with a dilute starter fertilizer at about a quarter to half pound of actual nitrogen per 1,000 square feet to give roots an early boost.
Managing pests, diseases, and weeds
The diseases to know
Gray mold (Botrytis cinerea) is the most common disease on a flower farm. You will recognize it by the brown and black blighting of flowers, leaves, and stems, often with a fuzzy gray coating. It thrives in cool, humid, crowded conditions. Prevention is mostly cultural: space plants well, use drip irrigation, remove dead or dying plant material immediately, and avoid handling plants when wet.
Powdery mildew shows up as white, powdery patches on leaf surfaces and can spread fast via wind once it gets going. It affects flower bud opening and quality, so treat it early when you see the first symptoms. Downy mildew is less common but worth knowing, especially on zinnias and other susceptible crops. Rust appears as yellow or orange powdery spore masses on leaves and is easy to confirm by rubbing a leaf on a white tissue.
Common pests
Aphids are the most frequent visitor to a flower farm. Use an integrated approach: knock heavy infestations off with a strong water spray, introduce or encourage beneficial insects like ladybugs and parasitic wasps, and reserve insecticides for situations where other methods are not working. Thrips are trickier because they hide inside flower buds and are tiny enough to miss until damage is visible. Yellow sticky traps are your best early-warning tool for thrips. Check them weekly. Contact insecticides often struggle because thrips are tucked into the flower structure, so physical monitoring and early action matter more than reactive spraying.
Weed control
Weeds compete aggressively with young flower seedlings and are much easier to manage early than late. Lay landscape fabric or biodegradable paper mulch over your beds before planting, cutting holes for transplants. For direct-sown crops like poppies and cosmos, a thin layer of weed-free straw after plants emerge helps a lot. Hand-weed young beds weekly for the first six weeks. Once your flowers reach full canopy, they shade out most weeds naturally.
Fertilizing, ongoing care, and succession planting
Base your fertilizer program on your soil test results, not on guessing. Your test will give you N-P-K recommendations and pH guidance. Most cut-flower beds benefit from a balanced slow-release granular fertilizer worked into the soil at planting, then a liquid feed every two to three weeks during active growth. Fertilizer labels show the guaranteed N-P-K percentages, so you can calculate exactly how much of a product to apply to hit a target rate. For field-grown cut flowers, a starting benchmark is around a quarter to half pound of actual nitrogen per 1,000 square feet at seeding or transplant time. Over-fertilizing with nitrogen pushes lush green growth at the expense of flowers, so more is not always better.
Succession planting is the secret to consistent blooms all season. If you are aiming for how to grow million flower, map your succession planting so you can maintain steady blooms through the whole season. Instead of sowing all your zinnias or sunflowers at once, split the same total quantity into three or four smaller plantings spaced two to three weeks apart.
Your first sowing gives you an early flush, then each subsequent planting comes in behind it before the previous flush fades. This approach keeps your farm looking full and productive from early summer through first frost rather than exploding for two weeks and then going quiet. Once you have a couple seasons of data, you will get very good at timing these waves to match your personal peak harvest windows.
Pinching is a care task many beginners skip and then regret. Pinching the growing tip of young plants like snapdragons, zinnias, and lisianthus once they reach about 8 to 12 inches tall forces branching and dramatically increases the number of stems per plant. It delays your first blooms by roughly a week to two weeks but pays back generously over the rest of the season. Deadheading spent blooms from non-shattering varieties also encourages plants to keep producing rather than going to seed.
Harvesting and keeping flowers fresh longer
When and how to cut
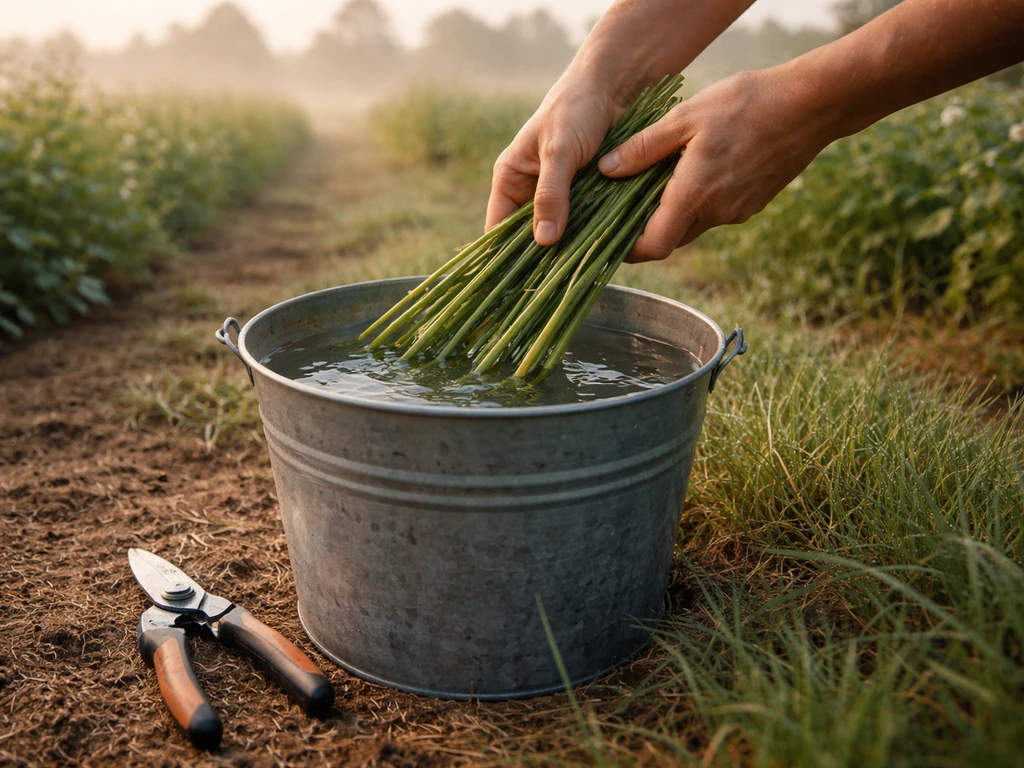
Harvest in the early morning or evening, never in midday heat. Carry a bucket of cool, clean water into the field and immediately place stems in it as you cut. Use sharp, clean shears or a knife and cut stems at an angle, removing about an inch from the bottom. Cutting under water prevents air bubbles from entering the stem and blocking water uptake. Most flowers should be harvested before they are fully open: zinnias at half to three-quarter open, snapdragons when about a third of the florets on the spike are open, sunflowers when the petals are just starting to unfurl. Cutting too late shortens vase life significantly.
Post-harvest handling
After harvest, move buckets to a cool, humid, low-light space as quickly as possible. A basement, garage, or cooler works well. Keep flowers away from heat sources, bright light, and ripening fruit (ethylene from fruit accelerates petal drop). Strip all foliage that would sit below the waterline in your buckets, because submerged leaves rot quickly and contaminate the water with bacteria that clog stem ends.
Bucket sanitation matters more than most beginners realize. Wash buckets thoroughly between uses and rinse with a dilute bleach solution (a low concentration of household hypochlorite works fine) to kill the bacteria that shorten vase life. For the holding water, a simple floral preservative solution helps: roughly two level teaspoons of sugar per quart of water approximates a basic 1% sucrose hydration solution that supports stem freshness. Avoid using water from a water softener, because the sodium in chemically softened water is harmful to cut flowers and shortens their vase life noticeably.
Building a simple weekly farm workflow
A repeatable weekly routine keeps a small flower farm manageable and prevents problems from compounding. A practical structure looks something like this:
- Monday/Tuesday: Check irrigation, scout for pests and disease, check sticky traps, pull any obvious weeds before they set seed
- Wednesday: Water as needed, check seedlings in the propagation area, pot on or harden off anything close to transplant stage
- Thursday/Friday: Main harvest morning, condition and process stems, clean buckets and replace water
- Weekend: Sow any succession plantings due that week, apply fertilizer if on schedule, do any staking or netting support work
You will adapt this to your own schedule, but the point is to do small, regular tasks rather than letting everything pile up. Spending 20 to 30 minutes on the farm five days a week beats a frantic three-hour session once a week every time. After your first full season, you will have real data on what worked, what bloom windows actually looked like, and which varieties gave you the best return on effort. That data becomes your planting plan for next year, and every season gets more dialed-in from there.
FAQ
What costs should I plan for beyond seeds, soil, and irrigation when learning how to grow a flower farm?
If you plan to sell, budget for packaging and postharvest handling, not just growing. Cut flowers typically need clean buckets, a cool holding area, and a consistent conditioning step (trimming and rehydrating) before bundling. Also decide early whether you will deliver yourself or meet buyers, because travel time often determines harvest timing and which varieties perform best.
Can I grow a profitable flower farm if I do not have much experience yet, and how should I scale my variety selection?
Yes, but your first year should aim for reliable volume over broad variety. Start with 2 to 4 dependable varieties for your climate, then add one “stretch” crop each season only after you understand your frost dates and labor rhythm. This prevents the common beginner trap of running many seed starts that demand care at the same time.
How do I know the right time to harvest for maximum vase life and customer satisfaction?
Start harvest when stems meet your market’s length and openness standards, not when you personally feel like the flowers look perfect. In practice, you want most blooms at a stage where they can finish opening in the customer’s vase. If your buyers pick up daily, harvest slightly earlier than if you ship or store overnight, since delay shortens vase life.
If I use drip irrigation, what is the practical way to avoid overwatering or underwatering my flower beds?
Drip is ideal, but the key is to irrigate early enough that foliage stays dry overnight and to avoid dry spells followed by heavy watering. A simple rule is to keep soil moisture consistent, especially during germination, establishment, and the week before buds open. If you notice flowering stalls, check moisture first before adding fertilizer.
Can I extend my selling season with frost protection, and what are the limits?
Many flowers can tolerate light frost with row cover, but it will not replace the need to match varieties to your season length. Use row cover for protection only when temperatures drop and you can remove it during warmer midday periods to prevent overheating. For hard frosts, prioritize crops that naturally finish before your first fall frost and plan succession so you are not relying on late, long-season varieties.
How should I track what works so I can improve yields year after year when learning how to grow a flower farm?
For a small farm, the easiest system is a numbered “bed map” in a notebook or spreadsheet and a simple task log. Record sow dates, transplant dates, and the date you started harvesting each variety. After each week, note yield per bed section and any disease or pest issues, then compare to your next succession wave timing.
Do I need a cooler and strict bucket disinfection to run a successful flower farm, or can I manage with a low-tech system?
A low-budget setup can be effective, but you still want a cooling and sanitation workflow. Even if you skip a commercial cooler, aim for a shaded, cool space and keep flowers out of direct sun, warm rooms, and fruit areas. If you cannot disinfect buckets between batches, at least change water regularly and avoid leaving submerged leaves in holding water.
What should I troubleshoot first if my indoor seedlings keep collapsing after transplanting or before they emerge?
If your seedlings keep failing, the fastest diagnosis is to check airflow, watering practices, and your starting mix. Damping-off risk is higher when trays stay too wet and crowded, and using garden soil greatly increases pathogen load. Bottom heat can help germination, but it does not fix overwatering or poor ventilation.
How can I reduce foliar diseases and spread during harvest and routine tasks?
Plan sanitation and harvest handling around worker habits. If people walk in and out of wet fields, disease spreads more easily, so have a simple rule like harvesting only when foliage is dry and wiping tools between beds. Also isolate any diseased plant material immediately so it does not contaminate your working space.
What is the most practical way to manage thrips on a small flower farm if I keep seeing damage late?
If thrips are an issue, early detection matters more than reactive spraying. Use yellow sticky traps weekly and inspect buds for damage rather than only scanning leaves. When you do intervene, focus on the crop stage where thrips are feeding inside buds, because contact sprays often miss them.
What weed-control approach works best for direct-sown flowers versus transplanted varieties?
It is easier to prevent weeds than to fight them mid-season, but your “how” depends on whether the crop is direct-sown or transplanted. For transplants, mulch or fabric with cut openings works well, then keep weeding tight during the first six weeks. For direct-sown seeds like poppies and cosmos, use a thin weed-free straw layer after emergence so sunlight and seedlings are not smothered.
Next Articles
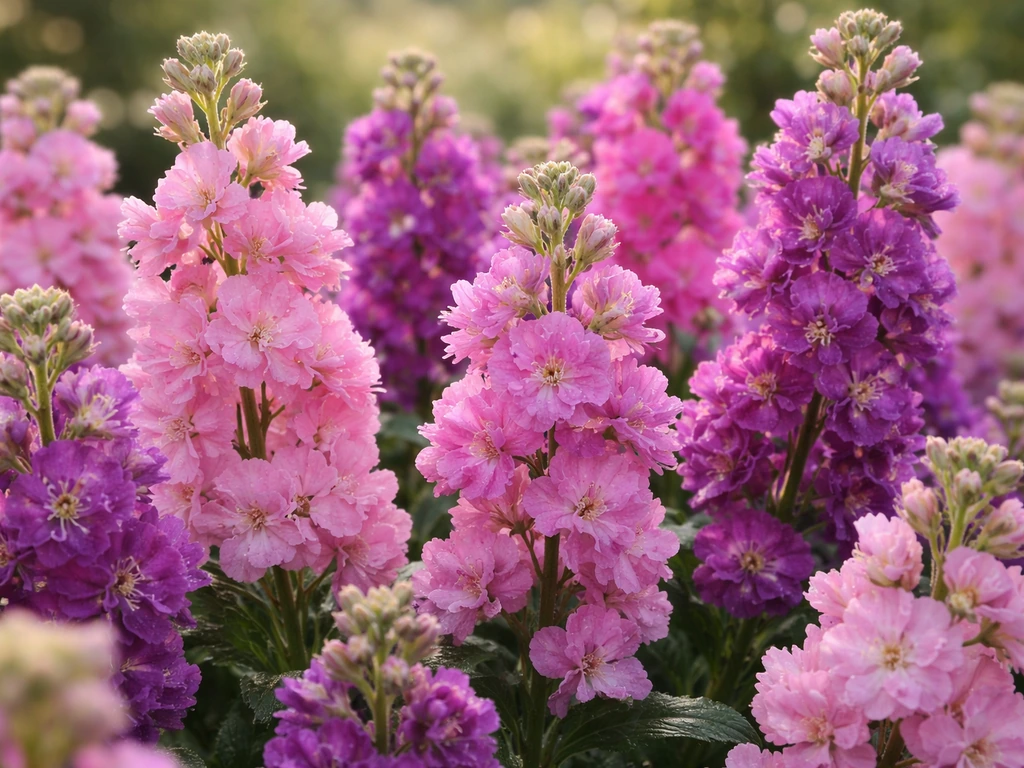
How to Grow Scented Stocks Step by Step for Strong Fragrance
Step-by-step guide to grow fragrant scented stocks, from variety choice and seed timing to bloom care, cutting, and trou
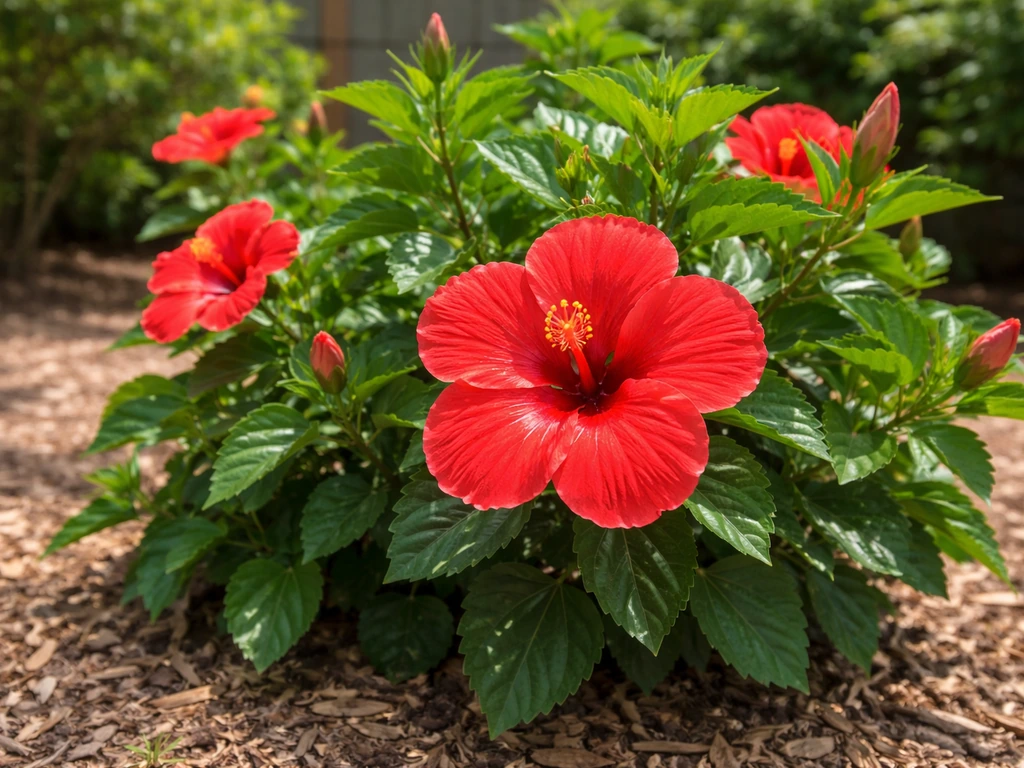
How to Grow Shoe Flower Plant From Seed to Bloom
Step-by-step how to grow shoe flower plant from seed to bloom, with care, timing, troubleshooting, and next-season tips.
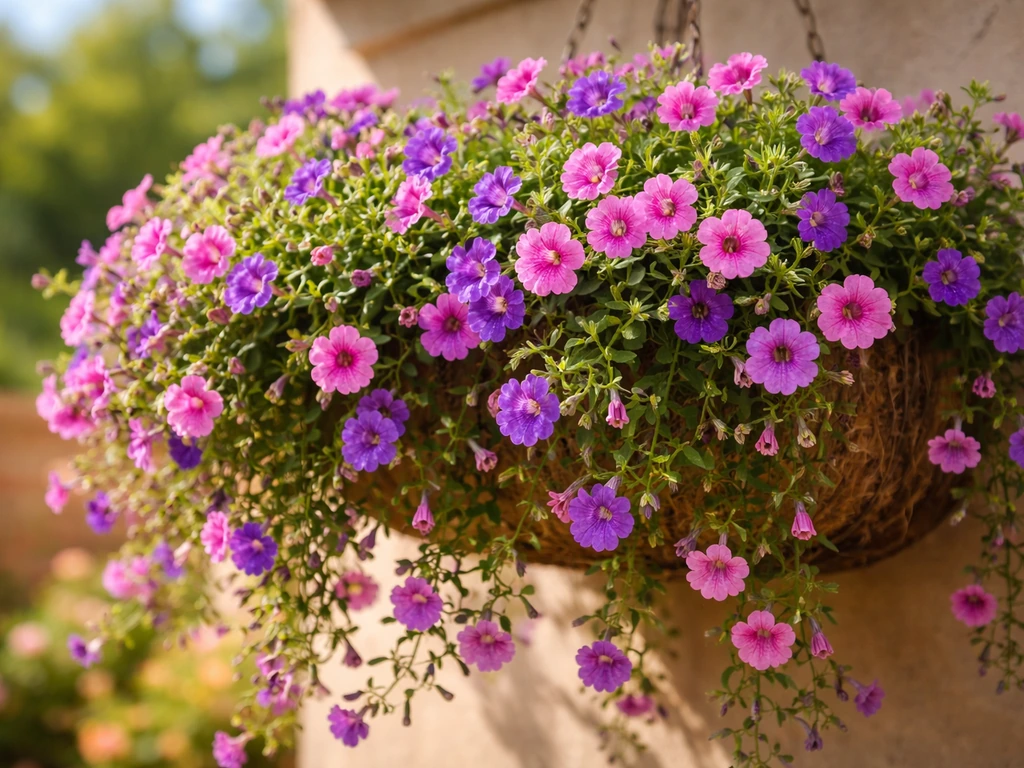
How to Grow Million Flower: Step-by-Step Guide
Step-by-step guide to grow Million Bells flowers from seed or seedlings, with care, feeding, pruning, and troubleshootin