Climbing flowers are some of the most rewarding plants you can grow, and they are far more forgiving than most gardeners expect. Pick the right variety, give it a support structure to grab onto, get the soil depth right, and you will have a wall, fence, or trellis covered in colour within a single season for annuals, or permanently for perennials. Whether you are starting from seed, cuttings, or a bought plug, the core steps are the same: assess your site, prepare good deep soil, put up your support before you plant, and then train your stems as they grow. Everything else is fine-tuning.
How to Grow Climbing Flowers: Complete Guide for Gardeners
James Holloway
28 Jul 2026
Why climbing flowers are worth growing (and what beginners actually need to know)
Climbers solve a specific garden problem: they cover vertical space without taking up much ground. A single sweet pea plant in a 30 cm footprint can climb 2 metres and produce cut flowers every few days through summer. A clematis planted against a fence can conceal an ugly structure within two growing seasons. That efficiency is what hooks most gardeners, including me, after the first attempt.
The main thing beginners get wrong is treating climbers like bedding plants. They need more soil depth, more root room, and a support structure in place before planting, not scrambled into place after the plant is already flopping over. Get those three things right and the rest follows naturally. You also need to decide early whether you want annuals (one season, often from seed, fast results) or perennials (slower to establish, but returning every year with increasing vigour). Many gardeners run both side by side, and that is exactly what I do.
Planning your climbing-flower garden
Site assessment: sun, wind, and wall aspect
Before you buy a single seed packet, spend a morning watching where the sun falls in your garden. Most flowering climbers need at least six hours of direct sun daily. South- and west-facing walls or fences are ideal in the northern hemisphere. North-facing aspects suit only a handful of climbers, such as some hydrangea and certain clematis species. Wind is the other factor most beginners ignore. A trellis fully loaded with foliage acts like a sail, and a vigorous plant like a climbing rose or Passiflora in an exposed site can pull a poorly fixed support clean out of the ground. If wind is an issue, either fix supports into solid masonry with expanding bolts or use a sturdy fence post as an anchor point.
Annuals vs perennials: getting your bloom-timing right
Annual climbers complete their whole lifecycle in one season and are typically grown from seed sown each spring. They are brilliant for fast colour and for filling gaps while perennials establish. Sweet peas, morning glory, nasturtiums, and black-eyed Susan vine all fall into this category. Perennial climbers, such as clematis, climbing roses, honeysuckle, and passionflower, take a season or two to settle in properly but then return stronger every year. A useful planning rule is to grow at least one annual climber in your first year alongside any perennial you plant, so you get a colourful display while the perennial builds its root system. The old saying for perennials is worth keeping in mind: first year it sleeps, second year it creeps, third year it leaps.
Best climbing flowers for beginners and intermediates
The varieties below are the ones I keep coming back to because they deliver reliably, respond well to seed starting, and do not require specialist care. Bloom times are approximate and will shift by two to four weeks depending on your climate zone and the warmth of your summer.
| Variety | Type | Bloom Season | Height | Best For |
|---|---|---|---|---|
| Sweet pea (Lathyrus odoratus) | Hardy annual | Late spring to midsummer | 1.5–2.5 m | Cutting garden, fragrance, beginners |
| Morning glory (Ipomoea purpurea) | Tender annual | Midsummer to first frost | 2–3 m | Fast coverage, fence screening |
| Black-eyed Susan vine (Thunbergia alata) | Tender annual | Summer through autumn | 1.5–2 m | Containers, small trellises |
| Nasturtium 'Tall Climbing' (Tropaeolum majus) | Tender annual | Summer to autumn | 2–3 m | Edible flowers, poor soils |
| Clematis (large-flowered hybrid) | Perennial | Late spring / early summer (Group 2) | 2–4 m | Permanent coverage, walls, fences |
| Clematis viticella | Perennial | Midsummer to early autumn (Group 3) | 2–4 m | Beginners, disease resilience |
| Climbing rose | Perennial | Early summer, often repeat | 2–5 m | Long-term feature planting |
| Honeysuckle (Lonicera periclymenum) | Perennial | Early to midsummer | 3–7 m | Fragrance, wildlife garden |
| Passionflower (Passiflora caerulea) | Perennial (borderline hardy) | Midsummer to early autumn | 3–8 m | Exotic look, milder climates |
If you are growing from seed for the first time, start with sweet peas or morning glory. Both germinate reliably, grow quickly enough to stay encouraging, and give you a tangible cut-flower or coverage reward within your first season. Clematis viticella is my recommended first perennial climber because it is the most resistant to clematis wilt and belongs to pruning Group 3, which means you just cut everything back hard in late winter. No complicated decisions required.
How much soil climbing flowers need, and what root depth to plan for
This is the part most gardening guides skip, and it is the reason many climbers underperform in their first season. Climbing flowers look like they live in their stems, but the real action is underground. Annual climbers and herbaceous climbers establish their feeder roots in the top 30 to 45 cm (12 to 18 inches) of soil. Vigorous perennial climbers such as climbing roses and large-flowered clematis concentrate most of their roots in the top 30 to 60 cm (12 to 24 inches), with anchor roots going deeper. The practical rule is: provide at least 30 to 45 cm of good, uncompacted soil for annual climbers, and 45 to 60 cm or more for established perennial climbers. For detailed guidance on how much soil flowers need to grow, see our in-depth guide how much soil do flowers need to grow. If the bed sits on concrete, compacted rubble, or heavy clay hardpan, you cannot rely on roots penetrating below, so the full target depth needs to be provided within the bed itself.
Container volumes: what size pot actually works
Containers are a perfectly valid option for climbers, but the pots most people reach for are too small. Small annual climbers such as sweet peas and compact morning glories will perform acceptably in a 5-gallon (approximately 20-litre) container for a single season, but they will need consistent watering and feeding because the root volume is limited. Larger or vigorous climbers, including climbing roses, bougainvillea, and large passionflower, need 15 to 30-gallon (60 to 120-litre) containers for multi-year growth and structural stability. A heavy container also anchors the trellis load more safely. When choosing a container, prioritise width over height, as a wider pot provides more lateral root space and is less likely to tip in wind.
Setting up your support structure
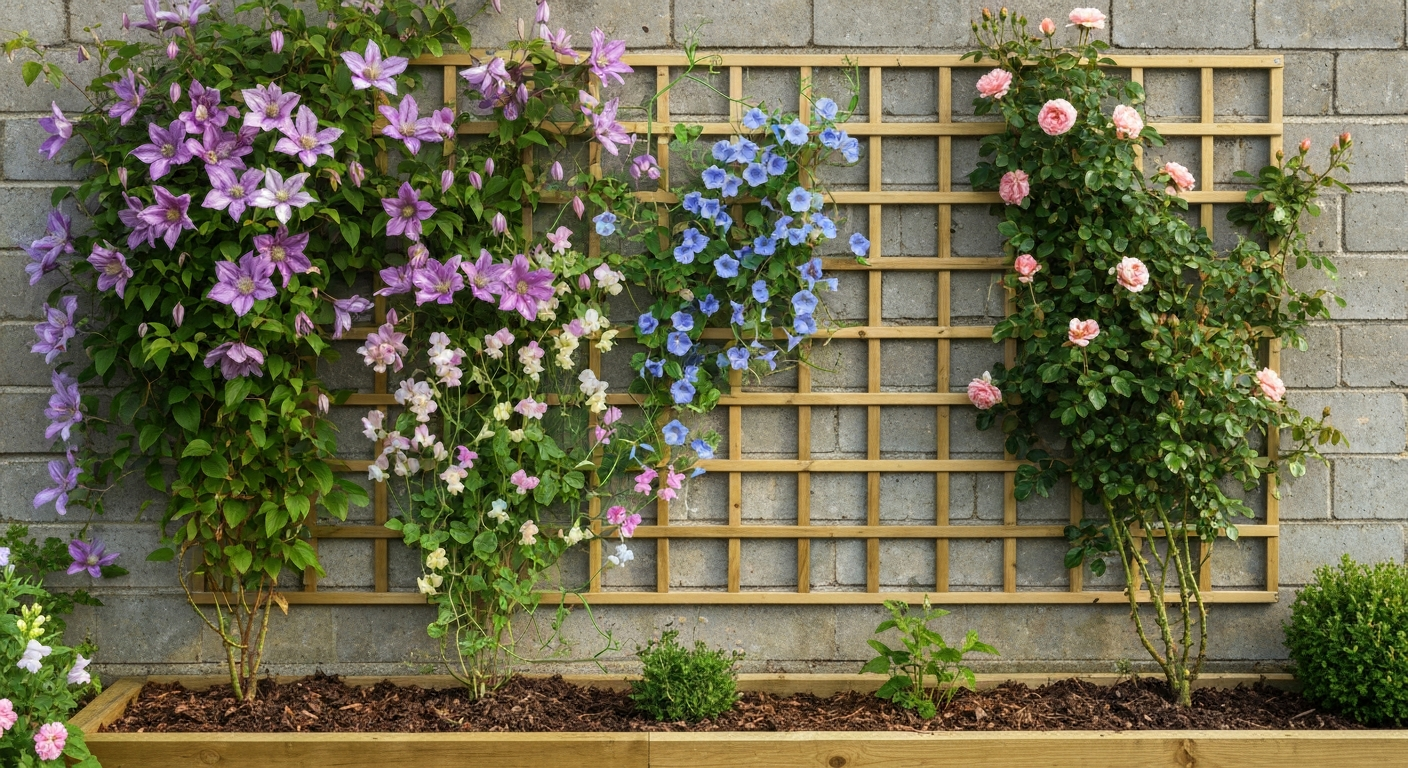
The single best piece of advice I can give is to build your support before you plant. Trying to install a trellis around an established climber is miserable work and you inevitably damage stems in the process. Match the support structure to your climber's attachment method: twiners (sweet peas, morning glory, honeysuckle) wrap around anything slender, so mesh, wire, or string works well. Tendril climbers such as sweet peas grip thin supports best. Scramblers like climbing roses need tying in manually, so horizontal wires fixed to a fence or a sturdy trellis panel work better than fine mesh.
- Trellis panels: fix to wall or fence posts using spacers or wall fixings that hold the trellis at least 2.5 cm (1 inch) away from the wall surface to allow air circulation and give stems room to twine behind
- Horizontal wire systems: fix galvanised wire every 30 to 40 cm up the wall using vine eyes; excellent for roses and vigorous perennials
- Garden netting or mesh: stretched between posts or over an arch; ideal for sweet peas, nasturtiums, and Thunbergia in a season
- Arches and arbors: provide growing support and an attractive garden feature; ensure they are concreted or anchored for climbers heavier than 5 kg
- Raised beds with integrated support: a raised bed with posts at each corner and cross-wires or mesh provides a self-contained climbing system that is easy to move or replant
For clematis in particular, the RHS advises keeping the trellis or mesh set off the wall surface by approximately 2.5 cm, and planting the clematis with 30 to 45 cm of clearance from the wall base. Walls create dry pockets at their bases, and this clearance ensures the rootball gets adequate rainfall and avoids the worst of reflected heat.
Raised beds, compost, and fixing clay soil
Using raised beds for climbing flowers
A raised bed is one of the best investments you can make for growing climbing flowers, especially if your native soil is poor. Aim for 30 to 45 cm (12 to 18 inches) of depth for annual climbers and mixed plantings, and 45 to 60 cm (18 to 24 inches) or more for perennials and woody climbers you plan to keep in place for years. Vegetable/raised bed depth guidance, Colorado State University Extension (and corroborated by other land‑grant extensions) recommends 30–45 cm (12–18 in) for mixed annual/perennial plantings and 45–60 cm (18–24 in) or more for deeper‑rooting perennials and woody climbers blank" rel="noopener noreferrer">Vegetable/raised bed depth guidance — Colorado State University Extension (and corroborated by other land‑grant extensions). If the bed sits directly on existing soil, roots will eventually grow down into it, which is useful if the soil is reasonable but a problem if it is compacted or waterlogged. If the bed sits on a hard surface, provide the full target depth within the bed because no deeper root extension is possible. If you're wondering "can you grow flowers in a raised bed", the answer is yes, raised beds provide the depth and soil control many climbing flowers need.
How to use compost: amendment vs sole growing medium
Compost is one of the most useful tools in your kit, but it works differently depending on how you use it. As a soil amendment, incorporate 5 to 10 cm (2 to 4 inches) of well-matured compost into the top 10 to 20 cm of soil when preparing a new bed. This adds organic matter, improves drainage in clay, and improves moisture retention in sandy soils. That amount represents roughly 10 to 20 percent by volume of the topsoil layer, which is the extension-recommended rate. As a component in potting or raised-bed mixes, keep compost to no more than 25 to 33 percent of the total mix volume. A reliable homemade mix is one part compost, one part coir or peat, and one part perlite or coarse grit. Never use compost as the sole medium in a container: drainage will be unreliable, and nutrient release from pure compost is unpredictable. If you’re asking "can you grow flowers in compost", the short answer is no for most species, compost should be used as part of a well-draining mix rather than the sole growing medium. Always source or make fully cured compost with a carbon-to-nitrogen ratio of around 15 to 25:1. Immature or high-C:N compost can cause short-term nitrogen tie-up, leaving plants yellow and stunted early in the season.
Fixing clay soil for climbers
Heavy clay soil is not a dealbreaker for climbing flowers, but it does need addressing before planting. Clay drains slowly and compacts easily, which suffocates roots. The fix is not dramatic or expensive: add 5 to 10 cm of mature compost and mix it into the top 15 to 30 cm of soil each year when you prepare beds. Do this consistently and you will see measurable improvement in soil structure within one to three growing seasons. For a step-by-step guide on how to grow flowers in clay soil, consult a dedicated resource that covers amendments, raised-bed construction, and planting techniques. Gypsum is sometimes recommended for clay soils, but it is genuinely useful only where your soil test shows a sodium or calcium deficiency, or where sodicity is a problem. On ordinary clay soil, organic matter does the real work. Deep cultivation is rarely necessary once you have done the initial incorporation.
Step-by-step planting guide
- Prepare the bed at least two weeks before planting: dig to the target depth, remove perennial weeds by the root, and incorporate compost at the rates described above
- Install your support structure fully before placing any plants
- Dig your planting hole: for most annual and perennial climbers, dig a hole roughly twice the width of the rootball
- Check planting depth by species: most climbers go in with the top of the rootball level with or just below the soil surface; clematis large-flowered hybrids are the important exception — plant these with the top of the rootball 5 to 7.5 cm (2 to 3 inches) below soil level to encourage basal shoots and improve recovery from clematis wilt; winter- and spring-flowering clematis go in with the rootball just below soil level
- For bulbs and tubers: plant at a depth equal to two to three times the height of the bulb (e.g., a 3 cm bulb goes in 6 to 9 cm deep)
- Space plants at least 45 to 60 cm apart for most annual climbers; perennial climbers typically need 1 to 2 m between plants depending on eventual spread
- Backfill, firm gently to remove air pockets, and water in thoroughly
- Attach the first few stems to the support loosely with soft ties or garden twine; do not wait for the plant to 'find' the support on its own in the first week
- Mulch the root zone with 5 to 7.5 cm of compost or bark mulch, keeping mulch away from the stem itself to prevent rot
- Water every two to three days for the first two weeks until roots establish, then reduce frequency based on rainfall and soil moisture
How to start climbing flowers from seed
Indoor seed starting: timing, temperature, and light
The timing of seed starting depends on your last frost date. For most tender annual climbers (morning glory, Thunbergia, nasturtium), start indoors four to six weeks before your last expected frost date so seedlings are ready to transplant outdoors when night temperatures stay consistently above 10°C (50°F). Sweet peas are hardier and can be started earlier: in mild climates, sow them in autumn for overwintering as young plants, or start indoors in late winter, eight to twelve weeks before your last frost, and transplant once the soil is workable and nights are above freezing. Sweet peas actually prefer cooler root temperatures and often outperform plants started too late in warm soil.
For germination, maintain a soil temperature of around 18°C (64°F). Once the first true leaves appear, reduce temperature slightly to around 15°C (59°F) to produce stockier, more resilient seedlings. Sow thinly and cover seeds to a depth of approximately 0.5 cm (one quarter inch) for most small-seeded climbers. Morning glory and sweet pea seeds benefit from nicking the seed coat with a nail file or soaking overnight before sowing, which speeds germination noticeably. Use a well-draining seed-starting mix, not potting compost, for germination.
Light and the leggy-seedling problem
The biggest enemy of indoor-started climbing seedlings is insufficient light. Windowsill light, even a south-facing one, is rarely enough in late winter or early spring. Seedlings grown in poor light become etiolated (tall, pale, and weak-stemmed) and never fully recover. If you can, supplement with a grow light positioned 10 to 15 cm above the seedlings for 14 to 16 hours daily. If you cannot, delay starting until natural light levels are higher, typically mid-spring in temperate climates.
Hardening off and transplanting outdoors
Hardening off is the process of gradually acclimatising indoor-raised seedlings to outdoor conditions. Skip it and you will lose plants to wind, cold, or sunscorch in the first week. The process takes seven to fourteen days. Start by putting seedlings outside in a sheltered, partly shaded spot for two to three hours on the first day, then bring them back in. Each day, add an hour of outside time and gradually increase sun exposure. By the end of the two weeks, seedlings can stay out overnight as long as there is no frost risk. Transplant when roots have filled the seed cell or small pot and outdoor soil temperatures are appropriate for the species. Do not transplant into cold, waterlogged soil, even if the calendar says it should be warm enough.
Growing climbing flowers without seed: cuttings, layering, and division
Starting from seed is not the only route, and for some climbers it is not even the best one. For step-by-step guidance on propagating climbers without seed, see our guide on how to grow flowers without seeds. Named clematis cultivars, climbing roses, and honeysuckle grown from seed produce variable offspring that may not resemble the parent plant at all. Cuttings and layering preserve all the cultivar characteristics, which matters when you have bought a specific variety.
Taking cuttings from climbing flowers
For clematis, take semi-ripe cuttings in summer (typically July and August in the northern hemisphere), using double-leaf bud sections. RHS guidance notes that clematis semi‑ripe cuttings are best taken in summer using double‑leaf‑bud sections (see How to grow clematis, RHS Growing Guide (propagation section)) How to grow clematis — RHS Growing Guide (propagation section). Dip the cut end in a rooting hormone at around 500 to 1,000 ppm IBA (indole-3-butyric acid), which is the standard concentration for softwood and semi-ripe material. Insert into a free-draining propagation medium, keep in high humidity using a propagation tray with a lid or a simple polythene bag tent, and overwinter the rooted cuttings in a cold frame for best results. For more difficult-to-root woody climbers, concentrate IBA can be raised to 1,000 to 3,000 ppm or more, but always trial on a small batch before committing to a large number of cuttings. The principle is consistent: clean cut, hormone dip, free-draining medium, high humidity until roots form.
Layering: the low-effort propagation method
Layering is particularly well suited to clematis and honeysuckle. In late spring or early summer, select a long, flexible stem and pin it to the soil surface in a shallow depression (about 5 cm deep) at a node, covering the pinned section with soil while leaving the growing tip exposed. Water the area and leave it for the rest of the growing season. By autumn or the following spring, the pinned section will have rooted and can be severed from the parent plant and grown on independently. I have found layering more reliable than cuttings for clematis because the new plant stays connected to the parent's water supply while it roots.
Training, pruning, and feeding through the season
Training stems as they grow
With annual climbers, most of the work happens in the first few weeks. Once stems reach the support, they self-attach and the plant takes over. The key is to fan stems outward across the support rather than letting them all go straight up, which produces a column of growth rather than a spread. Tie in new growth every week or two with soft ties, guiding stems to fill gaps in the support.
Pruning clematis by group
Clematis pruning is the subject that confuses more beginners than any other, but the group system makes it manageable once you know your plant's group. Group 1 clematis flower on the previous year's wood (mainly winter and early spring flowerers like Clematis alpina and C. armandii): prune only to tidy and remove dead stems immediately after flowering. Group 2 clematis are large-flowered hybrids that flower on both old and new wood: remove dead and weak stems in late winter and cut the remaining stems back to a pair of strong buds. Group 3 clematis flower entirely on the current season's growth (viticella types, C. tangutica, and late-summer flowerers): cut all growth back to 20 to 30 cm from the ground in late winter, every year. If you are unsure of your clematis group, a reliable workaround is to watch when it flowers: spring flowerers are almost always Group 1, and anything that flowers prolifically in late summer is Group 3.
Watering and feeding schedules
Climbing flowers in open beds generally need watering deeply once or twice a week in dry spells, aiming for about 2.5 cm (1 inch) of water per week including rainfall. Avoid shallow, frequent watering, which encourages surface roots and makes plants more drought-vulnerable. Container-grown climbers need more attention: in summer, large containers may need watering daily. Feed annual climbers with a balanced liquid fertiliser (approximately 5-5-5 or 10-10-10 NPK) every two weeks from planting until midsummer, then switch to a lower-nitrogen, higher-potassium feed to encourage flowering over leafy growth. Perennial climbers benefit from a balanced slow-release granular feed applied in spring when growth starts, with an optional liquid potassium feed during the peak flowering period.
Common pests, diseases, and what to do about them
| Problem | Plants Affected | Symptoms | What to Do |
|---|---|---|---|
| Aphids | Sweet peas, roses, nasturtiums | Clusters of small insects on new growth; sticky residue; distorted leaves | Blast off with water; introduce ladybirds; use insecticidal soap if severe |
| Clematis wilt | Large-flowered clematis hybrids | Sudden collapse of stems from tip downward; leaves blacken | Cut affected stems to soil level; plant deeply (5–7.5 cm) to promote basal regrowth; plant resistant viticella types |
| Powdery mildew | Sweet peas, roses, climbing phlox | White powdery coating on leaves; worse in dry roots / humid air | Improve airflow; keep roots consistently moist; remove worst-affected growth |
| Vine weevil | Container climbers especially | Notched leaf margins; sudden collapse (grubs eat roots) | Use nematode treatment in spring and autumn for containers; check root zone when repotting |
| Blackspot | Climbing roses | Black circular spots on leaves; early leaf drop | Remove fallen leaves; apply sulphur-based fungicide if persistent; choose resistant varieties |
| Slugs and snails | Young seedlings of all climbers | Ragged holes in leaves; slime trails | Use copper tape on container rims; apply organic slug pellets around base at transplant time |
Harvesting and cutting climbing flowers
Sweet peas must be cut regularly to keep flowering: the moment seed pods form, the plant redirects energy away from flower production and slows down dramatically. Cut sweet peas every two to three days throughout summer, even if you do not need the flowers, just to keep the plant producing. Cut stems in the early morning when they are fully hydrated, place them immediately in water, and condition in a cool location for several hours before arranging. Morning glory flowers last only one day each, so they are not useful cut flowers, but they are valuable for covering structures. For climbing roses being harvested as cut flowers, cut when buds are just beginning to show colour, before they open fully, for the longest vase life.
Soilless and hydroponic growing: what it means for climbers
Growing climbing flowers without traditional soil is possible and increasingly practical for small spaces or indoor setups. For a detailed guide on how to grow flowers without soil, covering coir mixes, hydroponic nutrient regimes, and container setups, see our in-depth resource. Coir-based mixes with added perlite or pumice are the most accessible soilless option and work well for annual climbers in containers. For hydroponics, maintain a nutrient solution pH of 5.5 to 6.3 and an electrical conductivity of 1.2 to 2.4 dS/m (roughly 600 to 1,200 ppm on the 500 scale) for most ornamentals. Keep solution temperature between 18 and 22°C and renew or flush recirculating reservoirs weekly to biweekly to prevent nutrient imbalances. Hydroponic climbing flowers are best suited to annual varieties in controlled or semi-controlled spaces, such as a greenhouse. Structural woody climbers grown hydroponically long-term require significantly more attention to root-zone management and support anchoring.
Troubleshooting: when things go wrong
- Plant not climbing: check that the support material is fine enough for the attachment method; some twiners cannot grip thick poles; add garden twine or fine mesh alongside a fat post
- Lots of leaves, no flowers: likely too much nitrogen in the feed, insufficient sun, or pruning at the wrong time for the species; switch to a high-potassium feed and check aspect
- Yellowing lower leaves on a container plant: most likely waterlogged roots or depleted nutrients; check drainage holes are clear, reduce watering frequency, and feed with a balanced liquid fertiliser
- Sweet peas stopping early in summer: heat is the main cause; sweet peas shut down once temperatures consistently exceed 25°C; start earlier next season or choose heat-tolerant varieties
- Clematis not flowering after two years: check pruning group — a Group 1 or 2 plant that has been hard-pruned every winter will have lost all its flowering wood
- Seedlings damping off: caused by fungal rot in wet, poorly ventilated conditions; use a sterile seed-starting mix, do not overwater, and ensure air movement around seedlings
- Climbing rose producing blind shoots (stems with no bud): often caused by frost damage to emerging tips; cut blind shoots back to a strong bud and the plant will re-shoot
A realistic first-season timeline
If you are starting from scratch with annual climbers in a temperate climate, here is a realistic timeline from seed to bloom. In late winter (eight to twelve weeks before your last frost), start sweet peas indoors. In early to mid spring (four to six weeks before last frost), start morning glory and Thunbergia indoors. In mid spring, build or fix support structures and prepare your beds. After last frost, when nights are reliably above 10°C, harden off and transplant outdoor seedlings. Through late spring, train stems onto supports as they grow and begin fortnightly liquid feeding. By early summer, sweet peas should be flowering. By midsummer, morning glory and Thunbergia will be in full coverage. Keep cutting sweet peas every two to three days and they will continue until the summer heat peaks. If you are planting a perennial climber in the same season, do so in spring and manage your expectations: it will make modest growth in year one, moderate growth in year two, and reward you with a genuinely impressive display in year three. That is not failure, that is just how perennials work.
FAQ
How do I plan a climbing-flowers planting (site, sun, bloom timing, annuals vs perennials)?
Choose a site with the light level required by your species (full sun = 6+ hrs for most annual climbers and sun-loving perennials; partial shade for some clematis and shade-tolerant vines). Plan bloom timing by mixing early-, mid- and late-season varieties or annuals (fast bloom all season) with perennials (reliable repeat bloom). Account for mature spread and support location — allow 30–45 cm (12–18 in) clearance from walls for air and maintenance, with trellis/netting set ~2.5 cm off walls when installing against a vertical surface. Sketch supports before planting, note watering access, and choose container vs in-ground: containers need appropriate volume (see container Q). For long-term beds, aim for 30–60 cm (12–24 in) of topsoil depending on climber vigor (30–45 cm for most; 45–60+ cm for woody climbers).
Which climbing-flower varieties do you recommend for beginners and when do they bloom?
Easy annuals: Sweet pea (Lathyrus odoratus) – spring/early summer; Morning glory (Ipomoea) – summer; Nasturtium (Tropaeolum) – summer-fall. Reliable perennials/woody: Clematis (many cultivars) – spring to late summer depending on group; Climbing rose (many shrub/rambling types) – late spring/summer; Honeysuckle (Lonicera) – spring/summer; Passiflora (hardy species in warm areas) – summer. For summer-long color combine early-flowering clematis (Group 1 or spring-flowering) with later Group 3 cultivars or repeat-flowering hybrids. Use named cultivars propagated by cuttings or division for true-to-type results rather than seed.
How deep should I plant climbers and how much root space do they need?
Most herbaceous and annual climbers establish roots in the top 30–45 cm (12–18 in) of soil; many woody climbers concentrate roots in the top 30–60 cm (12–24 in). Provide at least 30–45 cm depth for annuals and most perennials; give 45–60+ cm for large woody climbers (climbing roses, vigorous clematis) for long-term performance. Specific: plant large-flowered clematis with the top of the rootball 5–7.5 cm (2–3 in) below soil to encourage basal shoots; winter/spring-flowering clematis can be planted just below soil level.
Exact container volume and potting-mix guidance for climbers?
Small annual climbers and compact perennials: 20 L (≈5 US gal) per plant. Larger or woody climbers for multi-year growth: 60–120 L (15–30 US gal). Choose wider pots over very tall narrow ones for stability and root spread; anchor trellis to the container or use stakes. Potting mix: well-draining mix (coir/peat + composted bark/perlite) with up to ~25–33% mature compost by volume (avoid >33% compost). Do not use unamended garden soil alone. Ensure finished mix drains quickly and holds moisture between waterings.
How much compost should I add to beds or pots and when is compost a poor sole medium?
For garden beds: incorporate 2–6 cm (0.8–2.5 in) of mature, cured compost into the top 10–20 cm (4–8 in) of soil at establishment (about 10–20% by volume of the topsoil). For potting mixes: limit compost to ~≤30% of mix volume (commonly 1 part compost : 1 part coir/peat : 1 part perlite). Avoid using immature compost (high C:N) because it can immobilize nitrogen; avoid using compost as the sole container medium because drainage and nutrient release are unreliable.
How do I fix clay soil so climbers will establish?
Improve clay structure by adding and mixing organic matter (cured compost, leaf mold) at ~5–10% volume annually. For initial bed building mix 5–10 cm (2–4 in) of compost into the top 15–30 cm (6–12 in). Use physical mulches and avoid excessive deep tilling once established. Only consider gypsum if soil tests indicate sodicity or calcium deficiency and follow recommendations; expect structure improvement over 1–3 seasons with regular organic‑matter additions and surface aeration.
Next Articles
Can You Grow Flowers in Compost? How to Do It Right
Yes. Learn how to grow flowers in compost with proven mix ratios, timing, and fixes for weeds, wet soil, and burn.
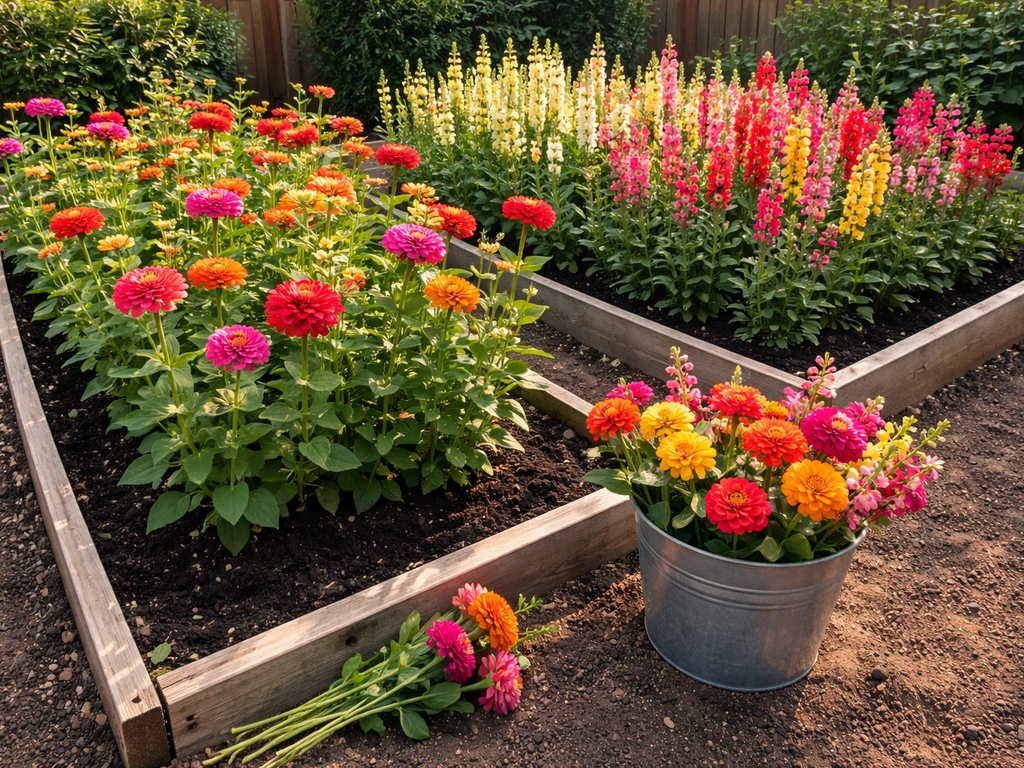
Can You Grow Flowers in a Raised Bed For Cutting
Yes, you can grow cut flowers in a raised bed: soil, spacing, drainage, plant choices, timing, care, and harvest tips.
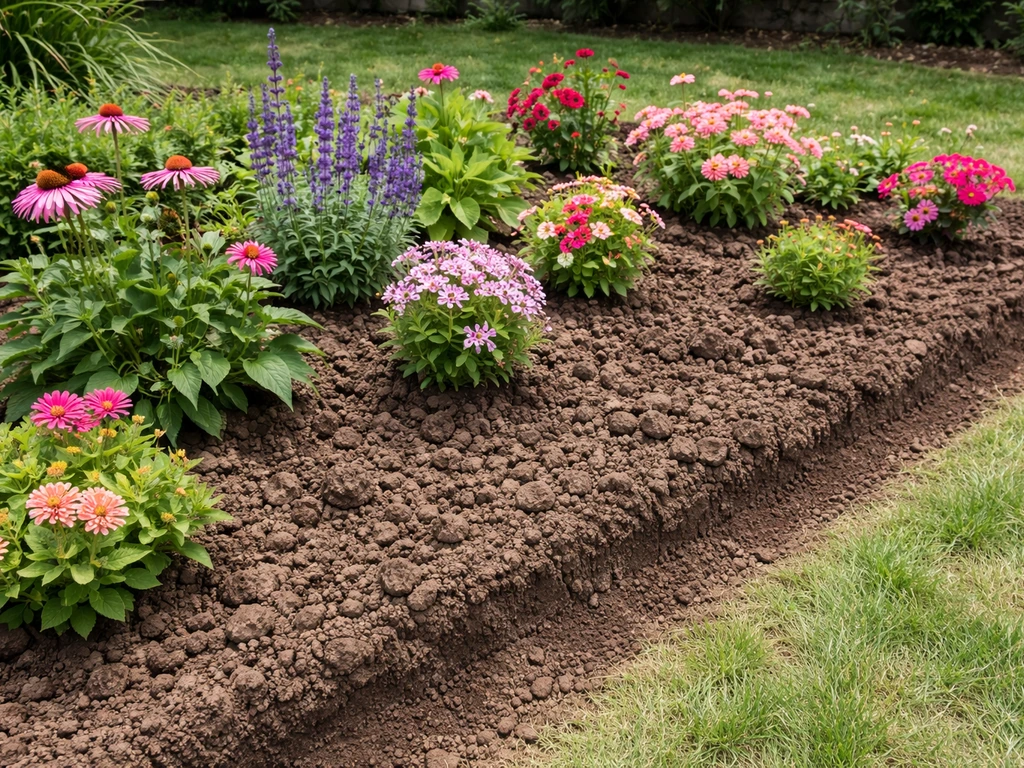
How to Grow Flowers in Clay Soil: Step-by-Step Guide
Step-by-step fixes for heavy clay: diagnose drainage issues, prep beds, plant seeds or transplants, water, mulch, and tr