Growing flowers in a greenhouse gives you a real head start on the season, lets you control conditions that outdoor beds never can, and makes it possible to have cutting-garden blooms weeks before your neighbors do. The basic formula is simple: pick varieties suited to protected growing, get your temperature and ventilation dialed in, start seeds or transplants at the right time, and keep humidity, watering, and pests from getting away from you. This guide walks you through every step, from an empty greenhouse to flowers in a vase.
How to Grow Flowers in a Greenhouse: Seed to Bloom
James Holloway
16 May 2026
Greenhouse basics and picking the right flowers
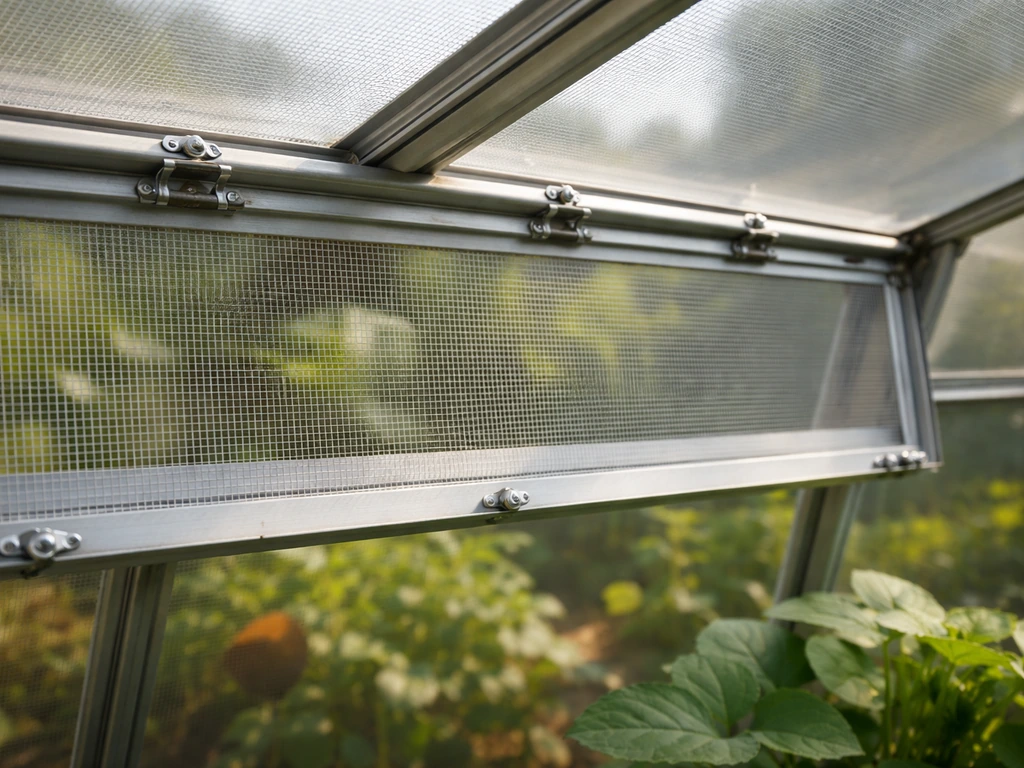
Before you sow a single seed, it helps to understand what a greenhouse actually does well and where beginners run into trouble. The most common failure mode I see is overheating. A small hobby greenhouse can hit 100°F (38°C) inside on a sunny spring day even when it's only 55°F outside, and prolonged high heat will stall or kill most flower seedlings. Roof vents with automatic openers are worth every penny because they open even when you're not there to babysit. Pair them with shade cloth (30–50% shade in summer) and you've solved about 80% of amateur greenhouse heat problems.
For ventilation sizing, a practical rule of thumb from greenhouse research is to target roughly one complete air exchange per minute for summer cooling, which works out to about 3 cubic feet per minute for every square foot of growing area. In practice, for a typical 8x10 hobby greenhouse, that means a 240 CFM fan at minimum. Place openings on opposite ends of the structure so air actually travels across your growing area rather than short-circuiting through the nearest gap.
On the flip side, a greenhouse is also brilliant for winter and early-spring growing, which ties it closely to the challenge of growing flowers in winter. With Christmas flowers, the same winter-setup approach helps you keep flowering on schedule when days are short winter and early-spring growing. To make this work in winter, focus on temperature, ventilation, and supplemental light so your flowers can still reach a reliable bloom schedule growing flowers in winter. Even an unheated cold frame-style greenhouse extends your season by weeks in zones 5 through 7. A heated greenhouse lets you grow year-round in most of North America.
For flower selection, lean toward varieties that genuinely benefit from protected growing. Cutting garden staples that thrive in greenhouses include:
- Snapdragons: love cool greenhouse temps (55–65°F nights), germinate in 7–14 days, and produce exceptional cut stems
- Marigolds: fast, forgiving, and great for beginners; blooms in 8–10 weeks from seed
- Poppies: prefer cooler starts and germinate in 7–28 days depending on soil temperature
- Pansies and violas: outstanding cold-tolerant greenhouse subjects, flowering roughly 30 days after transplant under good light
- Petunias: reliable in moderate warmth (65–70°F days), flowering around 34 days post-transplant under consistent conditions
- Wildflower mixes (especially cornflower, larkspur, and bachelor's button): many actually prefer cooler greenhouse starts before transplanting out
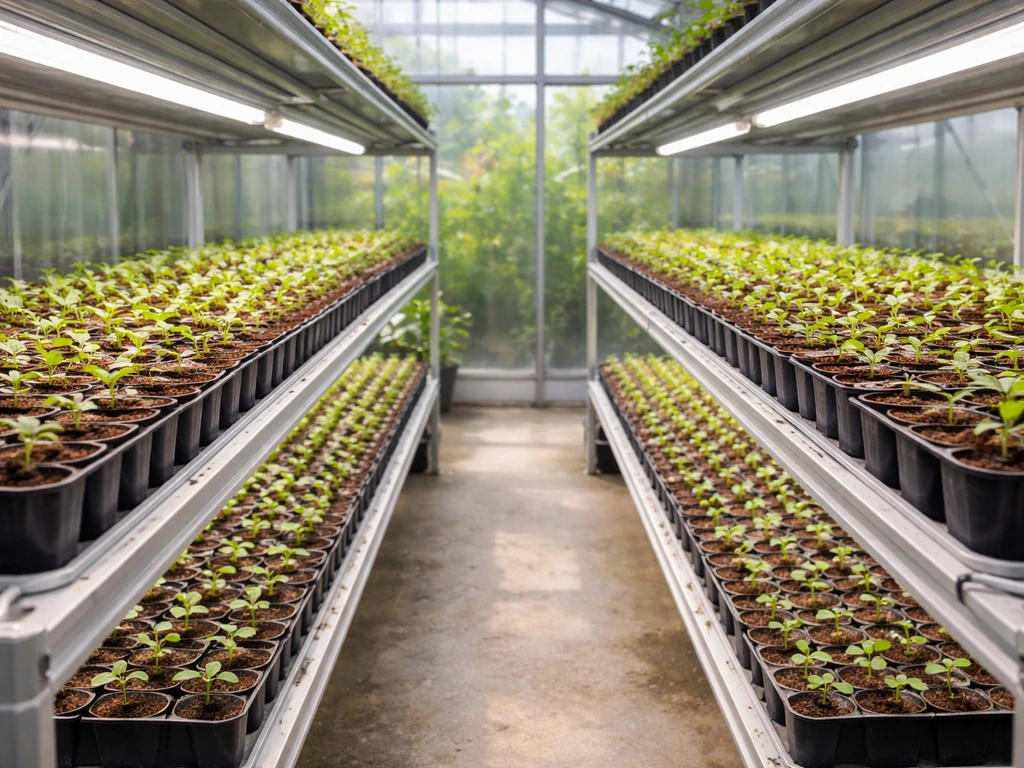
Bench layout matters more than most beginners expect. Bench layout matters less than most beginners expect, even in small spaces where every inch counts. If you have benches running lengthwise down both sides with a center aisle, you get good access and reasonable airflow. Solid-topped benches hold moisture longer underneath plants, which can encourage fungus; slatted or wire-mesh tops let air circulate around pots and reduce that risk. Whatever your setup, leave at least 18 inches of aisle space so you can actually work without knocking things over.
Planning your timing: seasons, heat, and light
Timing in a greenhouse isn't just about the calendar; it's about managing the three big variables together: temperature, light, and your target bloom date. Work backward from when you want flowers.
Snapdragons for cut flowers, for example, want to be sown into transplant trays and grown on for 5–6 weeks before going into final beds or large containers. If you want stems for a late-April outdoor planting in zone 6, you're sowing in mid-March. Marigolds need 4–6 weeks to transplant size or 8–10 weeks to first bloom from seed, so for May transplants you're starting in late March. Poppies are trickier because many resent transplanting; direct sow into final containers or beds inside the greenhouse in early spring and let them establish in place.
Temperature targets for quality flowering: Purdue's research suggests keeping bedding plants at 65–70°F during the day and 60–65°F at night for best plant quality. Snapdragons are an exception and actually prefer nights closer to 50–55°F. Go too warm and you get leggy, pale plants that don't flower well. Go too cold and growth stalls. A min-max thermometer placed at plant level (not hanging near the roof) tells you what's actually happening where your plants live.
Light is the other big lever. Most flowering annuals need at least 6 hours of direct light daily, and in northern winters that's simply not available without supplemental lighting. Supplemental LED grow lights set to maintain at least 300 µmol·m⁻²·s⁻¹ of photosynthetically active light make a measurable difference in time to flower. In summer the problem flips: too much intense light overheats tender seedlings, so shade cloth becomes your tool.
Humidity management ties into both temperature and disease control. When warm daytime air cools in the evening, relative humidity spikes and that's when Botrytis (gray mold) takes hold. Evening ventilation runs that keep air moving across leaf surfaces dramatically reduce overnight moisture buildup. If you need to raise humidity on a hot dry day, damping down (wetting the floor and hard surfaces) cools the air and adds moisture without wetting foliage.
Starting seeds vs. transplanting: a step-by-step breakdown
You have two routes into the greenhouse: starting from seed or bringing in transplants. Both work, and honestly I do both depending on the flower. Seeds give you variety control and cost savings; transplants save weeks of time. Here's how to do each well.
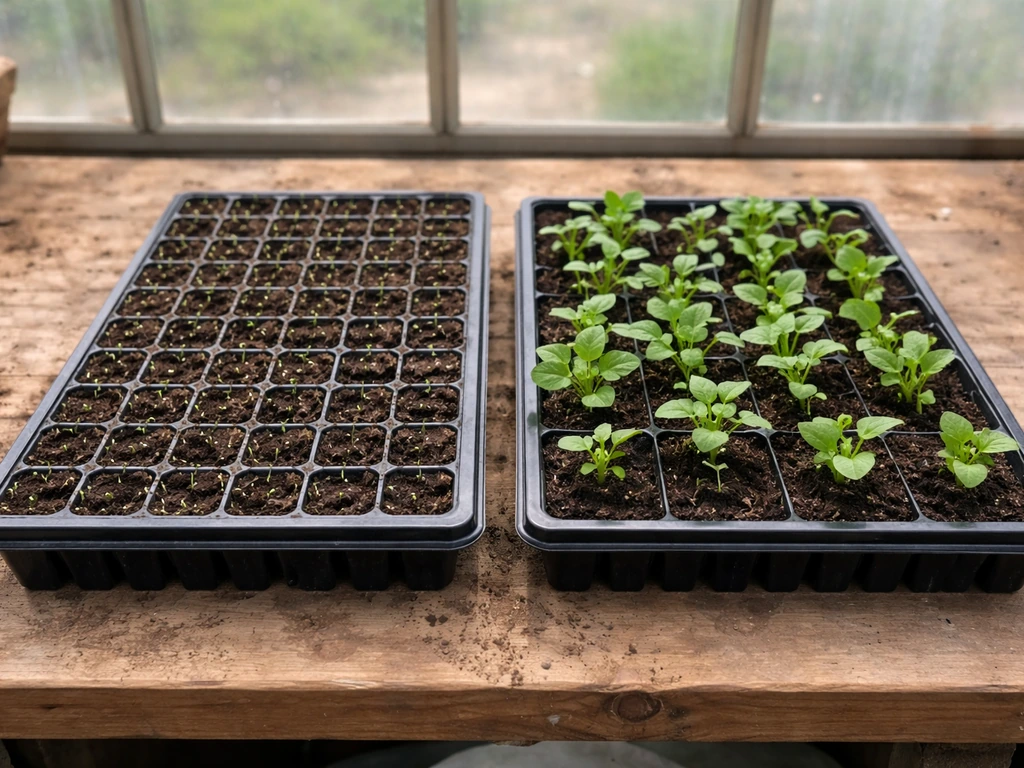
Starting from seed
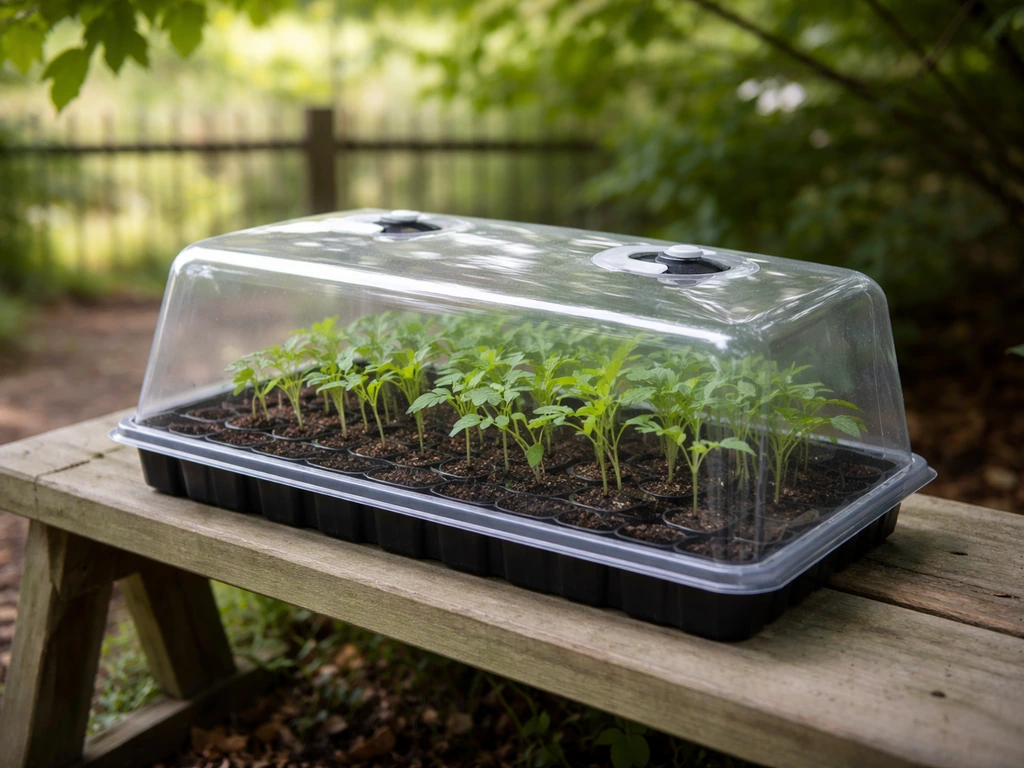
- Use a purpose-made seed-starting mix, never garden soil. Garden soil compacts, crusts, and carries pathogens and weed seeds. A sterile commercial mix or 100% vermiculite works well for germination.
- Fill trays or cell packs and lightly firm the surface. A 72-cell tray is ideal for most flower seedlings: marigolds, snapdragons, petunias, and pansies all do well in this format.
- Sow seeds at a depth of roughly twice their diameter. A tiny snapdragon seed gets barely covered with a dusting of vermiculite. A larger marigold seed goes about 1/8 inch deep. Some seeds (like some poppies) need light to germinate and should sit right on the surface.
- For seeds requiring darkness to germinate, cover trays with black plastic or newspaper until sprouts appear.
- Water gently from below by setting trays in a tray of water and letting them wick up moisture, which avoids dislodging seeds. Keep the surface evenly moist but not waterlogged.
- Maintain germination temperature at 65–75°F for most flower types. A heat mat under trays helps in cooler greenhouses.
- Once seedlings emerge, move them to your best-lit location immediately. Seedlings that get too little light in the first week stretch out and never fully recover.
- When seedlings show their first true leaves, thin or prick out to one plant per cell. About 3–4 days before pricking out, withhold fertilizer so roots are firm and easier to handle without damage.
- After pricking out into larger cells or pots, begin feeding with a dilute balanced liquid fertilizer.
Bringing in transplants
If you're buying transplants or moving seedlings you started elsewhere into the greenhouse, inspect everything carefully before it enters the structure. One aphid-infested flat can seed a whole greenhouse in two weeks. Once inside, pot transplants into fresh sterile mix, water them in, and let them settle for a few days before you begin any feeding program. Avoid the temptation to immediately push growth with heavy fertilizer; transplants need to establish roots first.
Watering, fertilizing, and getting your soil and pots right
Watering is where most beginners do the most damage, usually by overwatering. In a greenhouse, pots don't dry out as fast as you'd expect because humidity is higher than outdoors. Stick your finger an inch into the growing medium before watering: if it still feels moist, wait. If it's dry, water thoroughly until it drains from the bottom.
For delivery method, hand watering with a soft-rose watering can is perfectly fine for small operations and lets you inspect every plant as you go. For larger benches, drip lines or subirrigation (where pots sit in a shallow tray and water is absorbed from the bottom) both work well. Subirrigation is especially efficient because it keeps foliage dry, which reduces disease pressure. Overhead sprinklers work but wet leaves invite Botrytis, so they're best used in the morning so foliage dries before temperatures drop at night.
For fertilizing, the two main approaches are liquid feed injected into your irrigation water and controlled-release fertilizer (CRF) mixed into your potting medium. For beginners, a weekly liquid feed at half the label rate is the easiest system to adjust. Start feeding after seedlings have their first set of true leaves, and reduce feeding during the hardening-off phase. Different crops tolerate different salt levels, so if you're seeing leaf-tip burn or stunted growth, back off the concentration.
For pots and growing medium, use a quality peat- or coir-based commercial potting mix for containers. Avoid heavy garden soil, which compacts in pots and restricts the root oxygen that flowers need. For cutting garden flowers like snapdragons and marigolds, 4-inch or 6-inch pots work for growing-on stage before transplanting to outdoor beds; if you intend to grow and cut directly from the greenhouse, move up to gallon-size or larger containers so roots can develop fully.
Pest and disease prevention before it becomes a problem
The easiest pest to deal with is one that never gets in. Install fine insect screening over all openings, including ridge vents, sidewall vents, and intake fans. This one step dramatically cuts the number of aphids, whiteflies, and thrips that enter on their own. Anything you bring in from outside (transplants, tools, pots) is a potential vector, so clean everything.
The insects to watch for
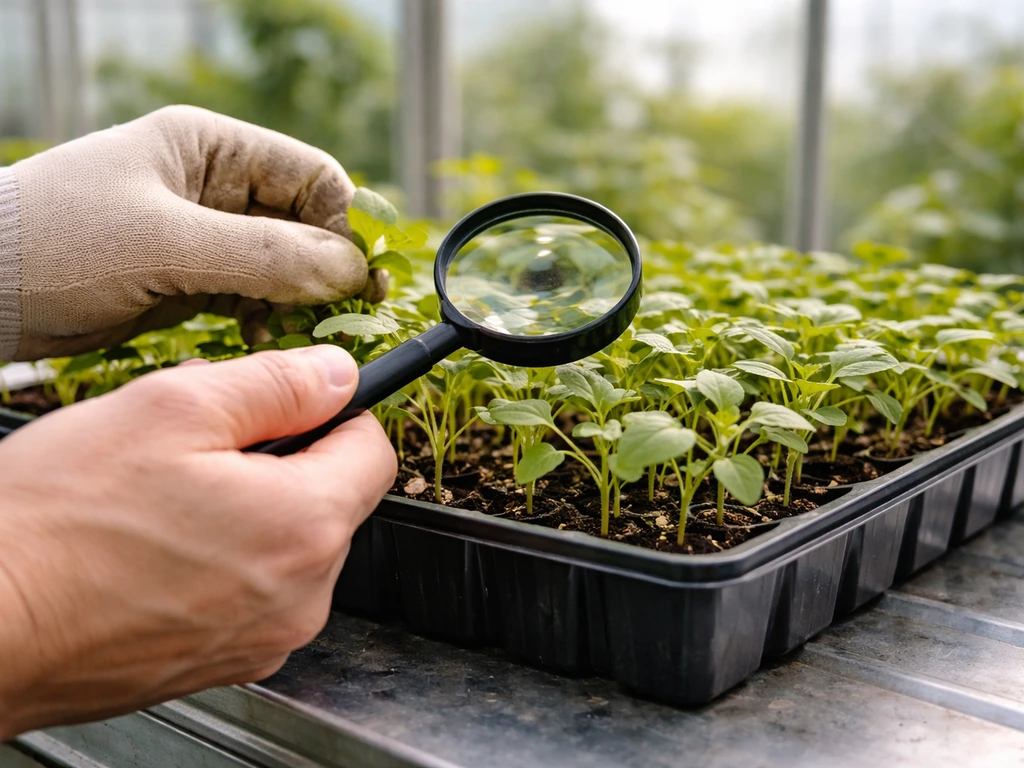
Aphids are the most common greenhouse flower pest. The two you'll most likely encounter are green peach aphid and melon aphid. Early signs include tiny white cast skins on leaves, sticky honeydew residue, and eventually black sooty mold growing on that honeydew. Check the undersides of leaves and growing tips weekly. Yellow sticky cards hung at plant height catch flying adults and give you early warning.
Thrips are smaller and sneakier. Look for stippling, silvering, or distorted tissue on upper leaf surfaces and petals. Thrips guide notes that early damage and warning signs include scarred or stunted or distorted foliage and stipples or patches on upper leaf surfaces, and it recommends sticky-card monitoring and removing weeds stippling, silvering, or distorted tissue on upper leaf surfaces and petals. Blue sticky cards catch thrips better than yellow ones. Both aphids and thrips populations build fast in warm greenhouses, so weekly scouting (not just a quick look, but actually turning leaves over) makes an enormous difference in catching problems early.
The diseases to prevent
Damping-off is the most common seedling disease, caused by water mold pathogens like Pythium and Phytophthora. It spreads through contaminated tools, watering hose tips, and splashing water. Sanitation is your best prevention: sterilize trays, use fresh mix, and don't let hose tips touch the floor or soil. Fungicide drenches are less effective than just keeping things clean.
Botrytis (gray mold) thrives when relative humidity spikes in the evening. Greenhouse Management emphasizes that keeping RH, air movement, and temperature in balance, along with promptly removing diseased tissue, helps reduce the spread of diseases like Botrytis Botrytis (gray mold) thrives when relative humidity spikes in the evening. Keep air moving across plant surfaces, remove any dead or dying tissue immediately (don't leave spent flowers or yellowing leaves sitting on plants), and avoid overhead watering late in the day. Powdery mildew is trickier because it can begin developing even at moderate humidity levels. The best defense is good air circulation, adequate spacing between plants, and removing any visibly infected tissue quickly before spores spread.
Hardening off and moving plants for bloom or cutting
This step is one beginners most often skip or rush, and it's where a lot of otherwise healthy plants get damaged. Plants grown in a greenhouse are effectively coddled: stable temperature, no wind, diffused light. Moving them directly outside into full sun, wind, and fluctuating temperatures causes wilting, leaf scorch, and sometimes complete die-off. Hardening off is the process of gradually introducing them to outdoor conditions over 7–10 days. If you want the same kind of control on a smaller scale, you can learn how to grow flowers on a balcony by choosing the right containers, light, and plant types how to grow flowers on balcony.
- Days 1–2: Place plants outside in a sheltered, shaded spot (under a tree or on a north-facing porch) for 1–2 hours on a warm, calm day. Bring them back in before evening.
- Days 3–4: Extend outdoor time to 3–4 hours. Move to a spot with some gentle morning sun.
- Days 5–6: Leave plants outside most of the day in part sun. Bring in if temperatures drop below 45°F (or lower than your variety's tolerance).
- Days 7–8: Leave outside all day, including in full sun. Continue bringing in at night.
- Days 9–10: Plants can stay outside overnight if overnight temperatures stay above their cold tolerance. They're ready to transplant into beds or leave in outdoor containers.
- Do not fertilize during hardening off. The goal is stress adaptation, not pushing new growth.
For greenhouse-grown cutting flowers (snapdragons, marigolds, wildflowers), you have a choice: harden off and transplant to outdoor beds for the main cutting season, or keep them in larger containers inside the greenhouse and cut directly from there. Cutting from inside the greenhouse lets you extend the season at both ends, especially useful in zones 5 and 6 where spring frosts hang around into May and fall frosts arrive in September.
A care calendar from bud to harvest
Once plants are established and growing well, your routine shifts from setup to maintenance. Here's how to think about each stage.
| Growth Stage | Key Tasks | Watch For |
|---|---|---|
| Seedling (weeks 1–3) | Water from below, maintain 65–75°F, provide 14–16 hrs light or supplement to 300+ µmol | Damping-off, leggy stretching (increase light), overwatering |
| Growing-on (weeks 4–6) | Prick out or pot up, begin weekly liquid feed, ensure airflow around plants | Aphids on stem tips, early thrips signs on leaves, root-bound pots |
| Pre-bud (weeks 6–8+) | Maintain 60–70°F days, increase air circulation, scout weekly with sticky cards | Botrytis on lower leaves, powdery mildew on susceptible varieties like snapdragons |
| Bud development | Continue feeding, remove any yellowing/dead tissue immediately, water consistently | Bud abort from temperature swings or drought stress |
| Bloom / cutting stage | Cut stems early morning when buds are just opening, place immediately in water | Botrytis on petals in high humidity; thrips inside flowers |
| Post-cut / ongoing production | Remove spent stems cleanly, check for pests, continue regular watering and feeding | Disease entry through cut stems; aphid buildup on soft regrowth |
For specific varieties: marigolds are ready to cut when the outermost petals are fully open but the center is still tight. Snapdragons are best cut when the bottom third of the spike has open flowers and the top two-thirds are in bud. Poppies are cut just before the bud splits open (the papery sheath starts to crack) and the stem end should be seared immediately with a flame or dipped in boiling water for 10 seconds to seal the latex and extend vase life.
Keep a simple grow journal. Jot down what you sowed, when it germinated, what problems appeared, and when you got your first cut. After two or three seasons of notes, you'll have a personalized timing guide that's far more accurate for your specific greenhouse and climate than any general chart. If you are learning how to grow wax flowers, record flowering timing, temperature, and humidity so you can fine-tune your schedule season after season successive years of notes. That's really where greenhouse growing gets satisfying: it stops being guesswork and starts being a system you actually control.
FAQ
What’s the fastest way to tell if my greenhouse is overheating seedlings?
Treat the greenhouse as a separate microclimate from your outdoor yard. Use a min-max thermometer at plant height, check the forecast for sun intensity, and plan ventilation and shading around peak sun hours (late morning through mid-afternoon). If you see seedlings stalling for more than a day despite watering correctly, the first thing to adjust is heat and airflow, not fertilizer.
My flowers look leggy and pale, should I add fertilizer or change something else?
In most cases, don’t try to “fix” one problem by changing everything at once. Start by matching light and temperature to the growth stage, then adjust water by checking moisture at least daily during germination. If growth is leggy and pale, lower day temperatures slightly and increase light exposure or supplemental lighting rather than adding more nutrients.
How do I know when to start fertilizing in the greenhouse?
Once you have true leaves and the plants are actively growing, you can begin feeding, but ease into it. A practical approach is half-strength liquid feed weekly, then increase only if growth remains steady and you are not seeing leaf-tip burn, crusting, or salt-related stunting. If using controlled-release fertilizer, avoid double-feeding, since excess salts build up faster in contained greenhouse beds.
How often should I water in a greenhouse if humidity is high?
For seedlings, aim for consistently moist (not soggy) media during germination, and then switch to a drying-and-watering rhythm. Finger-test the potting mix, and water thoroughly only when the mix is dry an inch down. In humid greenhouses, “watering on schedule” often causes damping-off and root stress.
What should I look for when scouting greenhouse pests, and how often?
Whiteflies and thrips often hide where you will miss them if you only look at the top. Scout weekly with a deliberate routine: turn each plant, check leaf undersides and growing tips, inspect the newest leaves for stippling or distortion, and watch sticky cards daily for sudden population spikes.
Why do pests sometimes appear even when I installed insect screening?
Run screening on all openings, but also control what enters. Quarantine new plants for several days outside the growing area if possible, and wash or sanitize trays, pots, and tools before reuse. This is especially important right after you buy transplants, because aphids can arrive unnoticed and explode quickly under warm greenhouse conditions.
How can I prevent damping-off beyond just being careful with watering?
Damping-off prevention is mostly sanitation plus avoiding splash and excess moisture. Start with fresh sterile mix, sterilize trays, keep watering localized so hose tips never contact soil, and improve airflow so the surface of the media dries between waterings. Fungicide drenches are usually a last resort compared with correcting watering and hygiene.
What’s the best greenhouse strategy to prevent gray mold (Botrytis) in humid evenings?
For Botrytis risk, prioritize overnight conditions: increase ventilation in the evening, avoid late-day overhead watering, and remove dead tissue promptly. If you see gray mold developing on flowers or leaves, remove infected material immediately and improve spacing or airflow so leaves don’t stay wet or stagnant.
Can I take greenhouse flowers outside directly, or do I need to harden them off?
Yes, but do it gradually and with intent. Start hardening off 7 to 10 days before you want outdoors conditions, and ramp up exposure stepwise (more sun, more breeze, cooler nights). Avoid moving them outdoors during the hottest part of the day, and protect against sudden wind gusts or cold snaps.
When should I keep greenhouse-grown flowers in containers for cutting versus transplanting outdoors?
Choose based on your goal. If you want the longest season for cutting, growing longer in larger containers can be more consistent than transplanting repeatedly. If you are aiming for outdoor beds and fewer greenhouse days, harden off and transplant. A good decision rule is whether you can maintain adequate light and root space inside the greenhouse until your desired cutting dates.
What should I record in my grow journal so it actually improves my timing?
Use a grow journal and compare across seasons, but make it actionable. Record sowing date, transplant date, peak day and night temperatures, humidity notes (especially evening), light or shading adjustments, and the first date you can harvest. After 2 to 3 seasons, adjust your “sow-to-bloom” window for your exact greenhouse, not generic charts.
How do I position ventilation and fans so air actually moves across the whole greenhouse?
Many gardeners underestimate how fast contained airflow changes disease and pests. Make sure openings are on opposite ends for crossflow rather than one-side ventilation that short-circuits. Also confirm fans and vents are positioned to move air across plant height, and re-check airflow after you reorganize benches or raise plants to different levels.
Next Articles
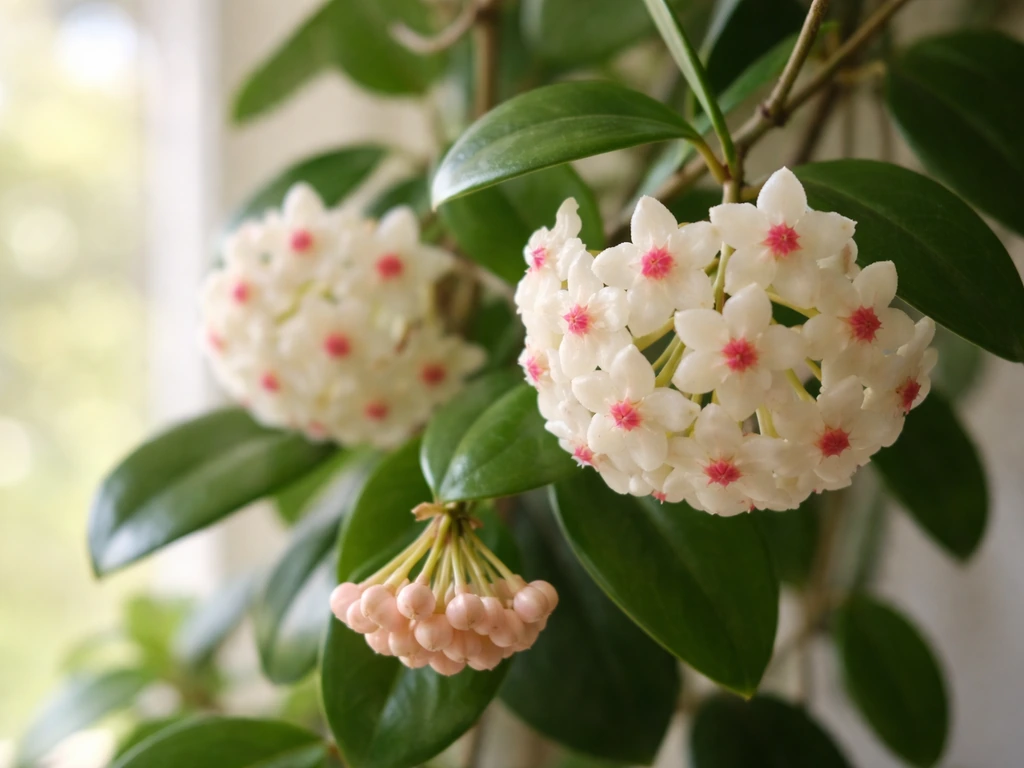
How to Grow Wax Flowers: Seed to Bloom Guide
Step-by-step guide to grow wax flowers from seed or cuttings, with light, soil, care, and bloom troubleshooting.
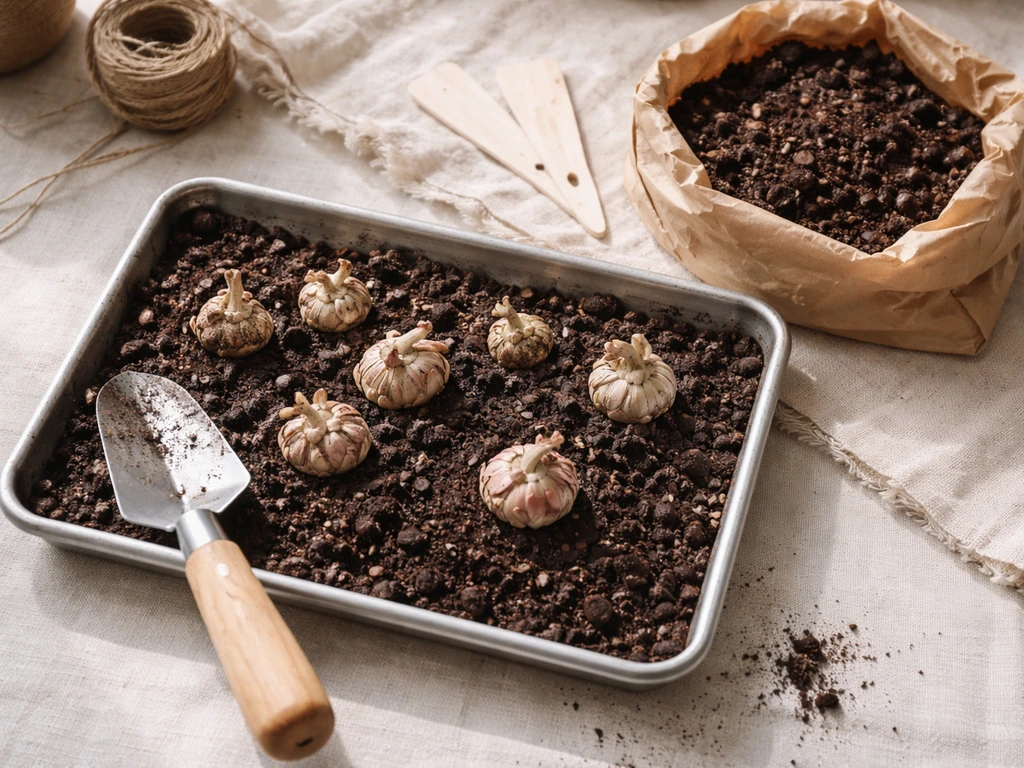
Floret How to Grow Ranunculus: Step-by-Step Guide
Step-by-step Floret-style ranunculus guide: corm prep, planting, watering, frost care, troubleshooting, and harvest for
How to Grow Your Own Wedding Flowers Step by Step
Step-by-step guide to grow bouquet-ready wedding flowers, from planning and sowing dates to harvesting, conditioning, an